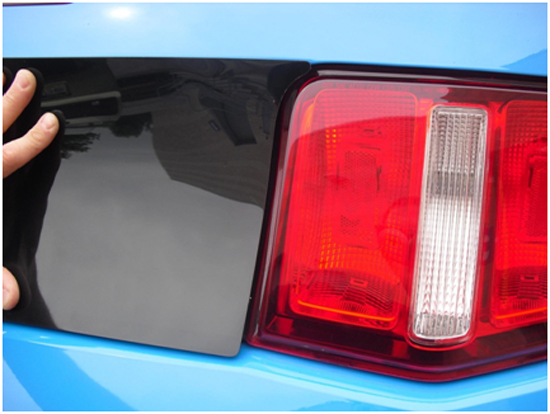
Mustang Light Covers ('10-'11) - Installation Instructions
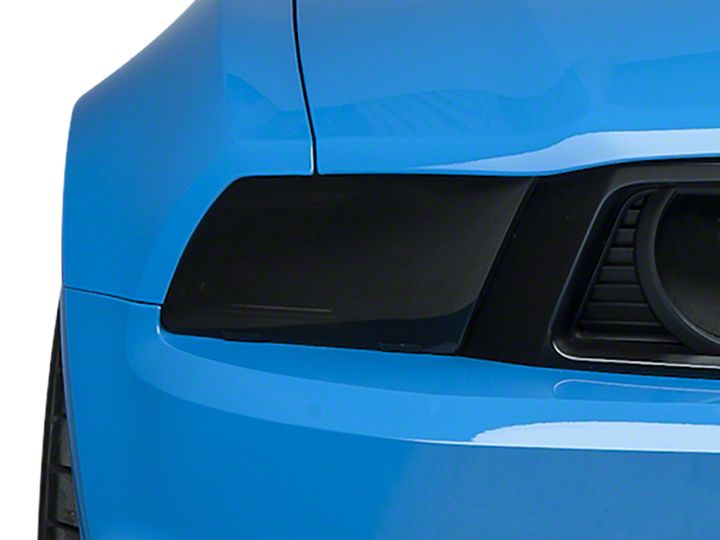
Shop Parts in this Guide
Installation
Headlight Covers Install:
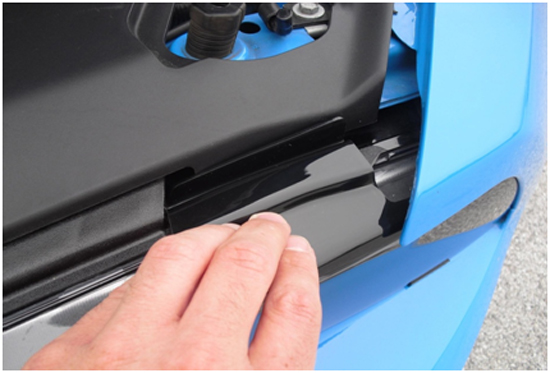
1. Slide the two plastic clips on the light cover between the factory headlight and bumper cover. Then slide the light cover over until the top portion is secured under the fender as shown.
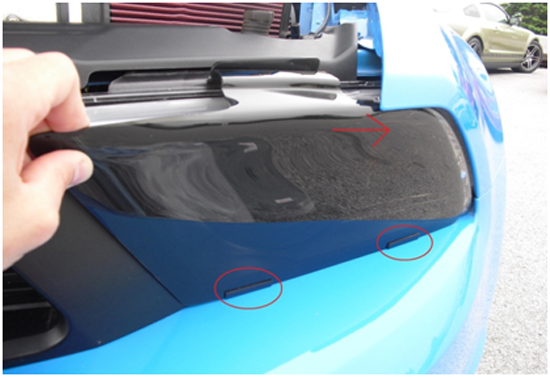
2. Once the light cover is secured under the factory headlight and fender, push the upper retaining clip over the headlight as shown. Repeat instructions for opposite side cover to complete installation.
Tail Light Covers Install:
1. Using the supplied alcohol prep pads, thoroughly clean the portion of the tail light lens that the adhesive tape on the light cover will affix to.
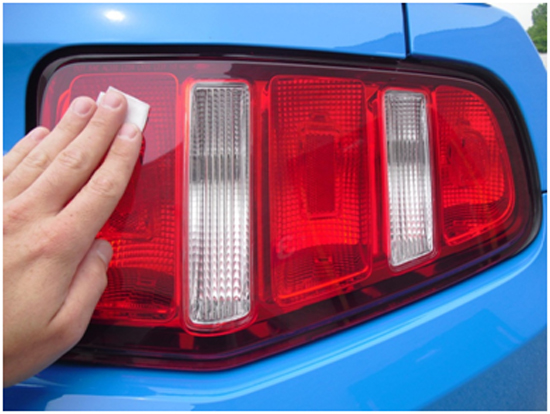
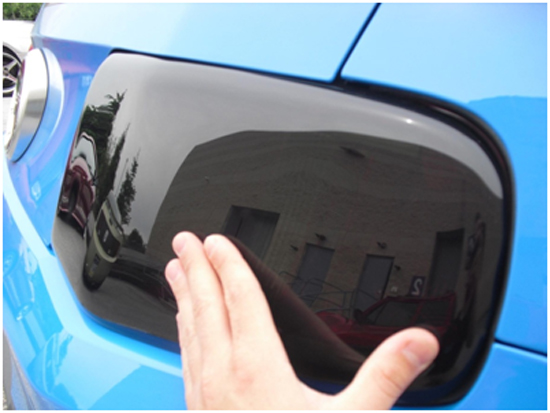
2. Peel the backing from the adhesive tape on the light cover and position over factory tail light, making sure that the lens is fully covered. When you are satisfied with the positioning of the cover, firmly press down on the cover to seat the adhesive tape. Repeat instructions for opposite side cover to complete the installation.
Fog Light Cover Install:
1. Using the supplied alcohol prep pads, thoroughly clean the fog light lens.
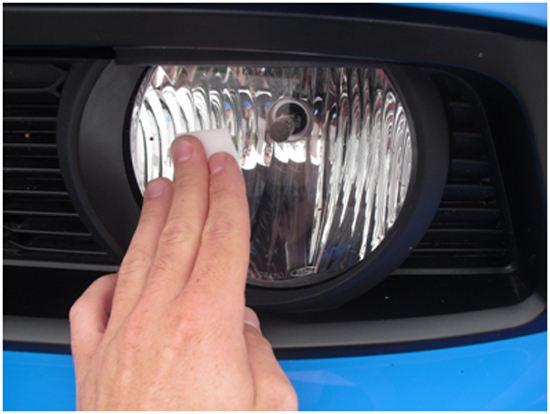
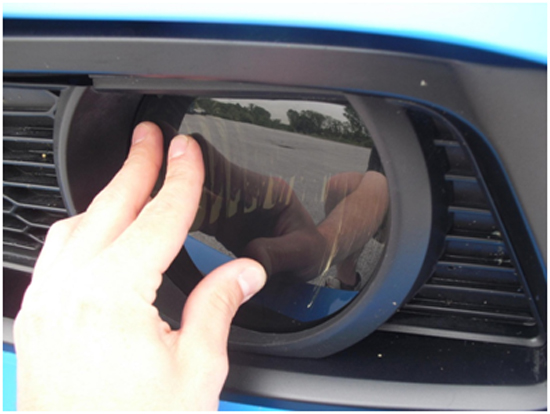
2. Peel the backing from the adhesive tape and place the round portion of the cover between the fog light and grille as shown.
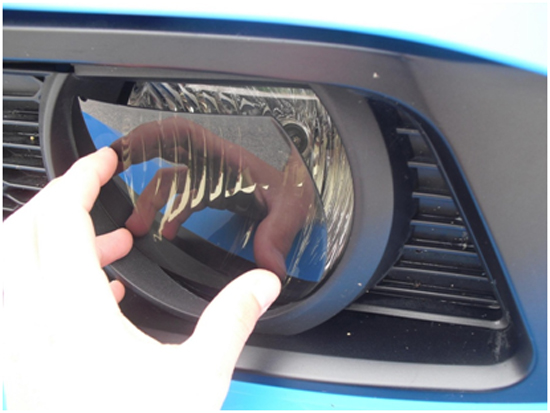
3. Once the cover is secured between the fog light and grille, firmly press down on the cover to fully seat the adhesive. Repeat instructions for opposite side to complete the installation.
Decklid Panel:
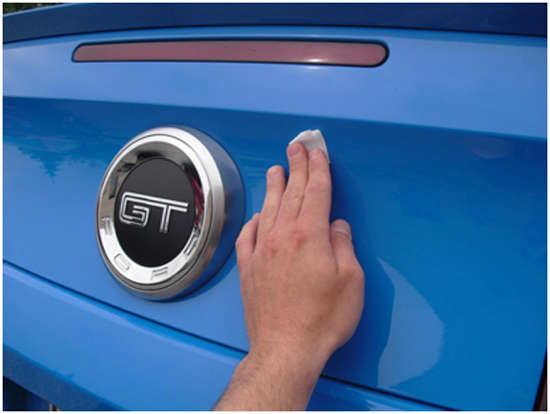
1. Using the supplied alcohol prep pads, thoroughly clean the decklid where the adhesive on the cover will affix to.
2. Peel backing from adhesive and place the cover over the decklid, using the center emblem as a guide.
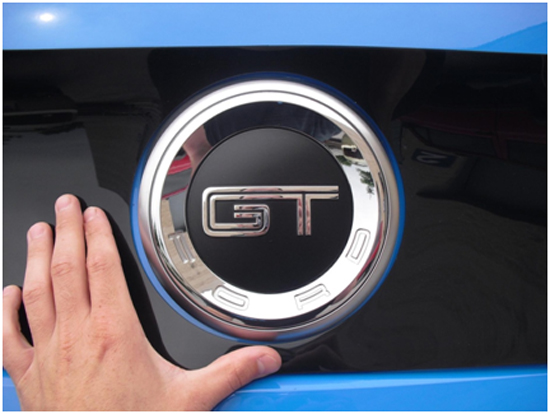
3. Once the panel is centered and the edges are covering all painted surfaces of the decklid, firmly press down on all areas of the panel to fully seat the adhesive.
