
Best Sellers
How to Install J&M Stainless Steel Teflon Rear Differential Line on Your 1987-1998 GT Mustang
Installation Time
2 hours
Tools Required
- Floor Jack
- Jack Stands (2 ton minimum)
- 7/16 brake line fitting wrench
- 3/8 drive ratchet
- 9/16 socket & 11/16 socket
- 17mm socket
- 3/8 extension
- Adjustable wrench
- Brake fluid
- Rags
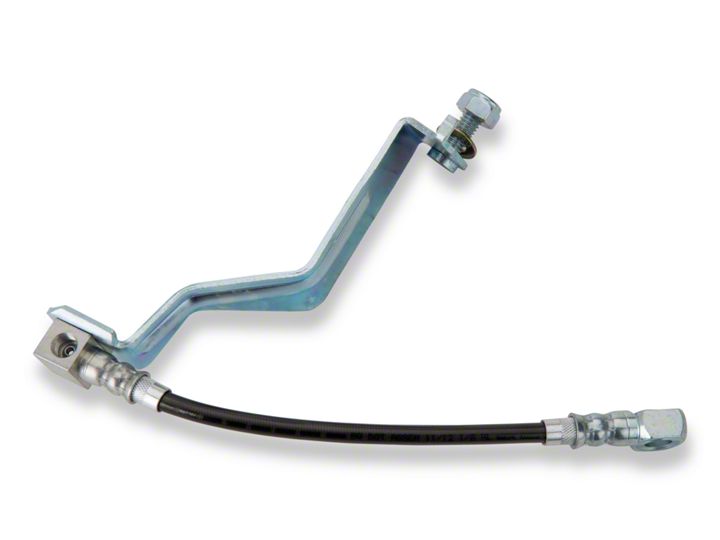
Shop Parts in this Guide
Installation
1. Make sure the front wheels are chocked.
2. Jack up the rear of the car and place jack stands under the rear frame rails. Allow the rear axle to fully extend enough for access to the rear differential brake line.
3. Using a 9/16 socket and ratchet, slowly loosen the brake hose where it attaches to the frame bracket above and forward of the differential. Some brake fluid will drain; use a suitable container or rag to catch it if necessary. Retain the brake line bolt and washers for later use.
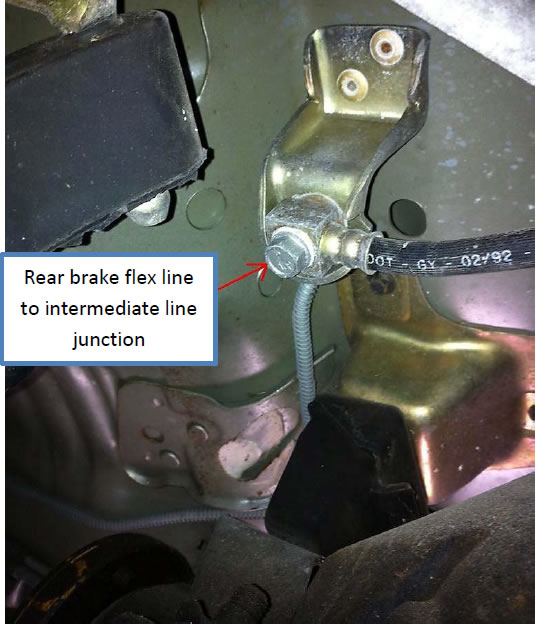
4. Remove the left and right rear wheel brake lines from the factory flex line block using a 7/16 fitting wrench and backup wrench to prevent damaging the factory lines. Some brake fluid will drain; use a suitable container or rag to catch it if necessary.
5. Remove the nut that attaches the factory rear rubber brake line to the differential with a 17mm socket, ratchet and extension if needed. Discard this nut as a new one is included with the J&M brake line. NOTE: Inspect the steel intermediate brake line and axle lines for corrosion and wear; replace if necessary.
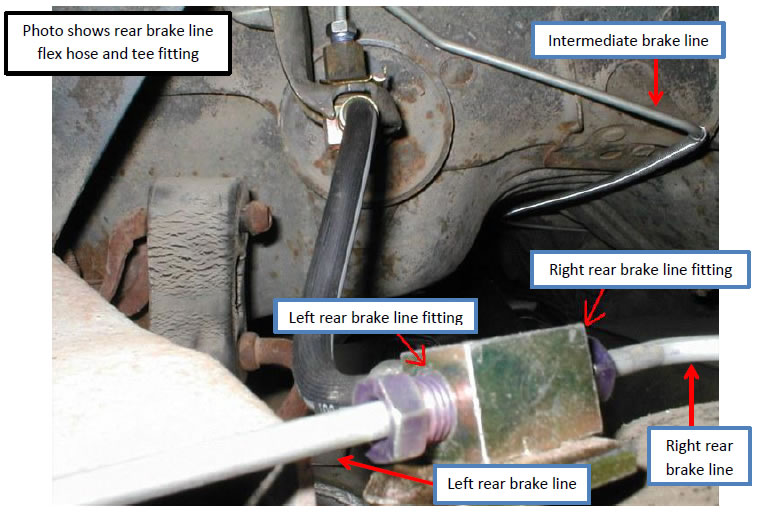
6. Attach the J&M Teflon brake line to the left and right rear brake lines using a 7/16” fitting wrench and an adjustable backup wrench. Ensure the fittings are tight.
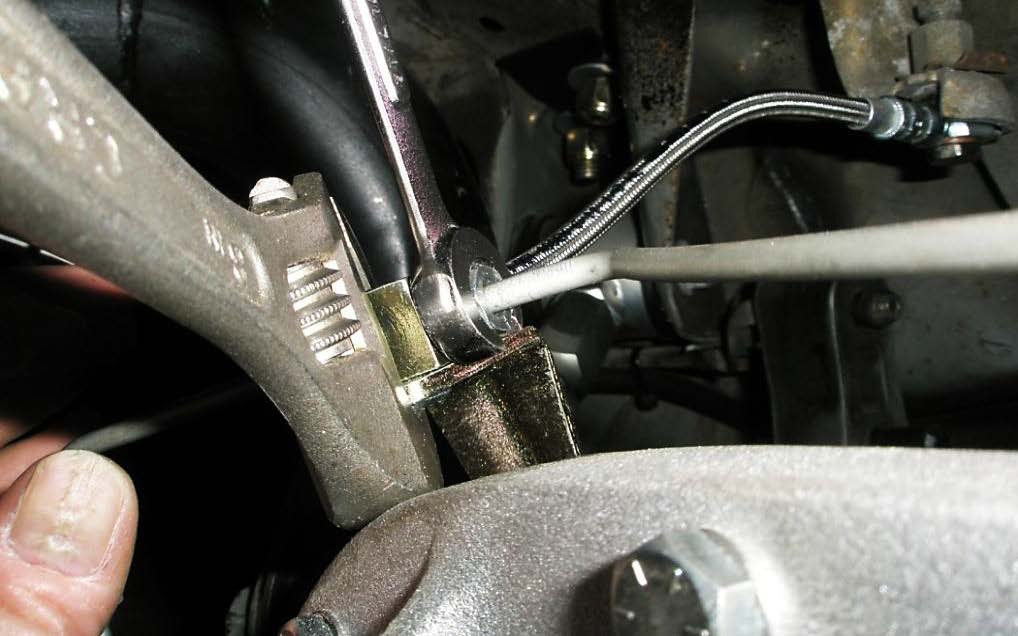
7. Attach the J&M brake line to the intermediate brake line using a ratchet and 9/16 socket; ensure the bolt is tight.
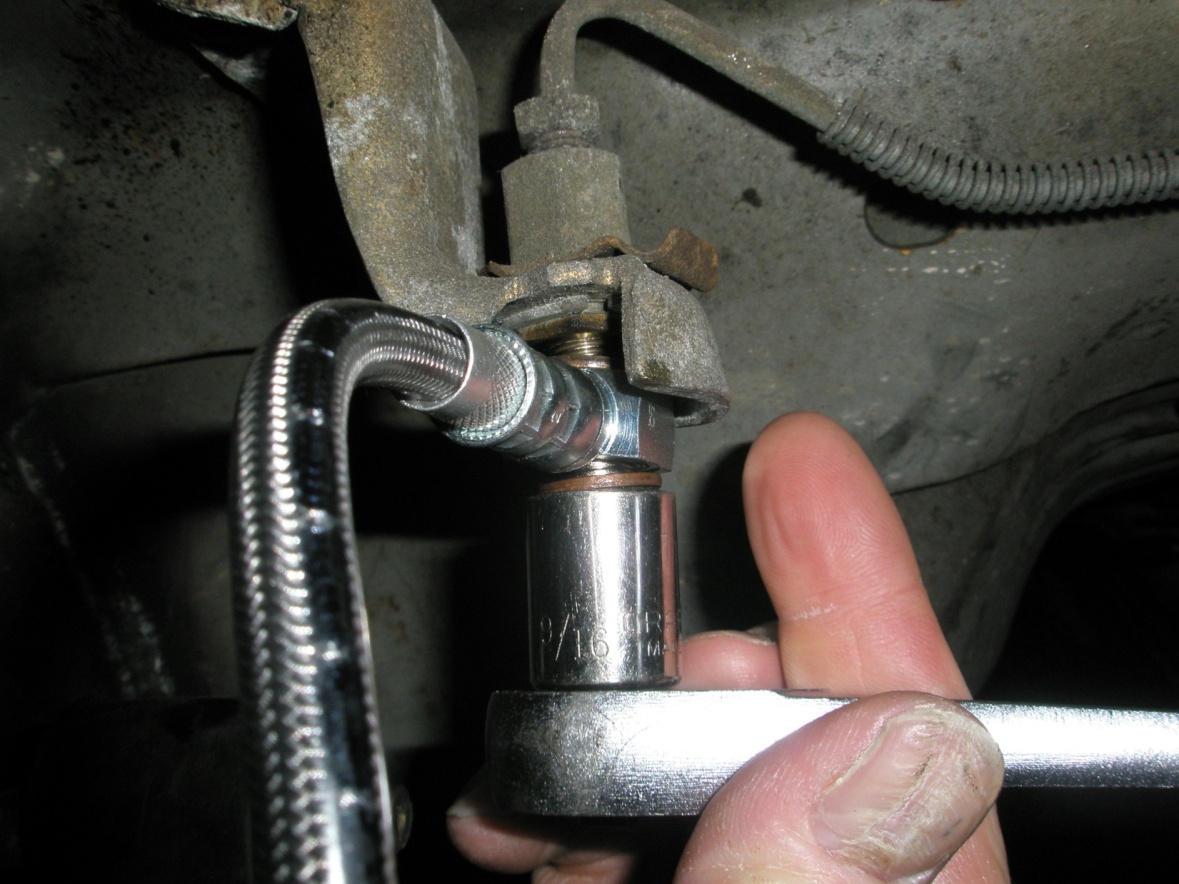
8. Attach the J&M brake line bracket to the differential where the factory line was removed using the supplied nut and washer. Tighten using 11/16 socket and ratchet and extension if necessary.
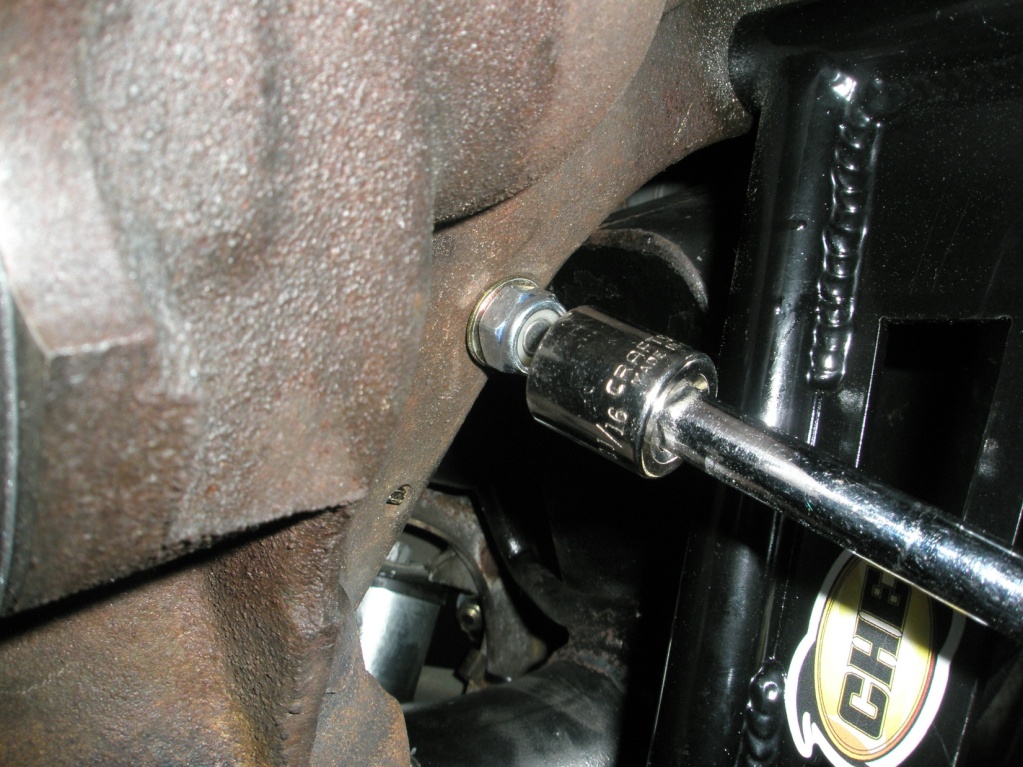
9. Bleed both rear brake cylinders/calipers according to factory service manual. Ensure all disturbed connections have no brake fluid leakage. Tighten fittings if necessary.
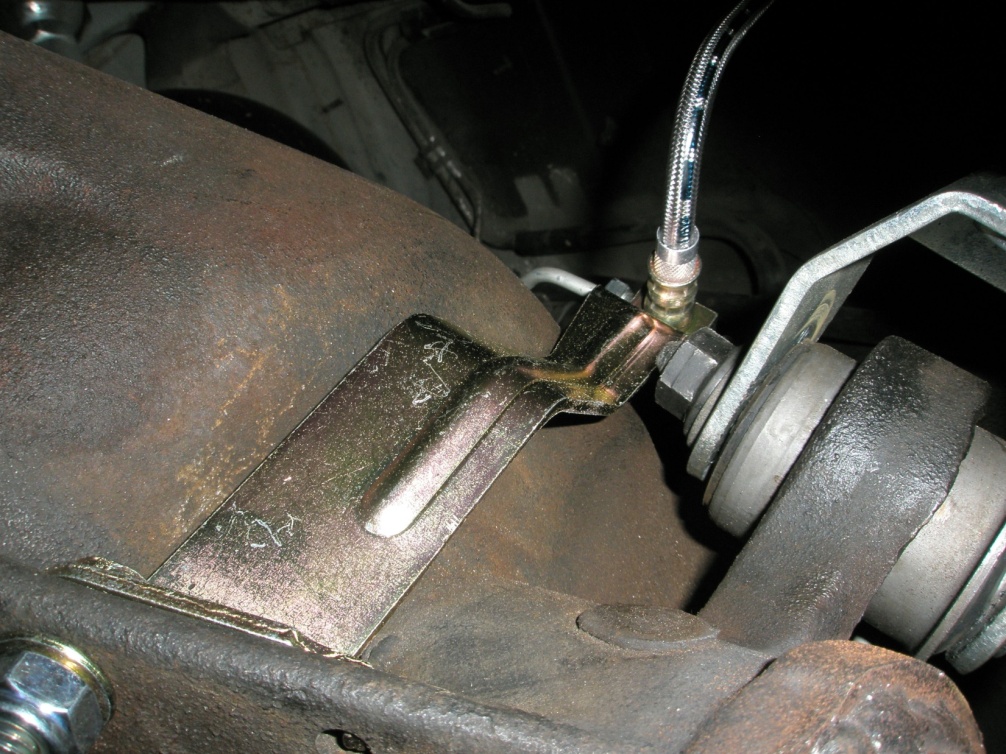
10. Raise the vehicle up and remove the jack stands. Lower the vehicle to the ground.
Installation Instructions written by AmericanMuscle customer Aaron Neff 3.22.12


