
Mustang Billet Grille w/ Pony Cutout ('94-'98) - Installation Instructions
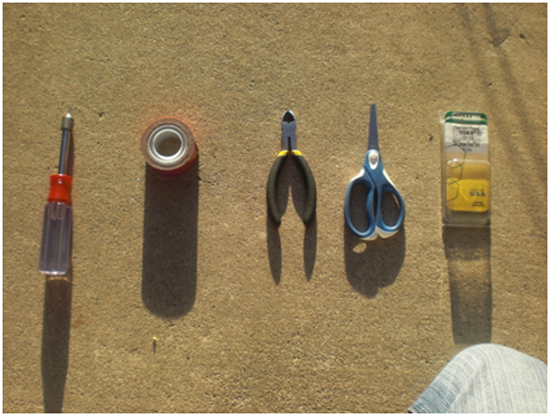
Tools Required
- Scissors
- Wire Cutters
- Double Sided Tape (3M Brand Recommended)
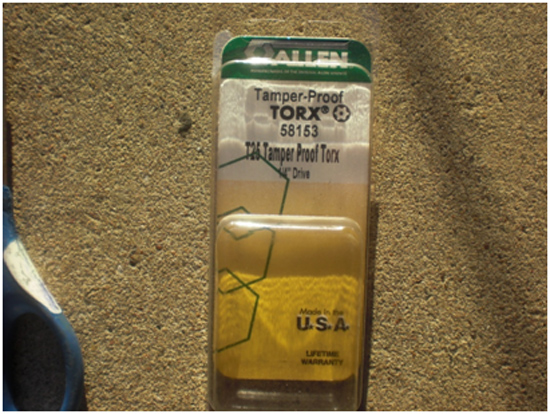
- 1/4 Tamper Proof Torx Screw Driver
Installation
1. Pop the hood of the car. (94-95 Mustangs need to use the special tool that comes with the grille.)
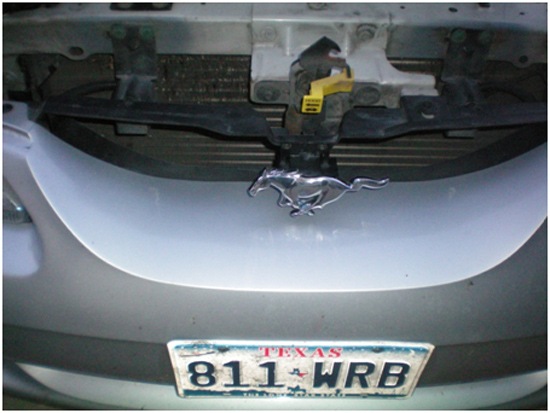
2. Using you Torx screw driver, unscrew the Torx screws that secure the pony bracket to the car.
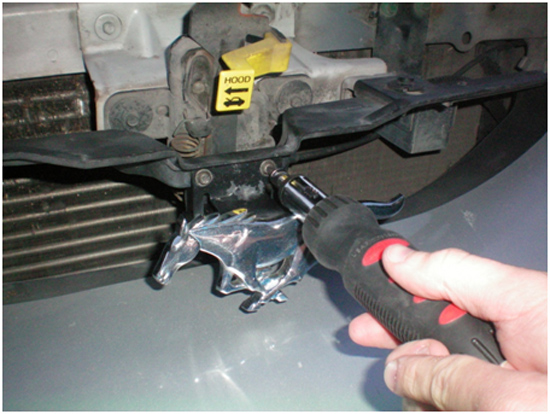
3. Pull the pony emblem off of the bracket with your fingers. This should be pretty easy to do. You will no longer need the bracket, just the emblem. Using the wire cutters, cut off the post on the back of the pony emblem that had previous connected it to the bracket. This should give the pony emblem's back side a flat surface that will make the next steps much easier. There should be four different posts to cut off.
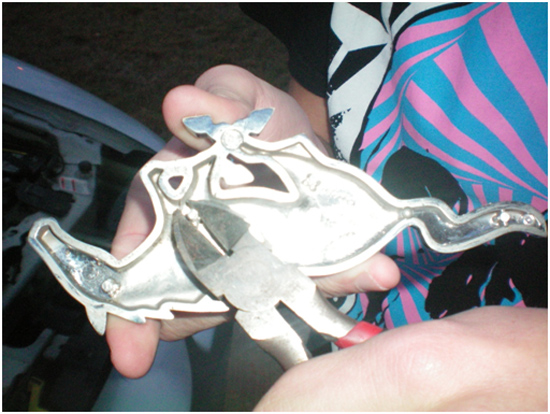
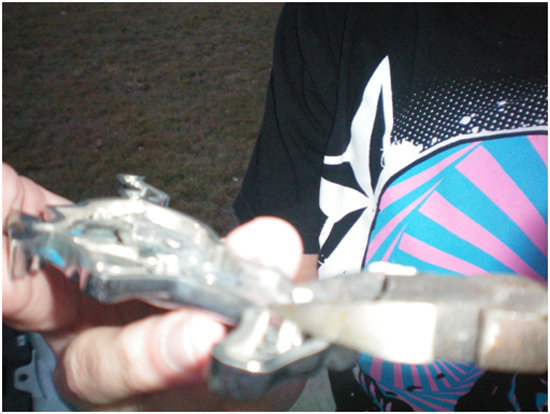
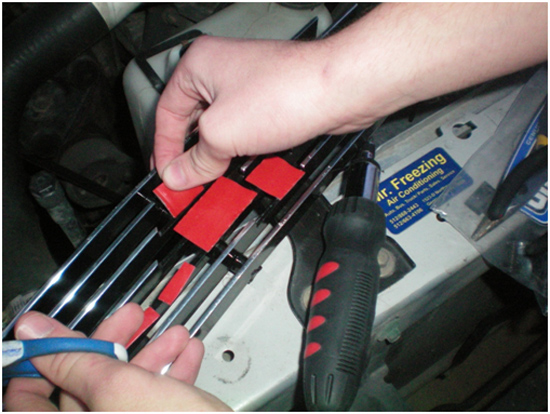
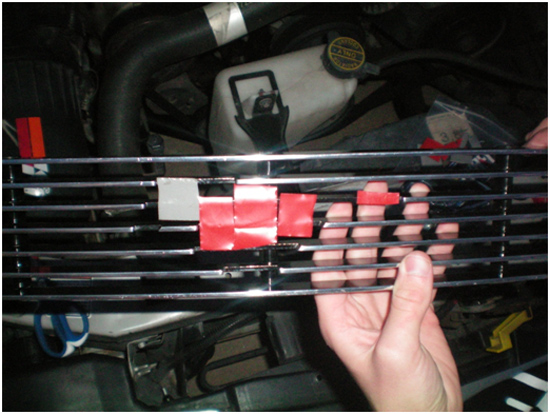
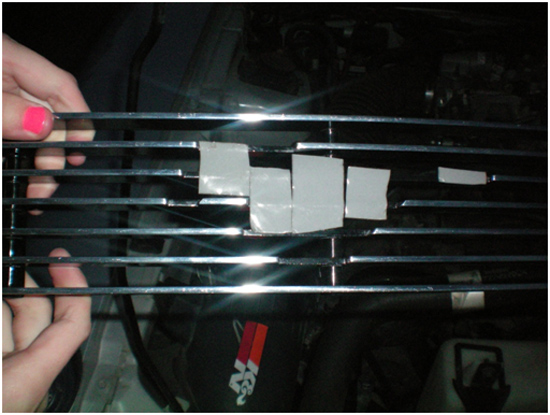
4. Apply the double-sided tape to the grille and the pony, wherever you feel is necessary. Don't skimp with the tape. If you use enough, you should not have to worry about your pony falling off while driving. I used gray tape so it would blend in with the grille and be less noticeable. Make sure you push the pony on firmly. It can be a little time consuming and tedious to get the tape on just right. This part took the longest for me. Gorilla Glue or Super Glue could also be used to put the pony on the grille, but they are not really necessary. Double sided tape does the job just fine.
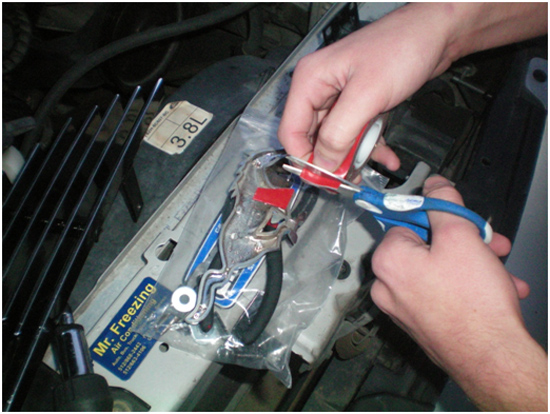
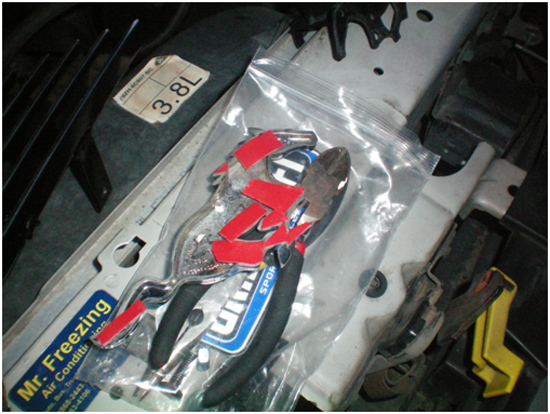
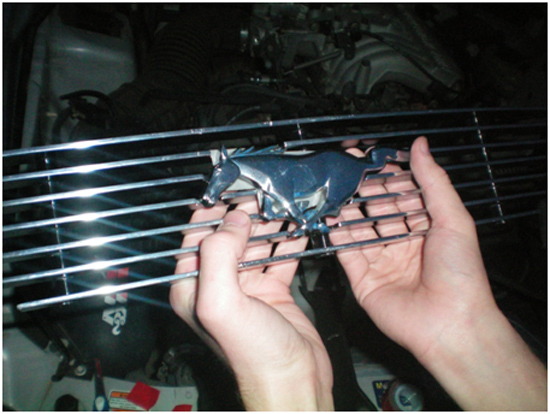
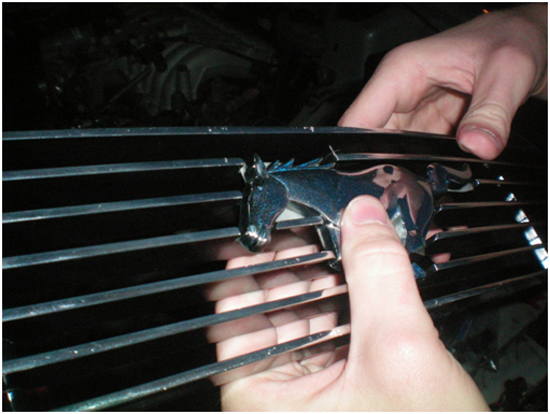
5. Place the grille in its designated spot on the car, lining it up with the pre-cut holes that Ford left for us, but no grille for some reason.
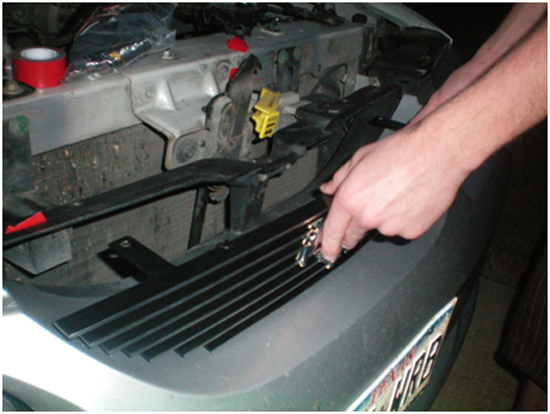
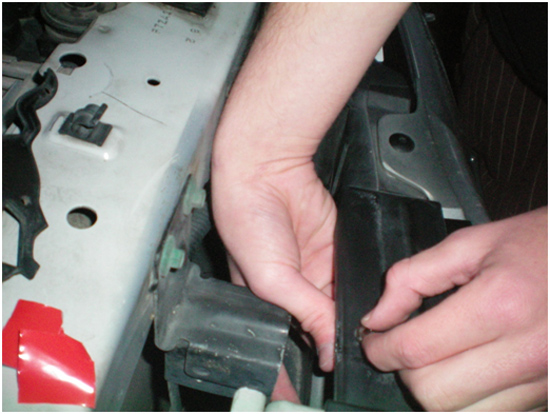
6. Slide the mounting hardware and fasteners that came with the grille into the lined up holes and hand tighten. I didn’t bother using tools for this part; hand tightening was all it needed.
7. Enjoy your new grille.
Installation instructions provided by AmericanMuscle customer Dorian Herrick 12.12.08

