
How to Install a Pony Delete Billet Grille on Your 1994-1998 Mustang
Installation Time
30 minutes
Tools Required
- Flat Head Screwdriver
- Phillips Screw Driver
- 10mm socket or wrench
- 3/8 Drill Bit (may not need)
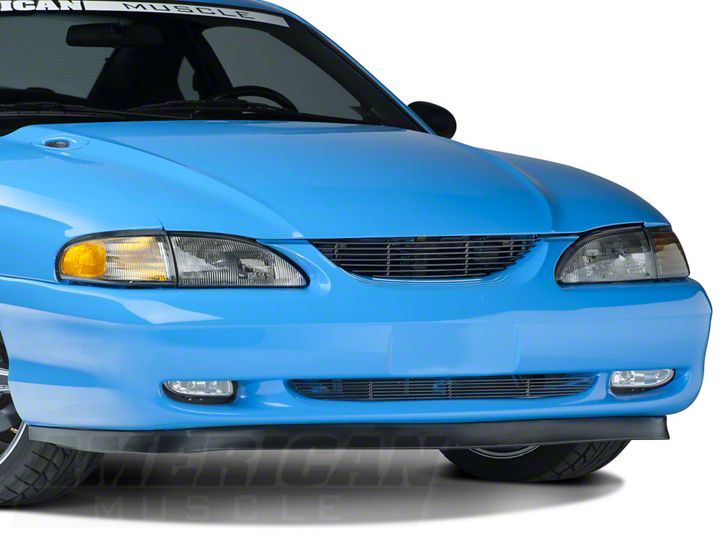
Shop Parts in this Guide
Installation
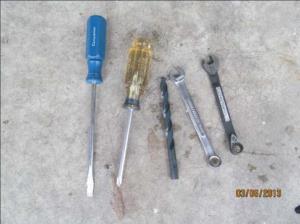
Tools
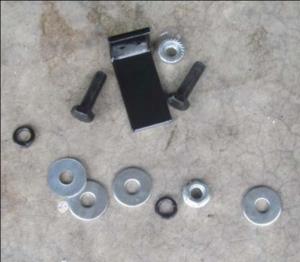
Items included with grill
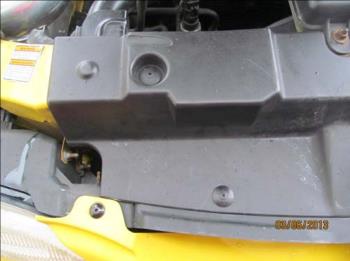
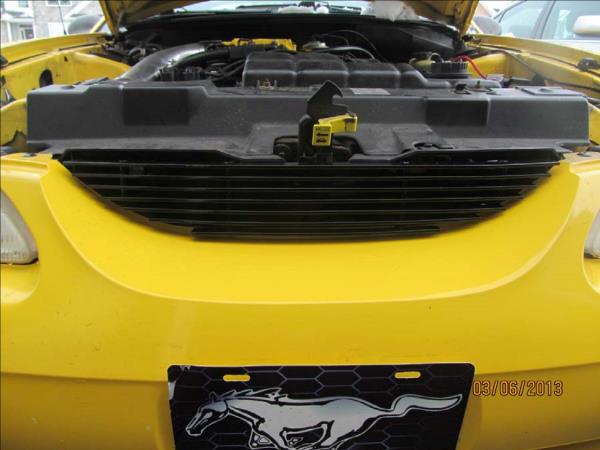
1. Open hood and remove the four plastic screws and inserts attaching the plastic cover plate (see photo below).
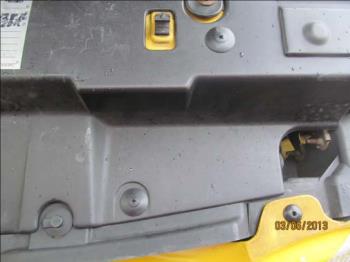
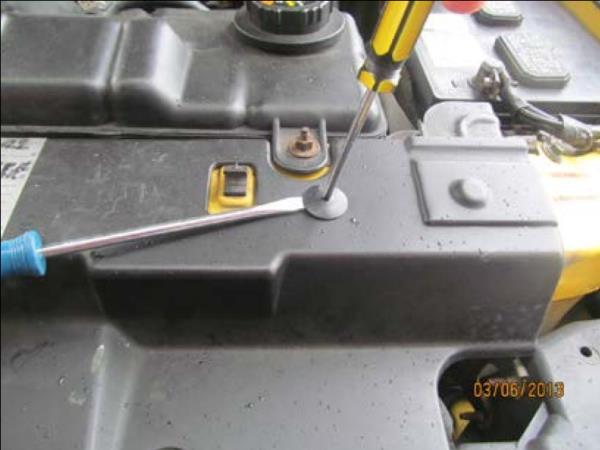
2. If you place a flat screwdriver under the lip and apply pressure upward it will allow the plastic Phillips screw to come out easier.
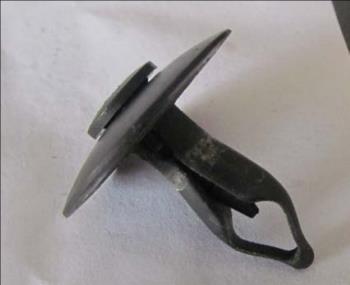
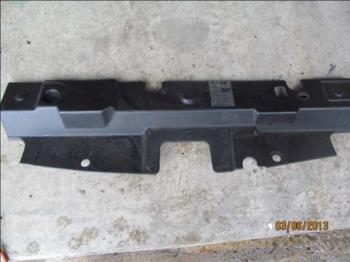
See below photo of the plastic screw/insert and cover plate removed.
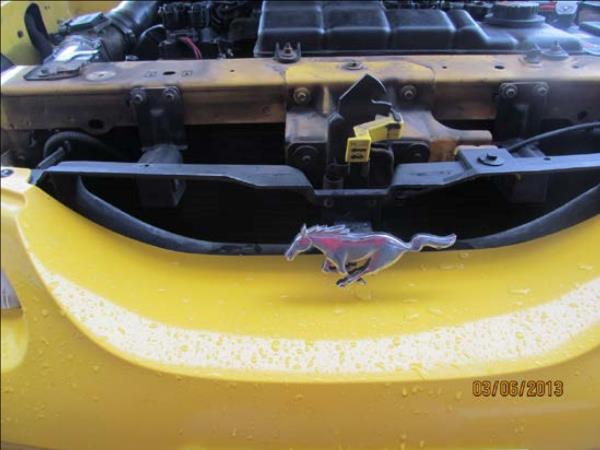
3. It is now time to remove the pony emblem, you will need a star wrench to remove this. You can also drill out the two bolts since this bracket will not be used with the new grill.
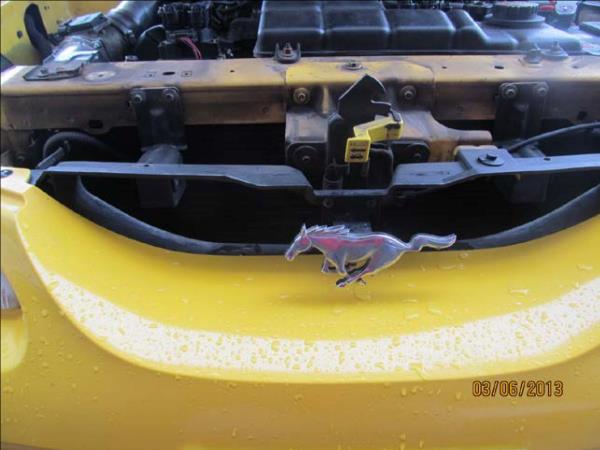
This is what it will look like after removal:
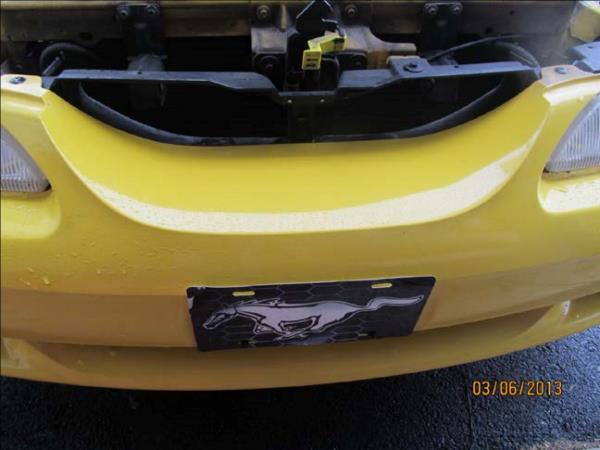
You are now ready to install your new grill:
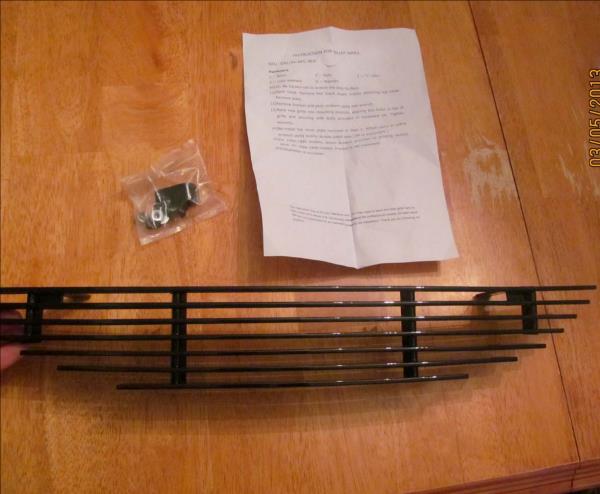
4. You will place the new grill into place to ensure the holes line up. Start by installing the bolt and nut on one side, leave it lose so you can move the grill around to align the bolt hole on the other side. I used a 3/8 drill to enlarge one side. The bolts holes did not line up perfectly. I used the drill to ream out the plastic hole a little. See photo below where holes to mount grill are (I only had to ream one out a little).
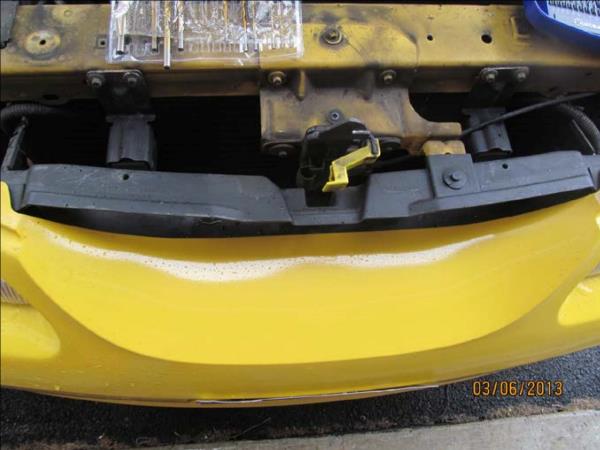
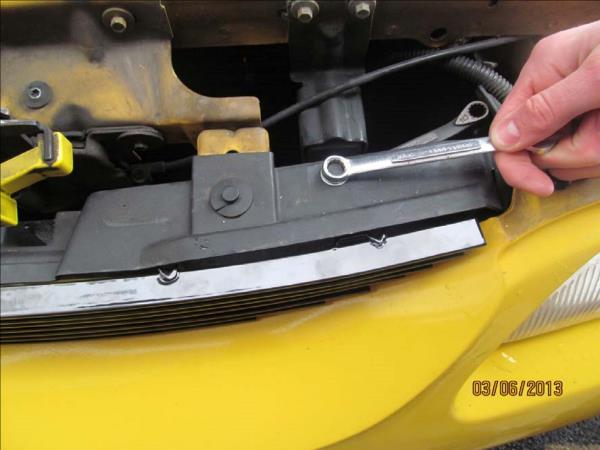
5. You will need two 10mm wrenches to tighten down the grill bolts. Place one wrench under the grill assembly and one to tighten down the bolt head (see photo below).
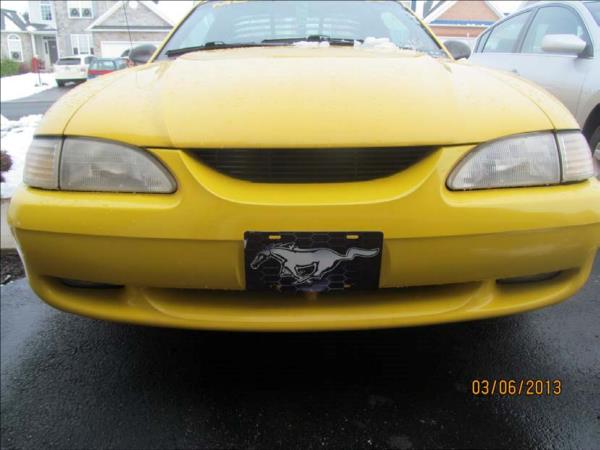
6. Grill installation is now complete see photos.
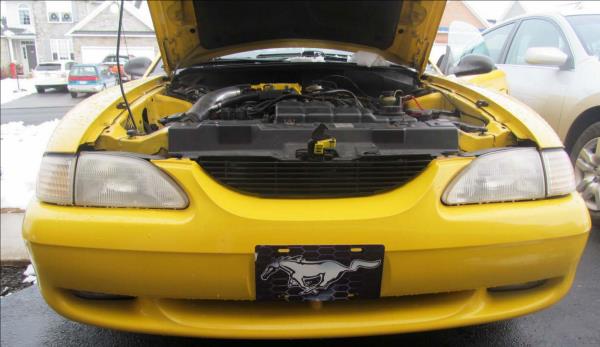
Before photo:
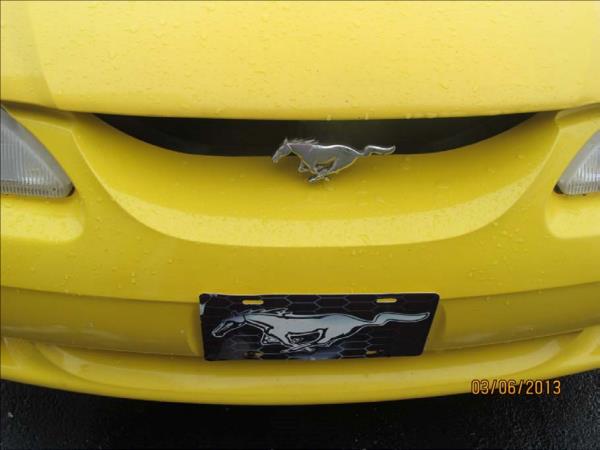
After Photo with Billet Grill:
Installation Instructions Written By AmericanMuscle Customer Jeffery Pritt 3/20/2013

