Best Sellers
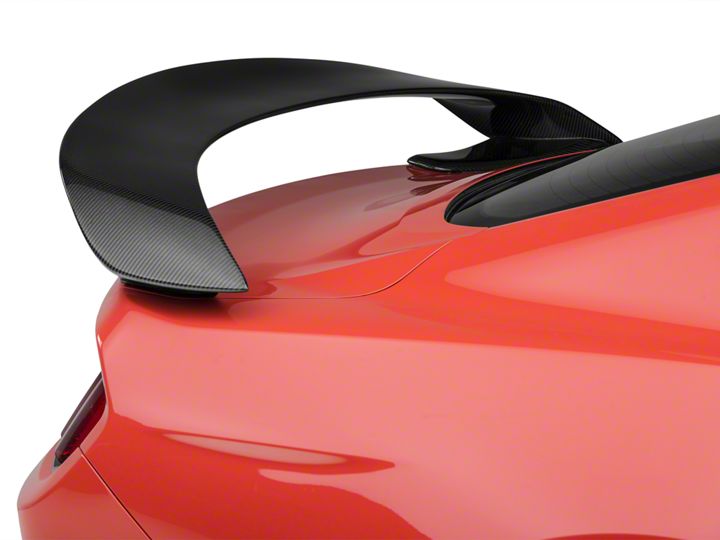
How to Install Anderson Composites GT350R Style Rear Spoiler - Carbon Fiber - Fastback on Mustang
Installation Time
1 hours
Tools Required
- 1/4” Ratchet
- 10mm Socket
- Ratchet Extension
- Drill
- 1/8” Drillbit
- 9/32” Drillbit
- 5/8” Drillbit
- Center Punch
- Flathead Screwdriver
- Tape
- Scissors

Shop Parts in this Guide
Whats In The box:
-(1) Spoiler
-(6) 10mm bolts
-(2) Small Washers
-(2) Larger Washers
-(3) Thin Foam Tape
-(6) Foam Gaskets
-(6) Drilling Hole Templates
Installation Steps
Step 1 Remove pins on bottom of trunk using a flathead screwdriver and set the carpet to the side
Step 2
Tape the included plastic templates to the bottom of spoiler so they remain in place and don't fall out
Step 3
Place the spoiler on the trunk in the position you will be mounting it, then tape down the templates directly to the trunk
Step 4
Remove the spoiler and add additional tape to support templates in order to avoid any movement
Step 5
Use your center punch to poke an initial mark on each of the 6 templates openings to indicate where the holes will be drilled
Step 6
Drill 1/8” inch pilot holes on all 6 punches that you made with the center punch
Step 7
Drill 9/32” inch holes to expand the size of original 1/8” holes you just drilled
Step 8
Drill 1/8” inch hole through the entire trunk on the innermost hole on both sides to puncture through to the bottom side
Step 9
Drill a 5/8 hole on the bottom side of the trunk where your pilot hole is showing through
Step 10
Apply gaskets over each hole on the top of the trunk
Step 11
Apply foam tape to the edges of the bottom of the spoiler and use scissors to cut as needed around the edges
Step 12
Set spoiler on trunk and get one of your 10mm bolts started on each side and tighten hand tight to ensure proper alignment
Step 13
Get the rest of the 10 mm bolts into place and tighten them down all the way (You will need to use your extension to get the third bolt on)
Step 14
Put carpet back into place and snap pins back in just opposite of how you removed it
Finished!


