Top Sellers in Camaro
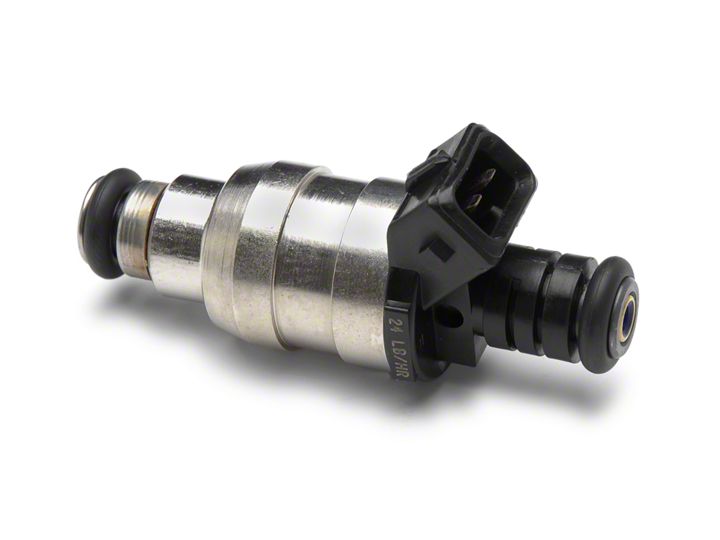
How To Install ACCEL HIGH PERFORMANCE EV1 FUEL INJECTORS - 24lb for your 1987-2004 V8 Mustang
Installation Time
1 hours
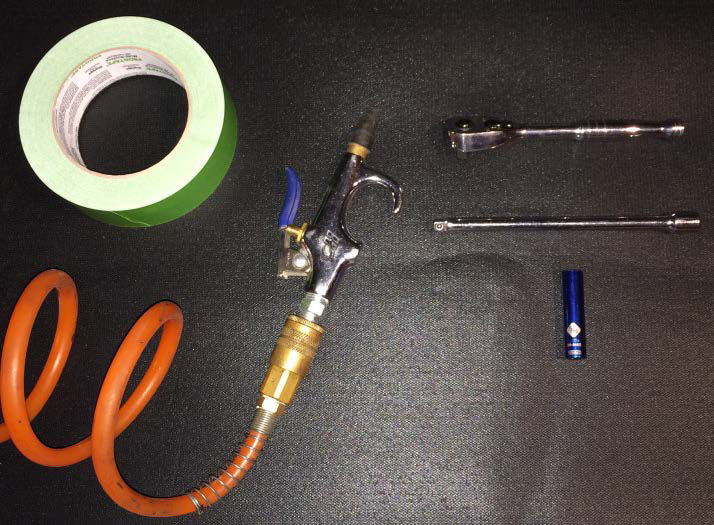
Tools Required
- Ratchet
- Ratchet extension
- 5/16” or 8mm deep socket
- masking or painters tape
- compressed air & blow nozzle
- shop vacuum (not shown)
Shop Parts in this Guide
WARNING: THIS PROCEDURE WILL OPEN THE FUEL SYSTEM IN THE ENGINE BAY. SMALL AMOUNTS OF FUEL WILL LEAK ONTO THE ENGINE AND SURROUNDING AREAS. ENSURE THE ENGINE IS COOL TO THE TOUCH BEFORE STARTING. FAILURE TO FOLLOW THESE INSTRUCTIONS MAY RESULT IN PERSONAL INJURY OR PROPERTY DAMAGE.
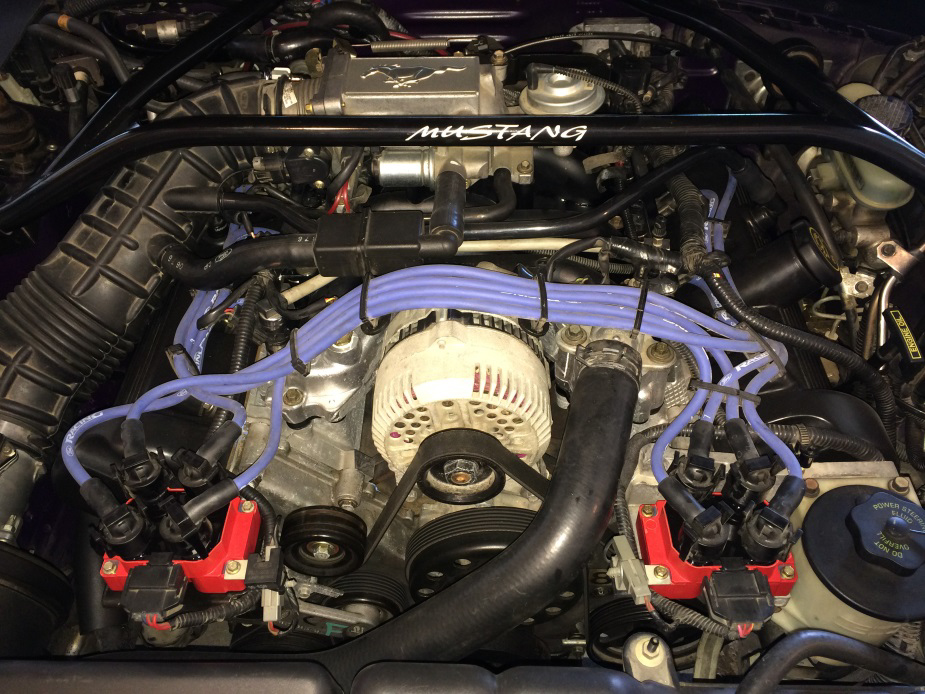
PROCEDURE – Passenger Side
1. Ignition in the OFF position and key removed.
2. Loosen the air intake tube clamp at the throttle body inlet.
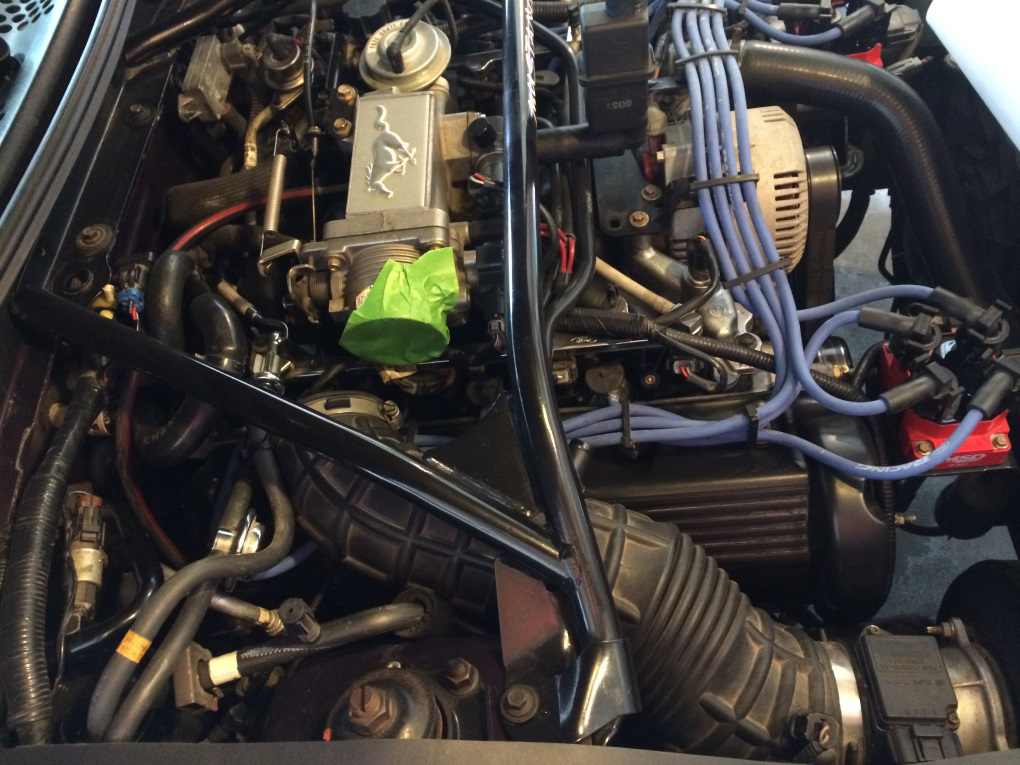
3. Remove the air intake tube from the throttle body inlet, while disconnecting the 2 auxiliary connections from the air intake tube.
4. To prevent contamination, tape the throttle body inlet and air intake tube opening.
5. Remove the wire harness support clip from the front fuel rail bolt (stud).
6. Note the orientation of each injector, then gently disconnect the electrical plug from each injector (4x); do not use excessive force or tools, as the plastic plugs can break easily.
7. Rotate each injector back-and-forth to loosen the seals, and any dirt that is around the base of the injector.
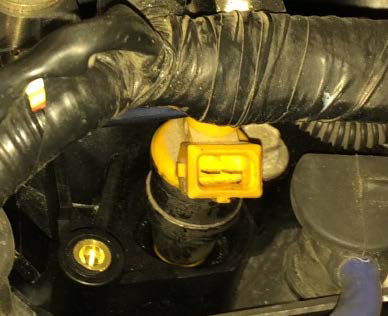
8. Using compressed air and a shop vacuum, clean out the dirt from around each injector.
9. Remove the two bolts retaining the fuel rail to the intake manifold.
10. Carefully move the injector harness to improve access to the fuel rail; it may be easier to disconnect the nearby electrical plug from the temperature sensor (if equipped).
WARNING: THE FOLLOWING STEP WILL OPEN THE FUEL SYSTEM AND LEAK A SMALL AMOUNT OF FUEL.
11. Using both hands, firmly grasp the fuel rail at the front and back near the bolt locations and lift up; the rail and injector are only held in with the injector seals, so some resistance will need to be overcome.
12. When the rail lifts up, the injectors may stay with the intake manifold or rail; this is okay.
13. Gently pull and twist each injector to remove, either from the intake manifold or fuel rail.
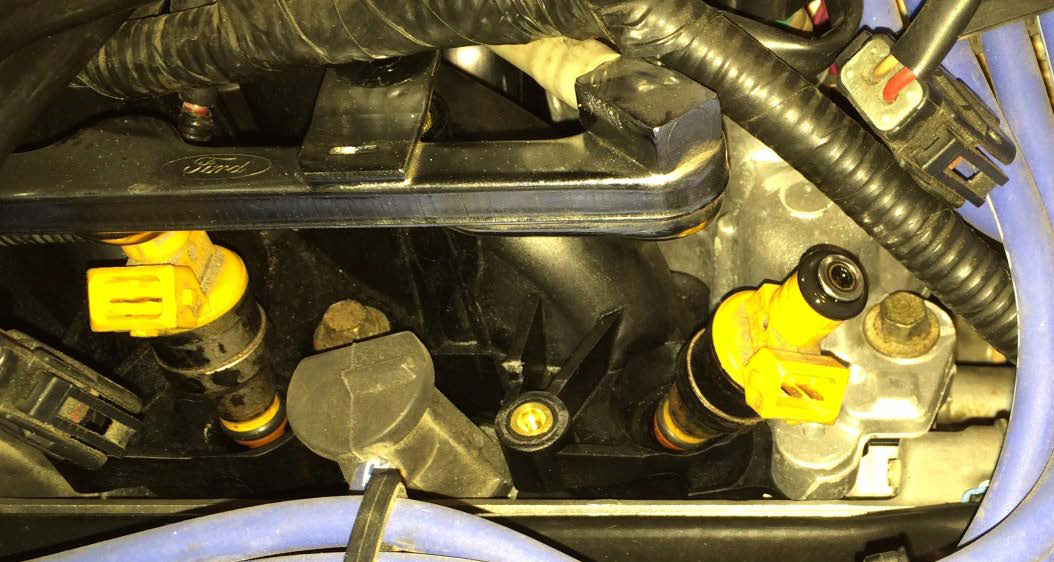
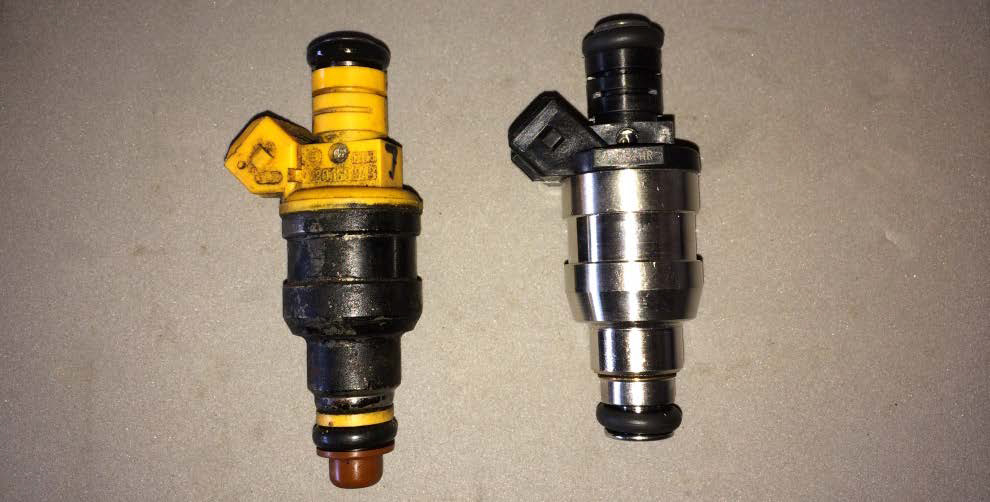
14. Install the new injectors into the intake manifold, gently rotating the injector back-and-forth while pressing it down into its seat.
15. Carefully align the top of all four injectors with the fuel rail pockets on the underside of the rail, and press the fuel rail down until seated on each injector.
16. Re-install the two fuel rail bolts and torque to 71-106 Lb-in (8-12 Nm).
17. Rotate each injector back-and-forth; they should turn easily when everything is seated and assembled correctly.
18. Reconnect the electrical plug on each injector, making sure to align the plug correctly with the injector (they will only go on one way); re-connect the temperature sensor plug if previously disconnected.
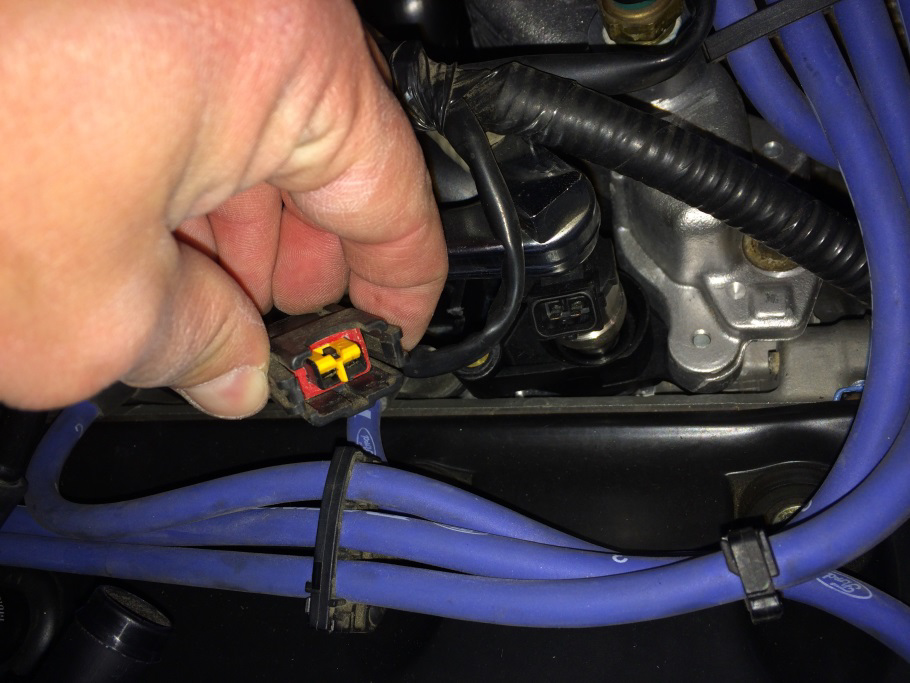
19. Re-install the wire harness support clip onto the front fuel rail bolt (stud).
20. Remove the tape from the air intake tube and throttle body and assemble; be sure to re-install the auxiliary connections onto the air intake tube.
PROCEDURE – Driver Side
21. Remove the wire harness support clip from the front fuel rail bolt (stud), and from the bracket adjacent to the rear fuel rail bolt (stud).
22. Remove the ground connector from the rear fuel rail bolt (stud).
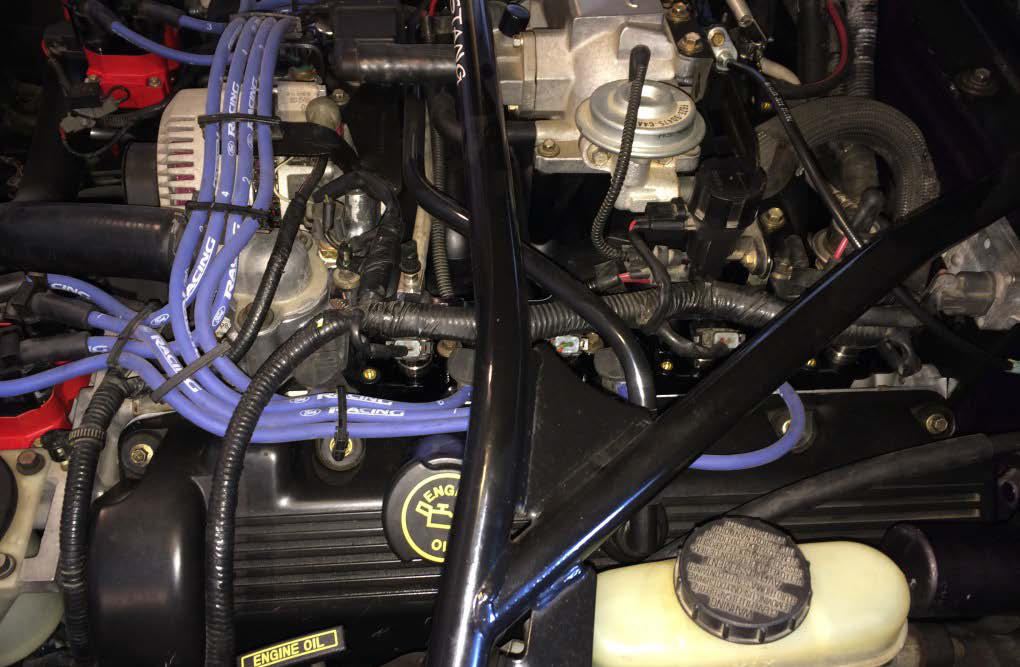
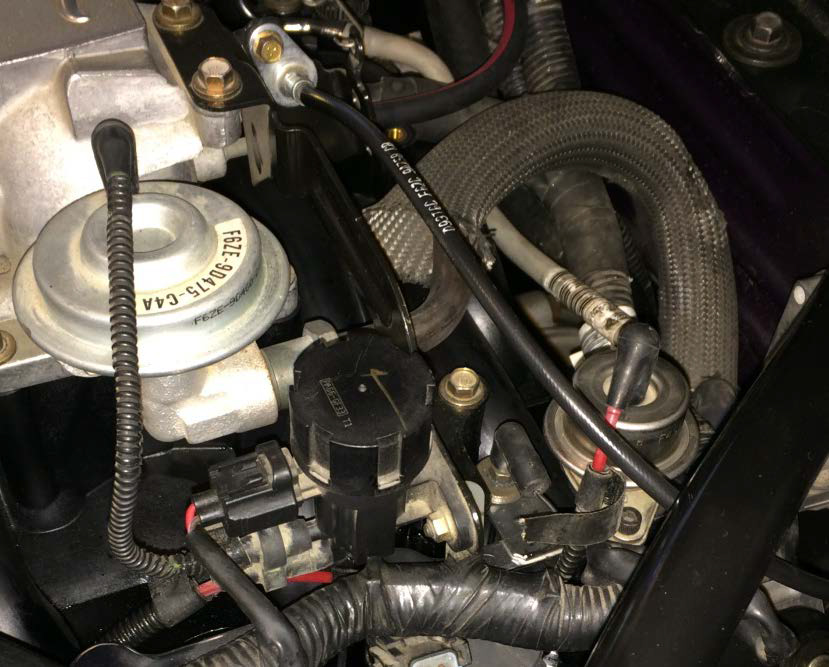
23. Remove and replace the injectors following the procedure from the Passenger Side, #’s 6-18.
24. Re-install the wire harness support clips previously removed.
25. Reconnect the ground connector to the rear fuel rail bolt (stud).
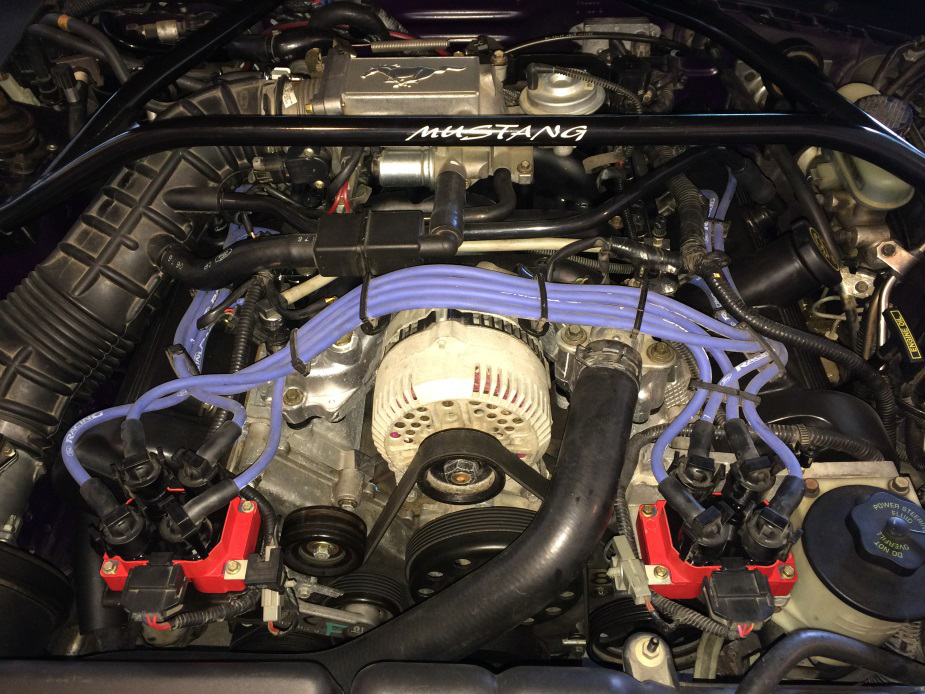
26. Clean any spilled fuel.
Installation Instructions Written by AmericanMuscle Customer David Princz 05.15.2014


