Guaranteed Free Delivery by 12/24! available on most items - Details
How to Install an Airaid Cold Air Intake on your 2011-2012 V6 Mustang
Installation Time
1 hours
Tools Required
- 5/32 Allen wrench (included)
- 3/32 Allen Wrench (included)
- 10mm Socket Wrench
- Flat Head Screwdriver

Shop Parts in this Guide
Installation
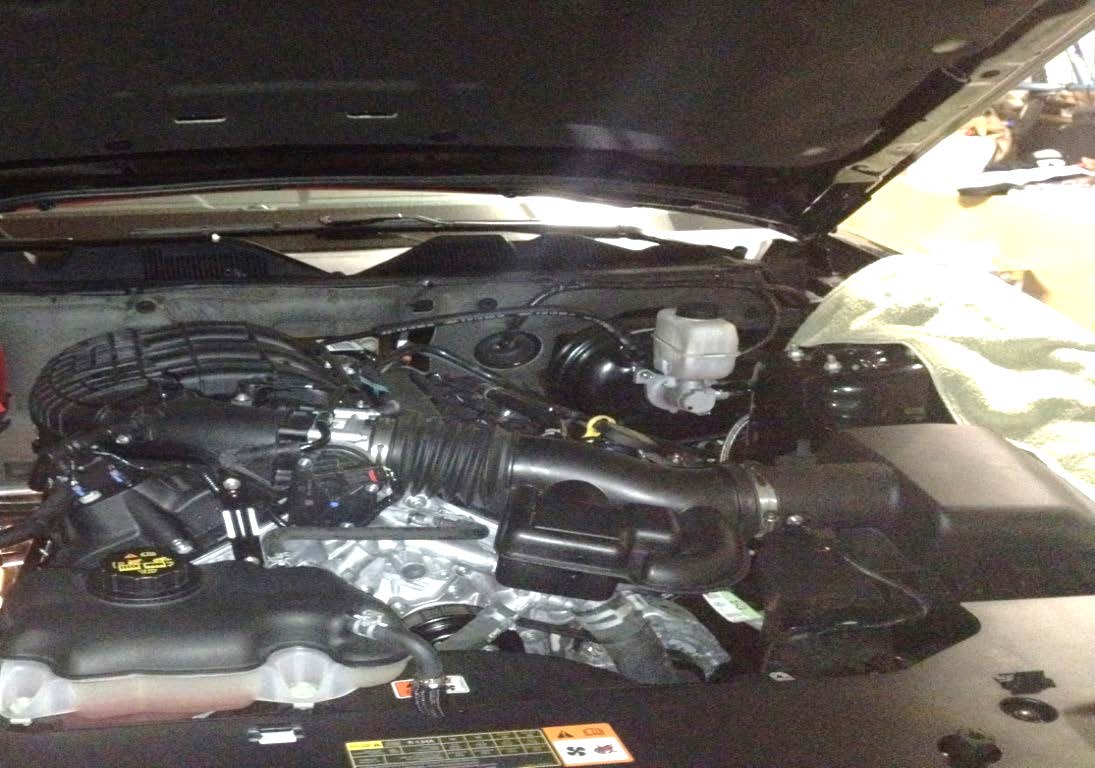
Removal of Stock Intake:
1. First disconnect the negative battery terminal.
2. Take off the radiator cover. This is not necessary, but will help to have some room to move things around.
3. Pull back the small red tab on the MAF sensor (Figure 1) and disconnect the cable. Then, disconnect the crank case breather line shown in Figure 2 and the brake aspirator line (only Automatic transmission).
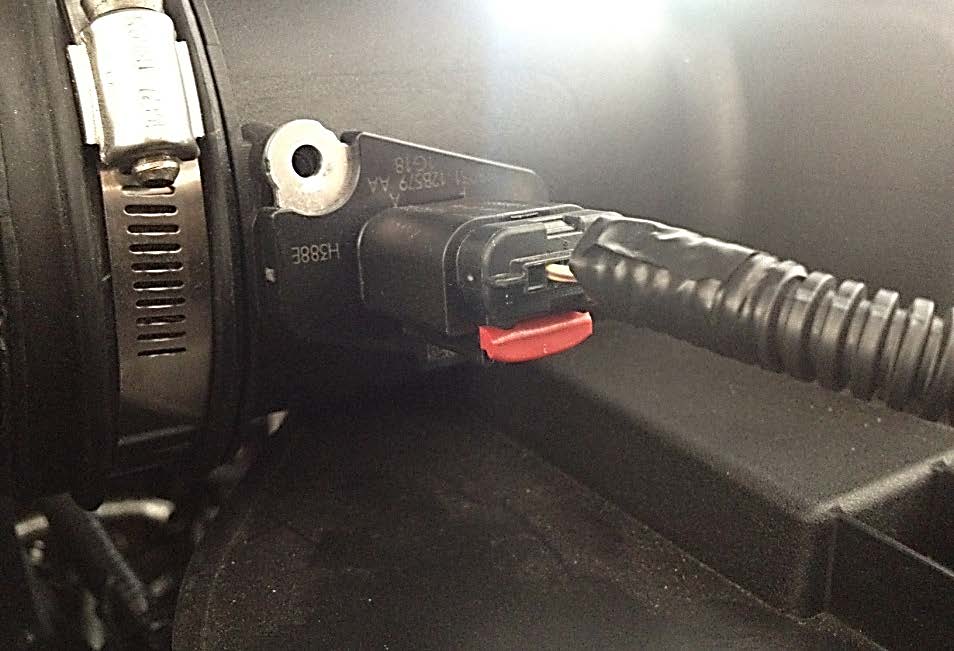
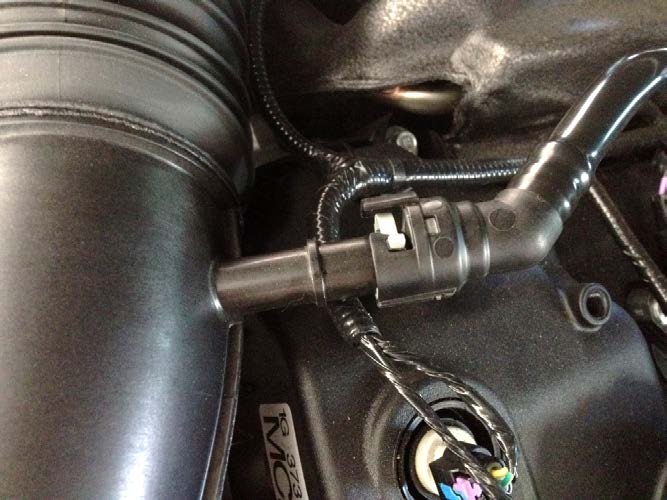
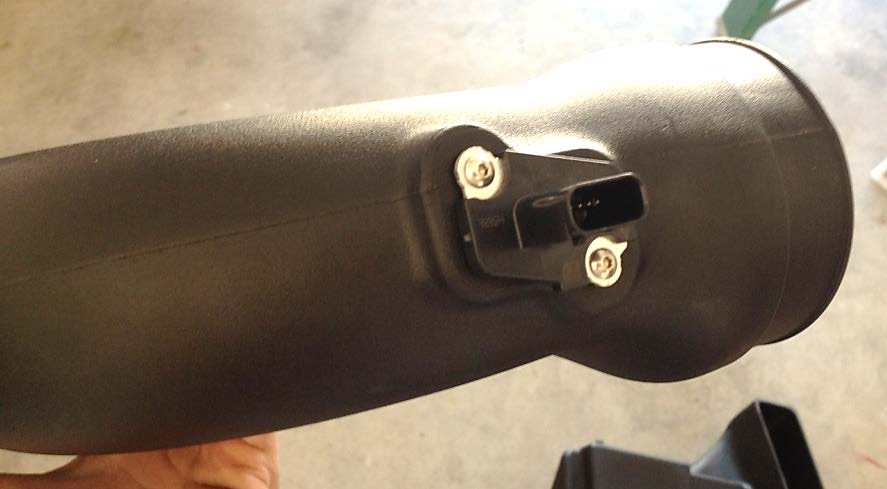
4. Transfer the MAF sensor to the Airaid Intake Tube (Figure 3) and secure it down with the supplied 8/32 bolts using the 3/32 Allen wrench.
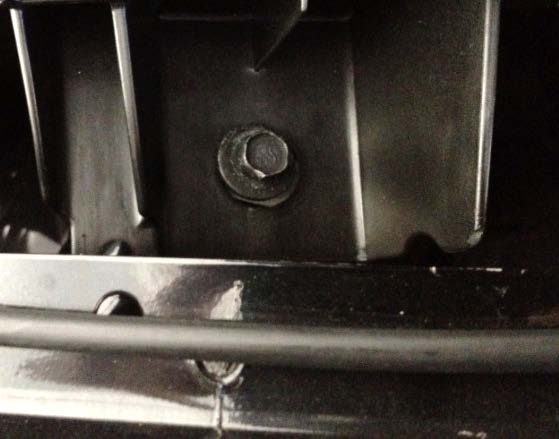
5. Remove the bolt securing the air box to the inner fender (Figure 4) using the 10mm socket.
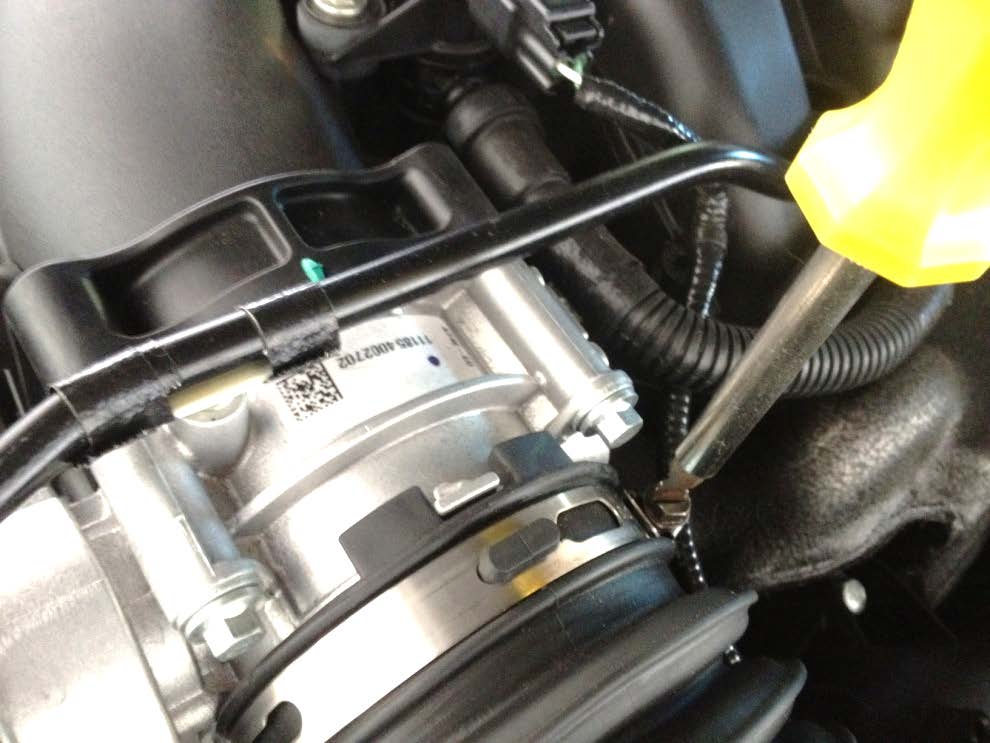
6. Loosen the hose clamps using the flat head screwdriver (Figure 5). After you’ve done this, you should be able to remove the whole stock intake assembly.
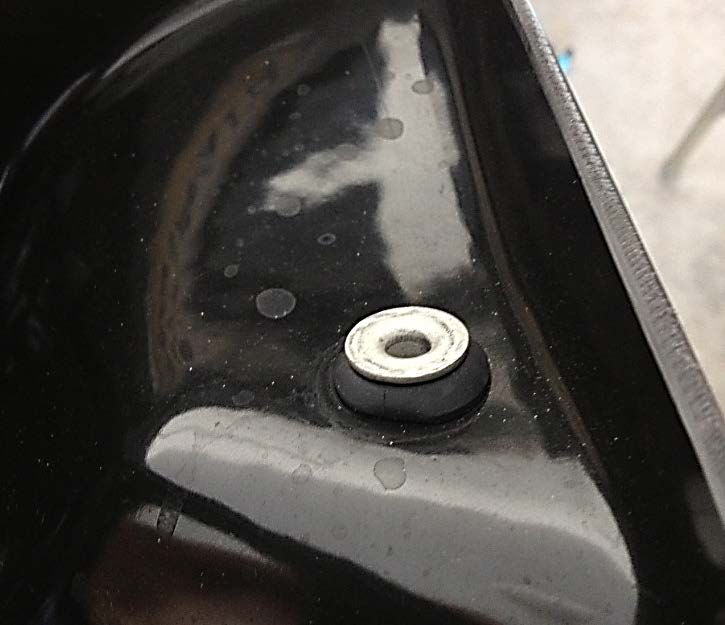
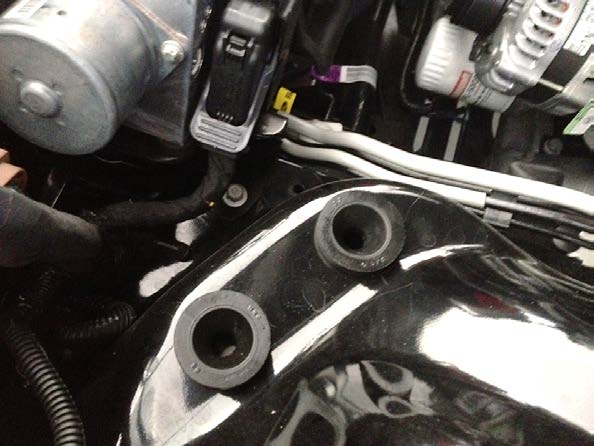
7. Before beginning installation of new intake, transfer the air box mounting grommets. 1 that is placed where the bolt is (Fig. 6) and replace the 2 under the airbox assembly (Fig. 7).
Installation of Airaid Cold Air Intake:
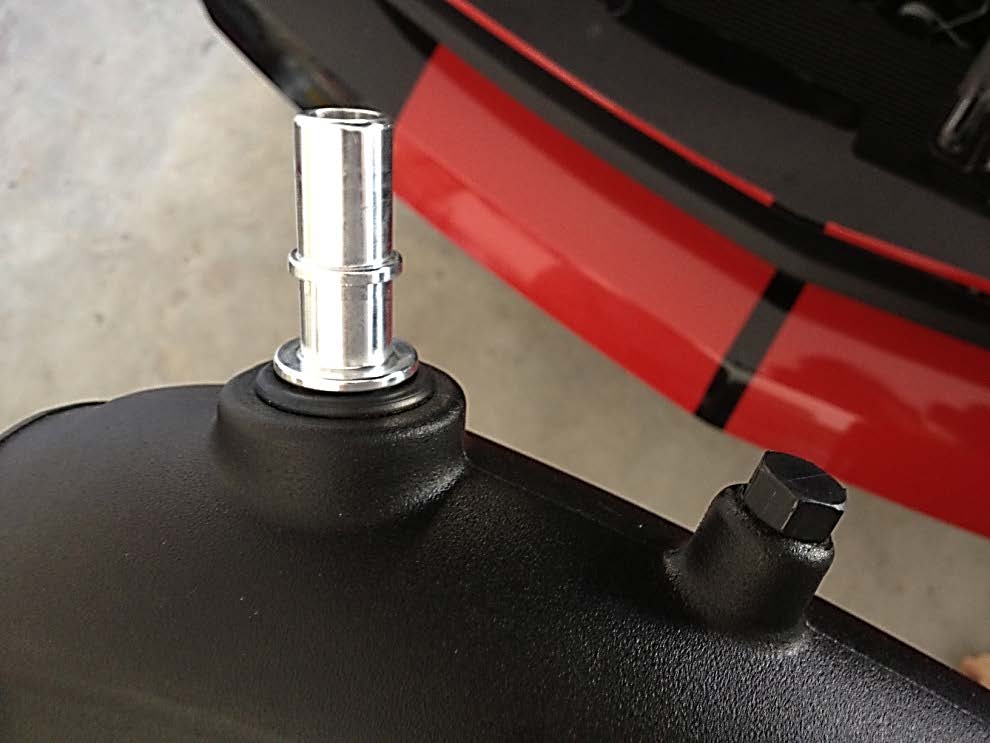
1. Install the supplied grommet and fittings into the intake tube. All models use the 5/8 grommet and fitting.
- Automatic transmission only will use the ¼ barbed fitting
- Manual transmissions will use the ¼ hose plug (Figure 8)
2. Install the cold air box where the old one was by sliding it into the factory duct and making sure it sits on the (2) under grommets. Bolt it down with the 10mm socket using the stock bolt. (Figure 9)
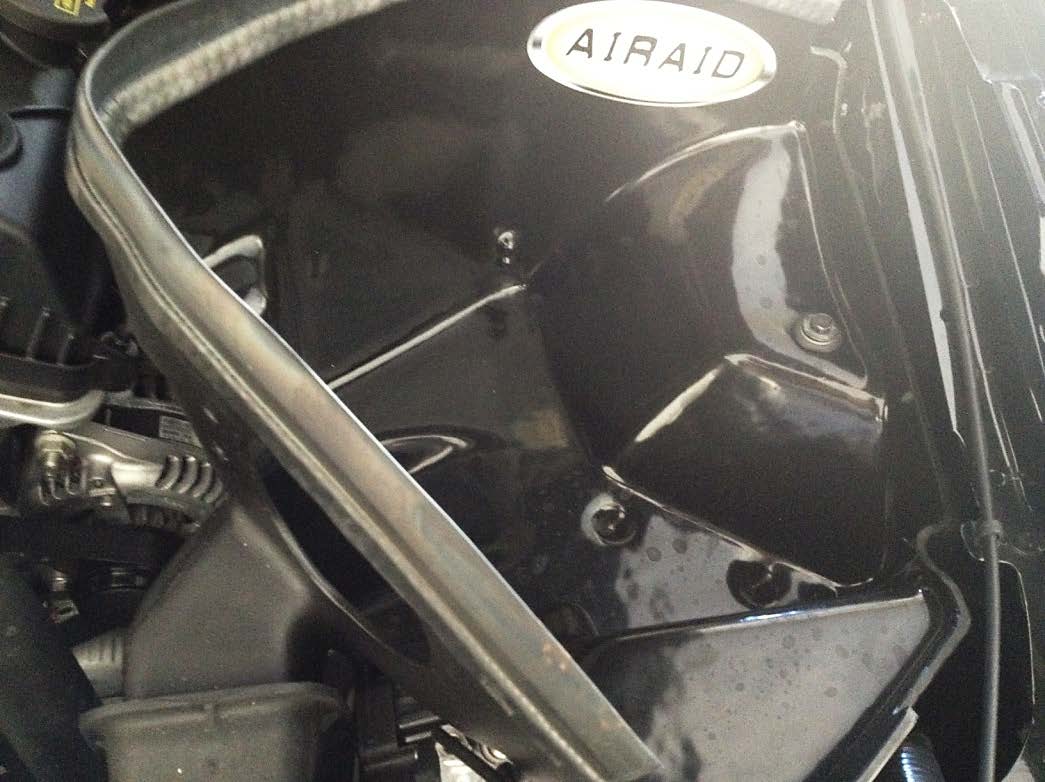
3. Slide on the hump hose and both supplied hose clamps. Tighten down the one that holds the hose to the throttle body. Keep the second one loose.
4. Install the intake tube first into the hose and then into the cold air box. This is a really tight fit so it might be a little difficult.
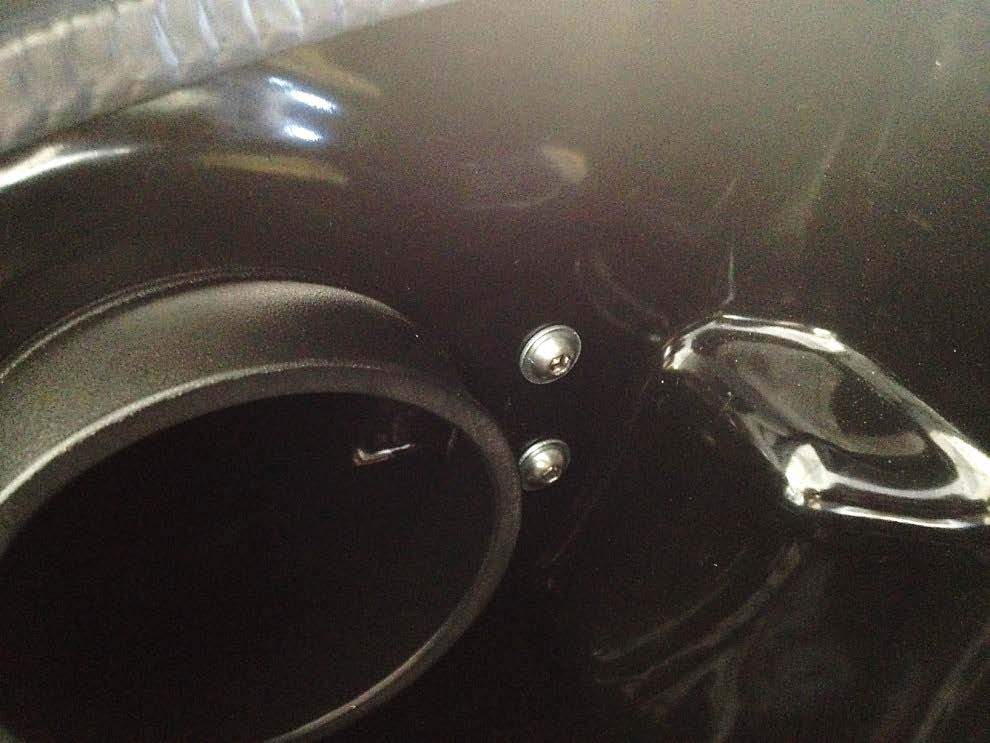
5. Secure the tube down with the (2) supplied ¼ button heads. (Figure 10)
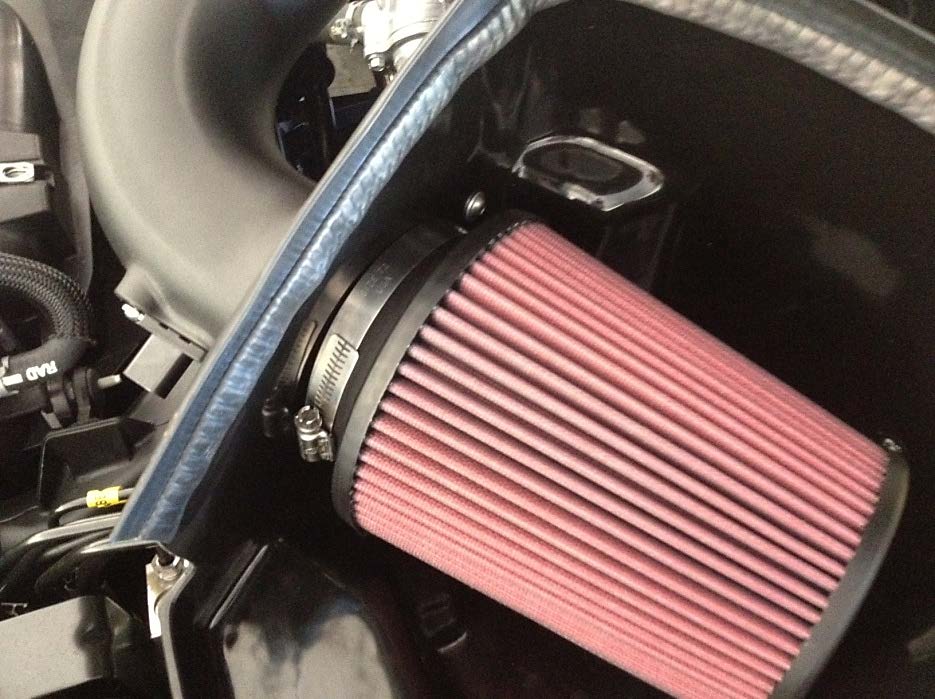
6. Install the Airaid air filter and secure it down with the hose clamp as shown in Figure 11.
7. Re-attach the breather line(s) to the fittings (Figure 12) and reconnect the MAF sensor cable by sliding the red tab back into place. (Figure 13)
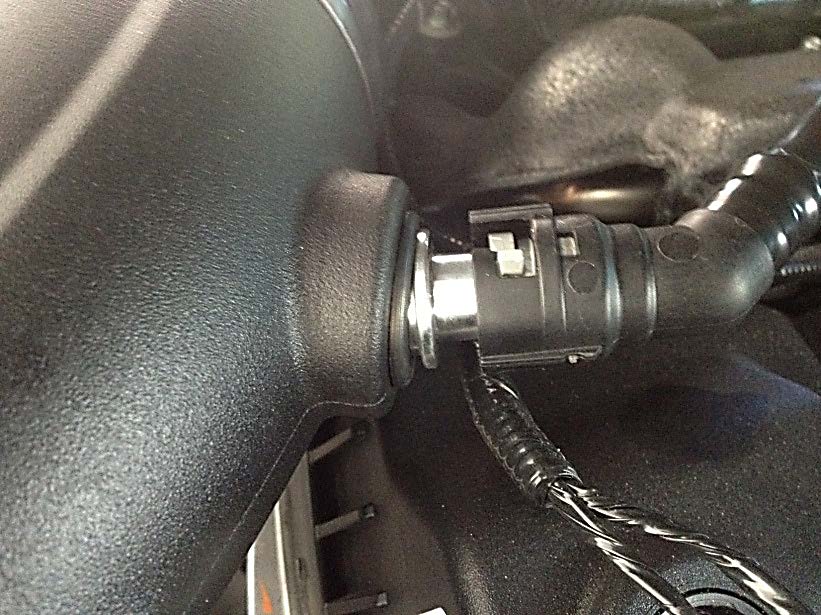
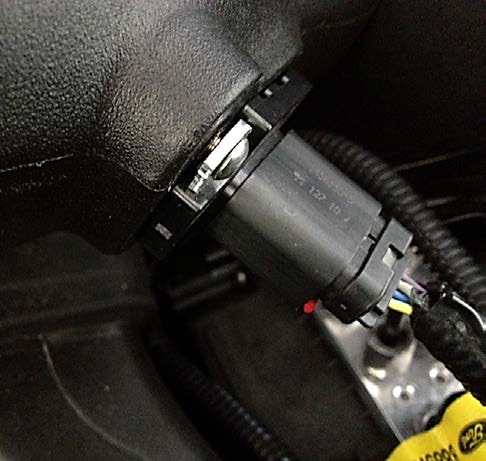
You’re done! Now before starting up your car, make sure to check that everything is nice and secure. Reconnect your negative battery terminal and you’re good to go!
Airaid Cold Air Intake:
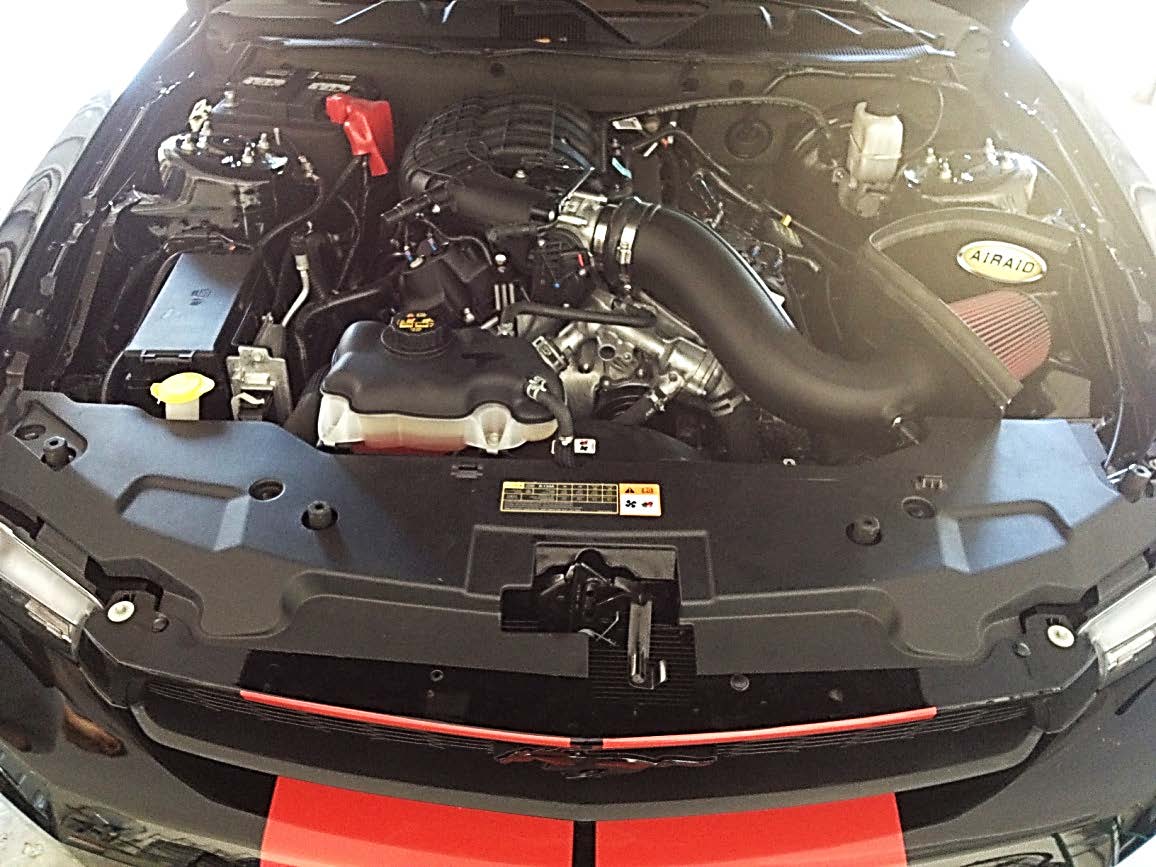
Installation Instructions written by AmericanMuscle customer Andres Arenas 3.7.12

