Guaranteed Free Delivery by 12/24! available on most items - Details
How to Install Airaid Modular Intake Tube on your Mustang

Shop Parts in this Guide
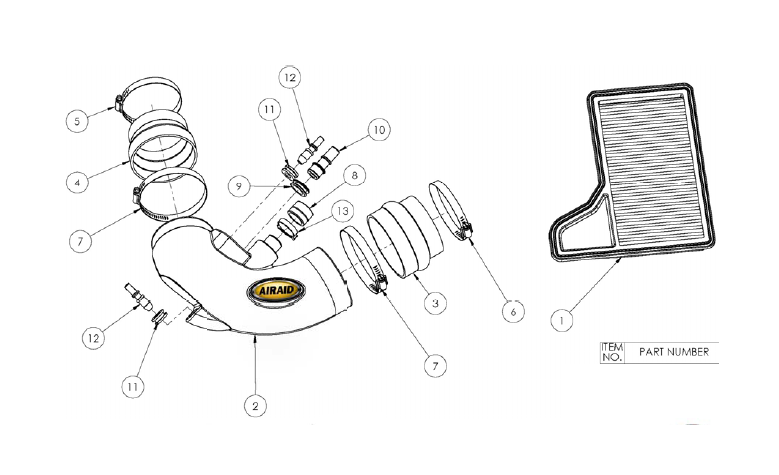
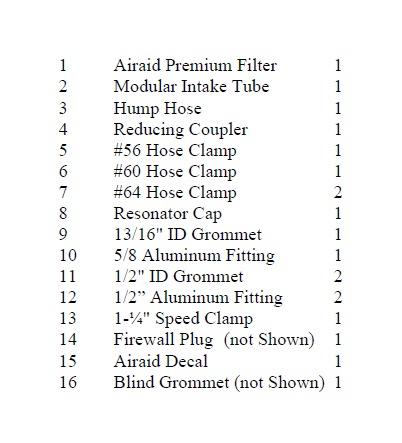
Component Identification
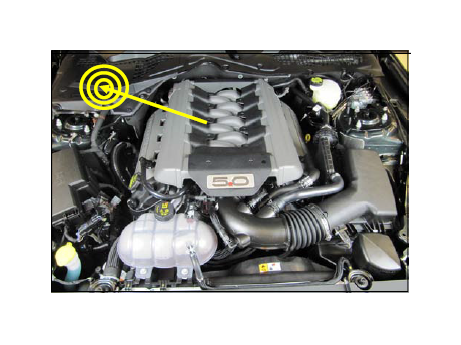
1. Remove the battery box cover in the cowl and disconnect the negative battery terminal.
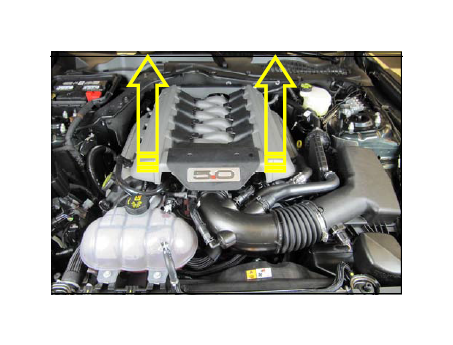
2. Remove the strut tower brace is so equipped. Lift up on the engine cover to unseat it from it’s mounting grommets and set it aside.
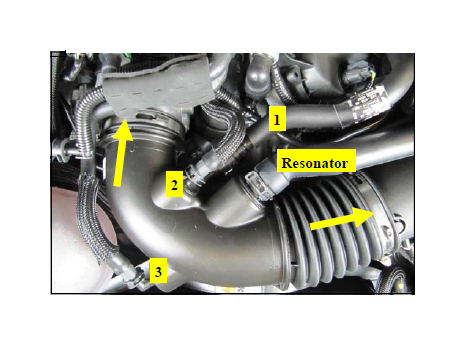
3. Disconnect the 3 breather lines and resonator tube from the intake tube. Loosen the hose clamps and remove the factory intake tube. Depending on your configuration,
you may have two or three lines. Loosen the hose clamps and remove the factory intake tube.
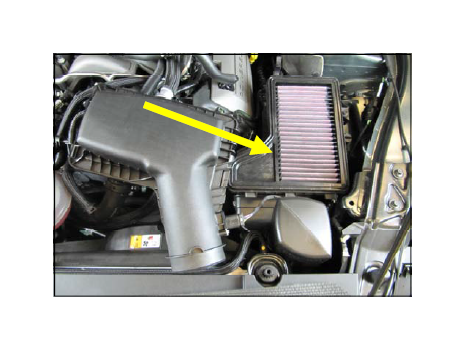
4. If you are installing an Airaid Jr. kit, replace the filter at this time.
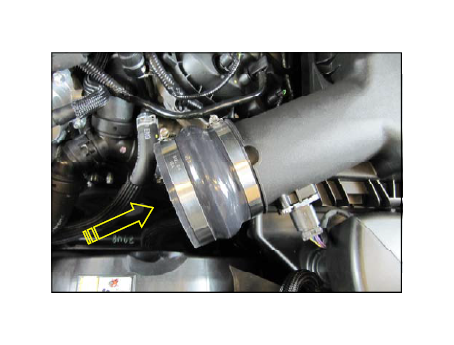
5. Slide the Hump Hose and Clamps onto the airbox outlet as shown. Do not tighten the clamps at this time.
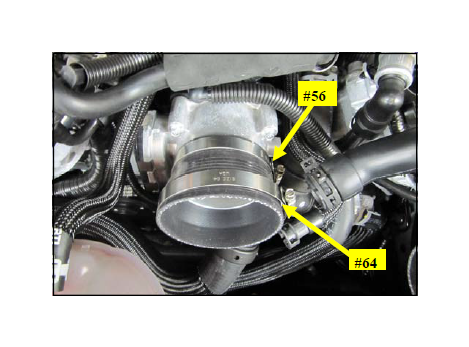
6. Slide the Reducer and Clamps onto the throttle body as shown.
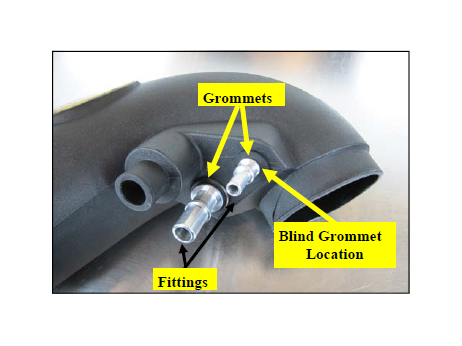
7. Insert the Grommets and Aluminum Fittings into the Airaid Intake tube as shown. On vehicles not equipped with the small breather, plug the hole with the Blind Grommet.
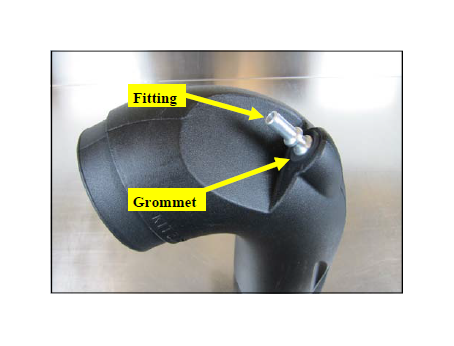
8. Insert the remaining Grommet and Fitting into the Intake tube as shown.
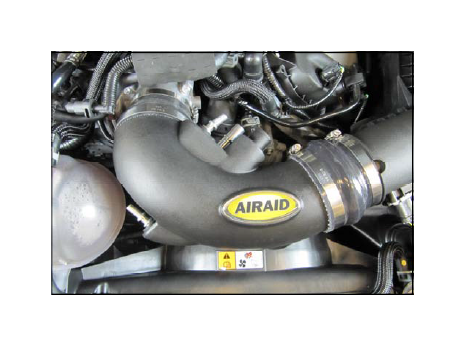
9. Insert the Intake Tube into the Hump Hose and Reducer then tighten all 4 Intake Clamps. Apply the Airaid Bubble Decal onto the Intake Tube as shown.
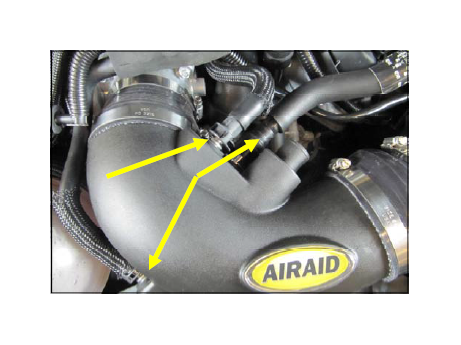
10. Reconnect the breather hoses to the Fittings in the Airaid Intake Tube.
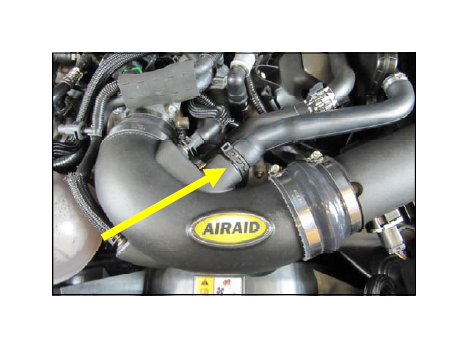
11. Connect the resonator to the Intake Tube as shown
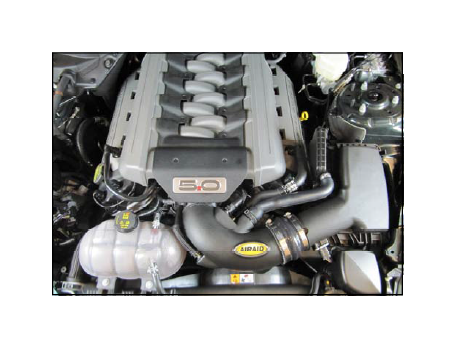
12. Double check your work. Make sure all clamps, hoses, bolts, and screws are tight. Double check the hood clearance. Reconnect the negative battery cable and reinstall the cover.
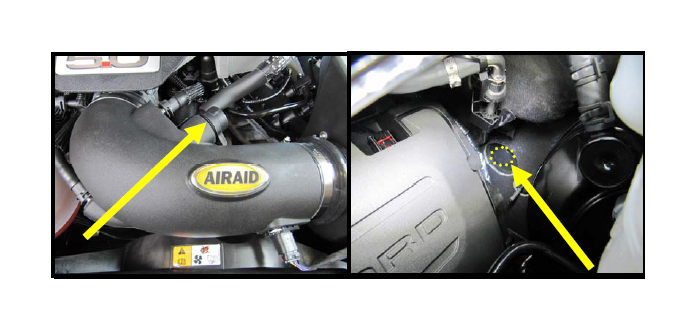
Resonator Delete Option: The resonator can be safely deleted if so desired by capping off the Intake Tube with the supplied Cap and Speed clamp. After removing the resonator assembly from the firewall, insert the included Firewall plug to prevent debris from entering the cabin.


