
Best Sellers
How to Install a Aluminum One Piece Driveshaft on your 1996-1994 Mustang
Installation Time
2 hours
Tools Required
- 12 mm socket or box end wrench (must be 12 point)
- Torque Wrench (requires 75-90 ft/lbs)
- Drip tray (under transmission)
- Shop towels
- Safety glasses
- Jack and jack stands, ramps, or full size hydraulic lift
- Wheel chocks
Installation
1. Raise the vehicle to allow access to driveshaft, differential, and transmission.
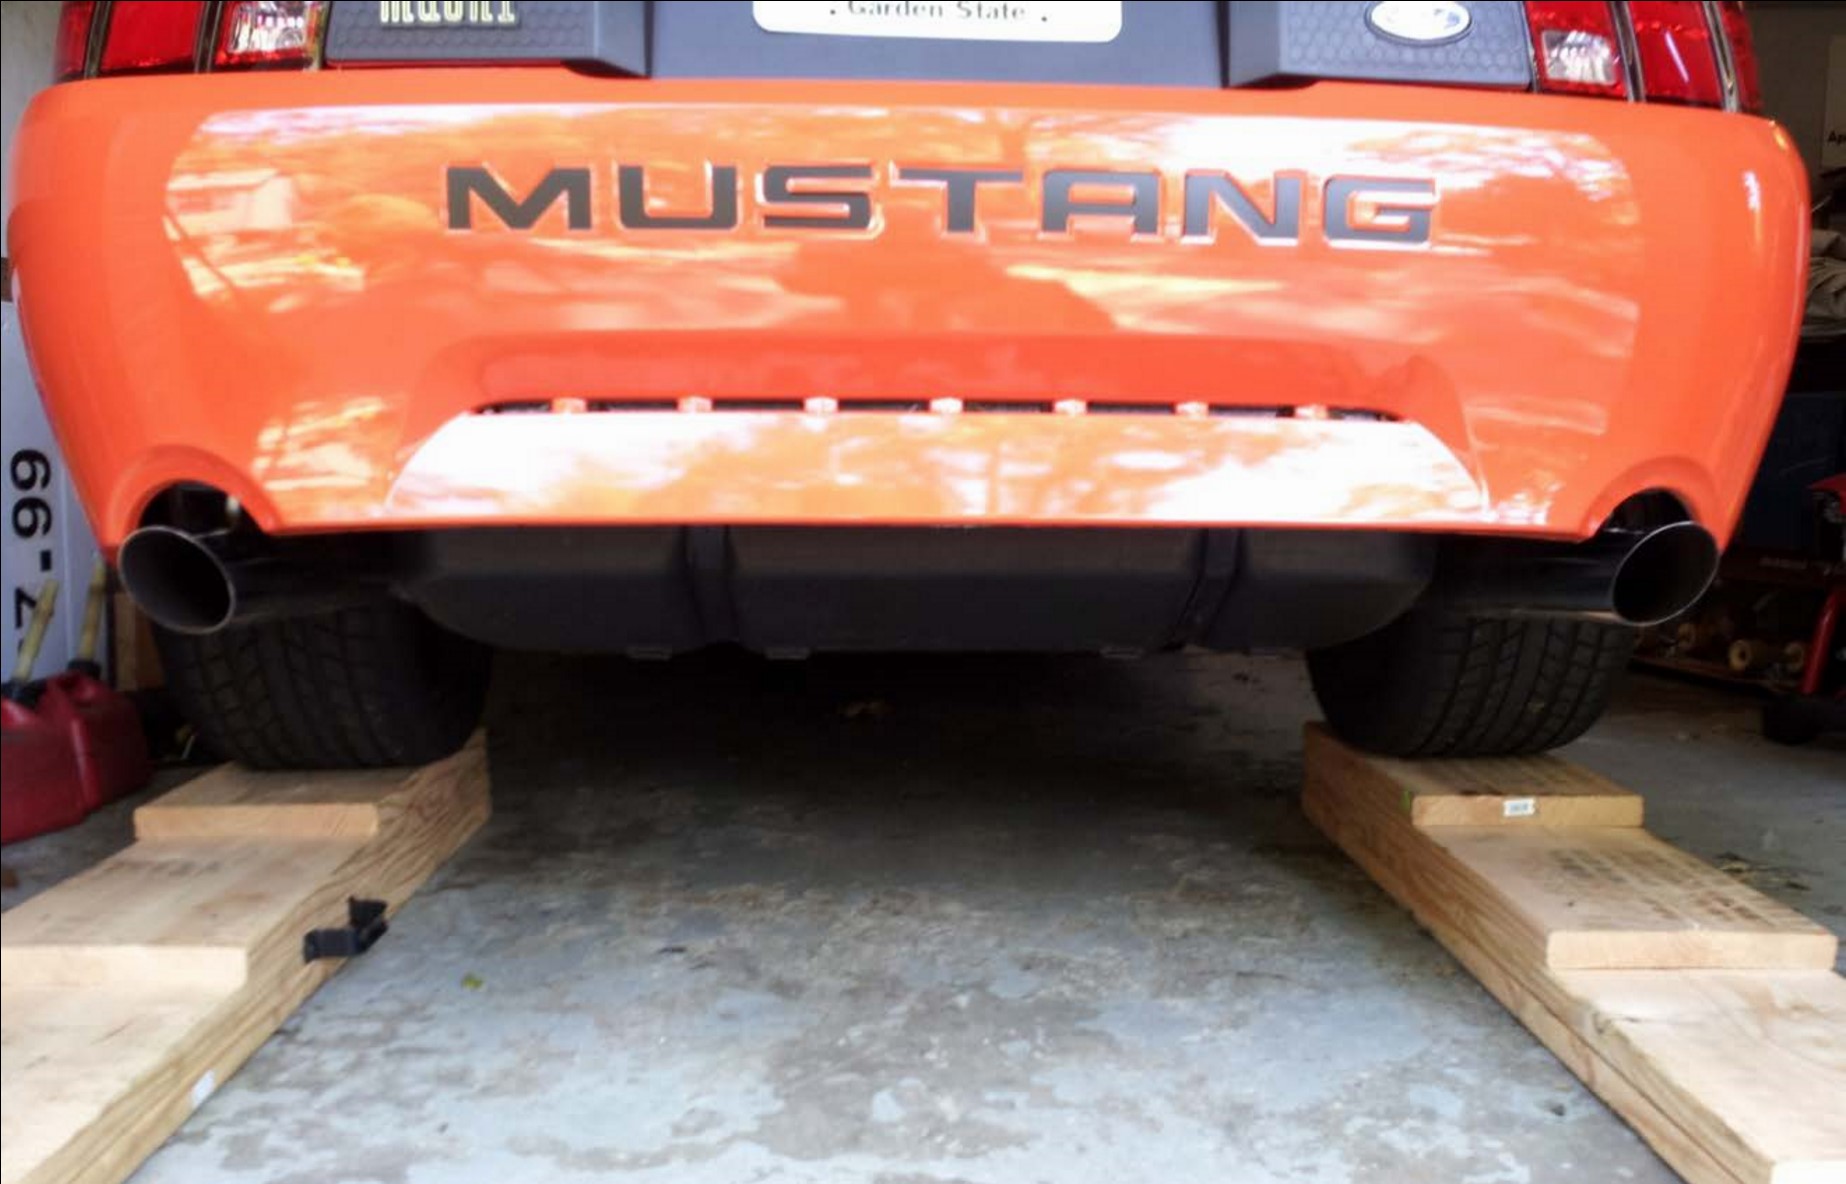
You can use ramps, floor jack and jack stands, or a hydraulic lift if you have access to one. I used a combination of homemade ramps and jack stands.
2. Make sure that the front tires are chocked, the car is in gear, and the emergency brake is firmly engaged.
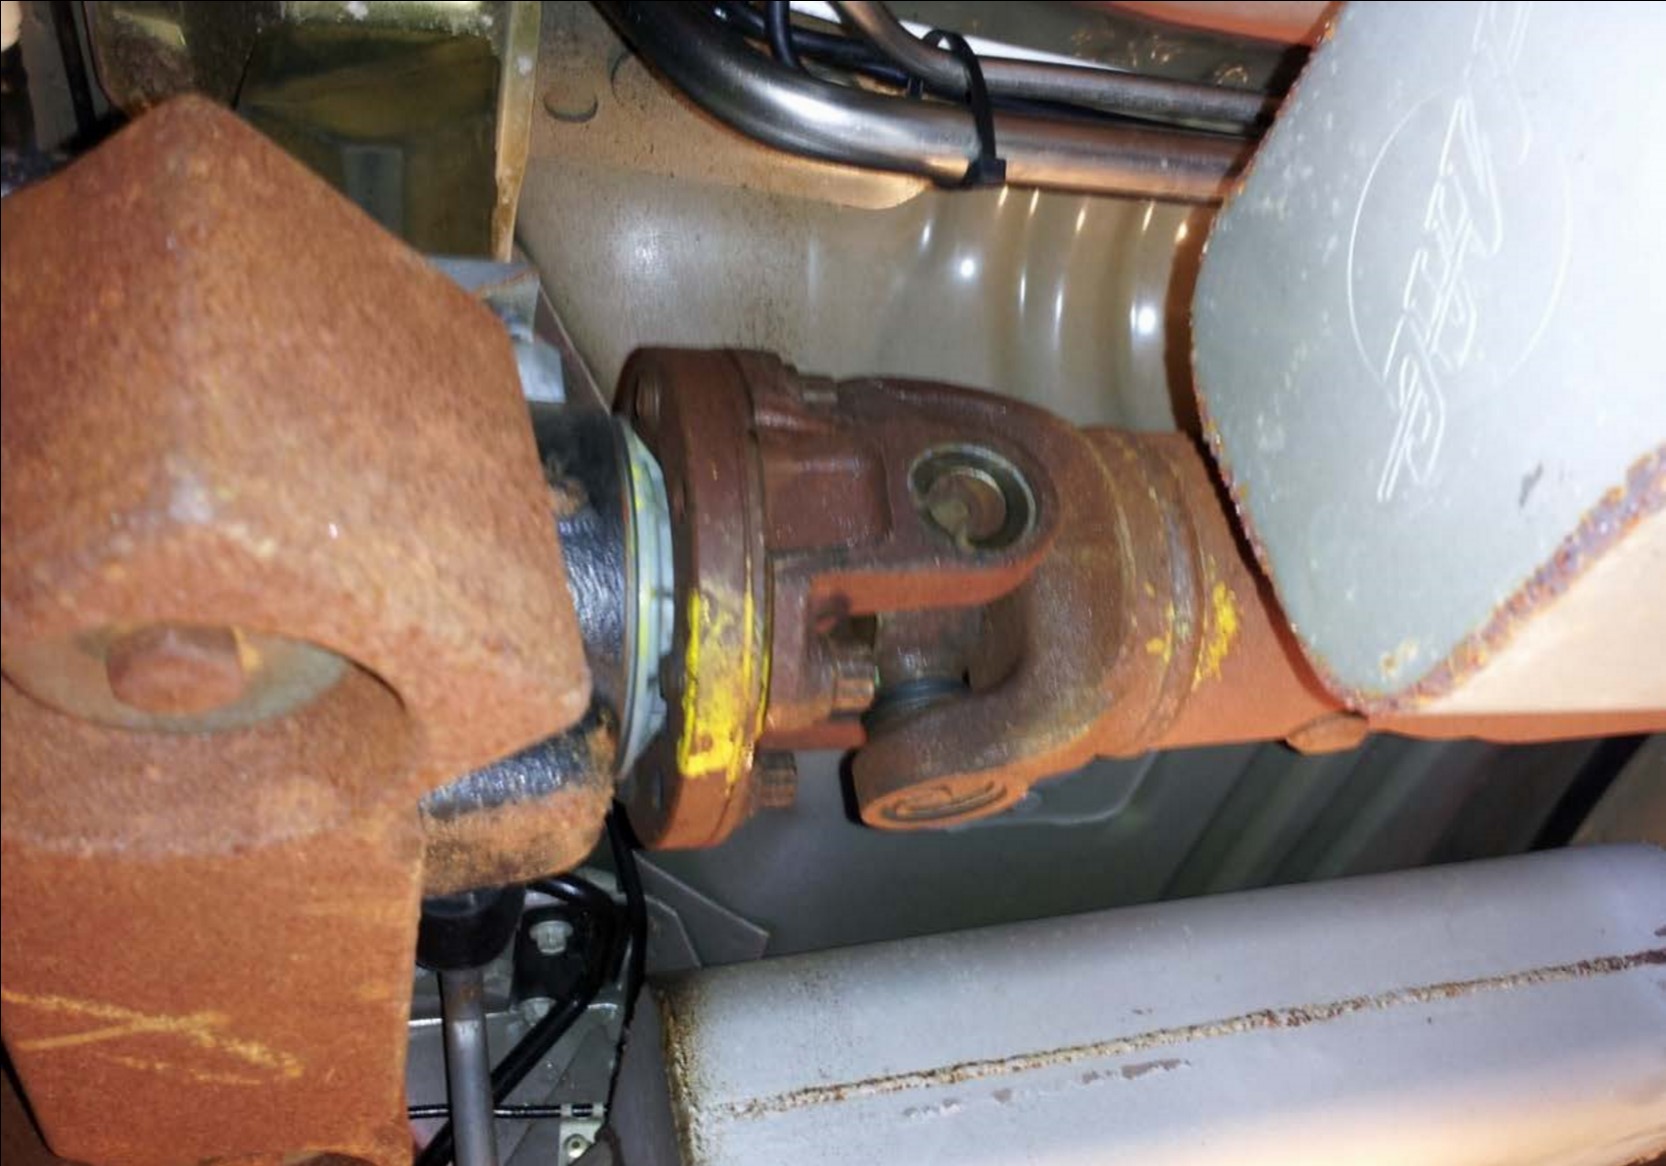
3. Working under the vehicle, locate the 4 bolts that secure the pinion flange (at the rear differential) These bolts will require the 12 mm socket or box wrench (12 point). A swivel may be necessary to get a solid grip on the bolts If the bolts are rusted and difficult to crack loose, a penetrating liquid or heat may be in order.
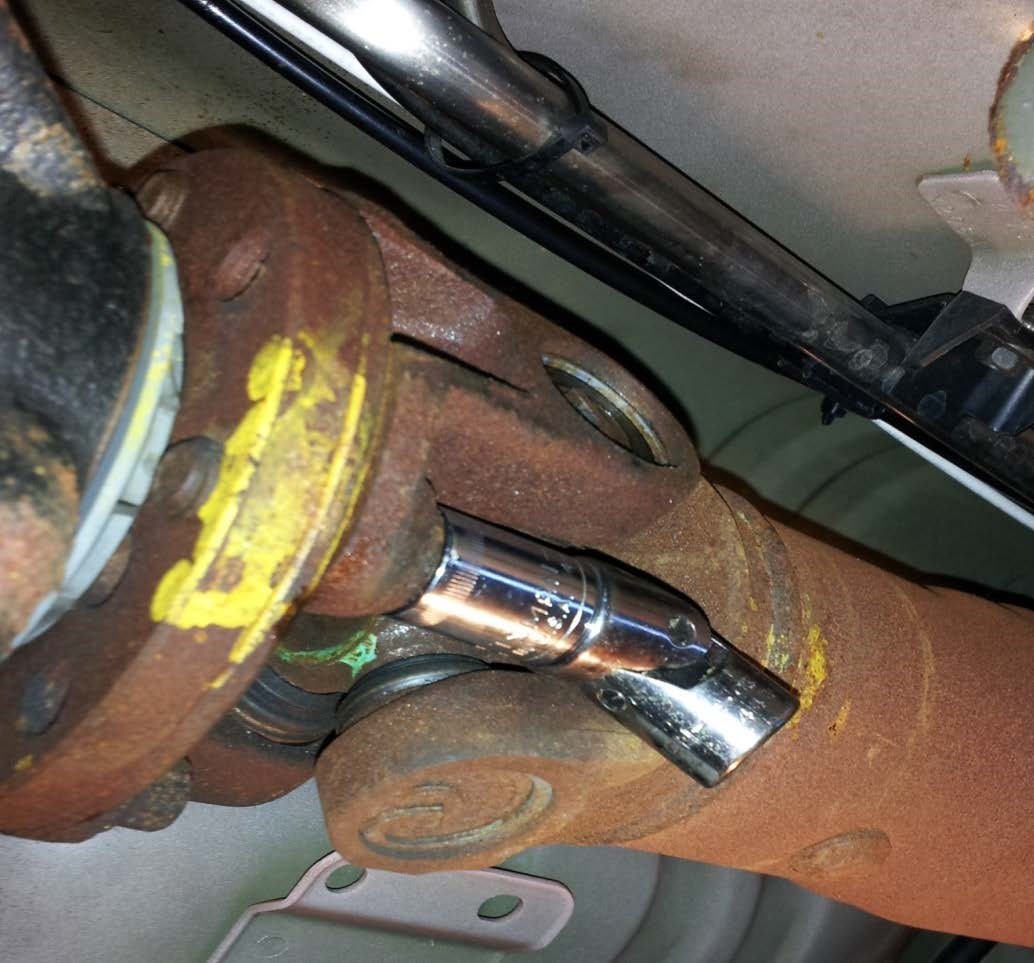
4. If using ramps, and you have difficulty accessing the all of the pinion flange bolts, lift the rear slightly and rotate the driveshaft. (If using jack stands or a lift, this step may not be necessary).
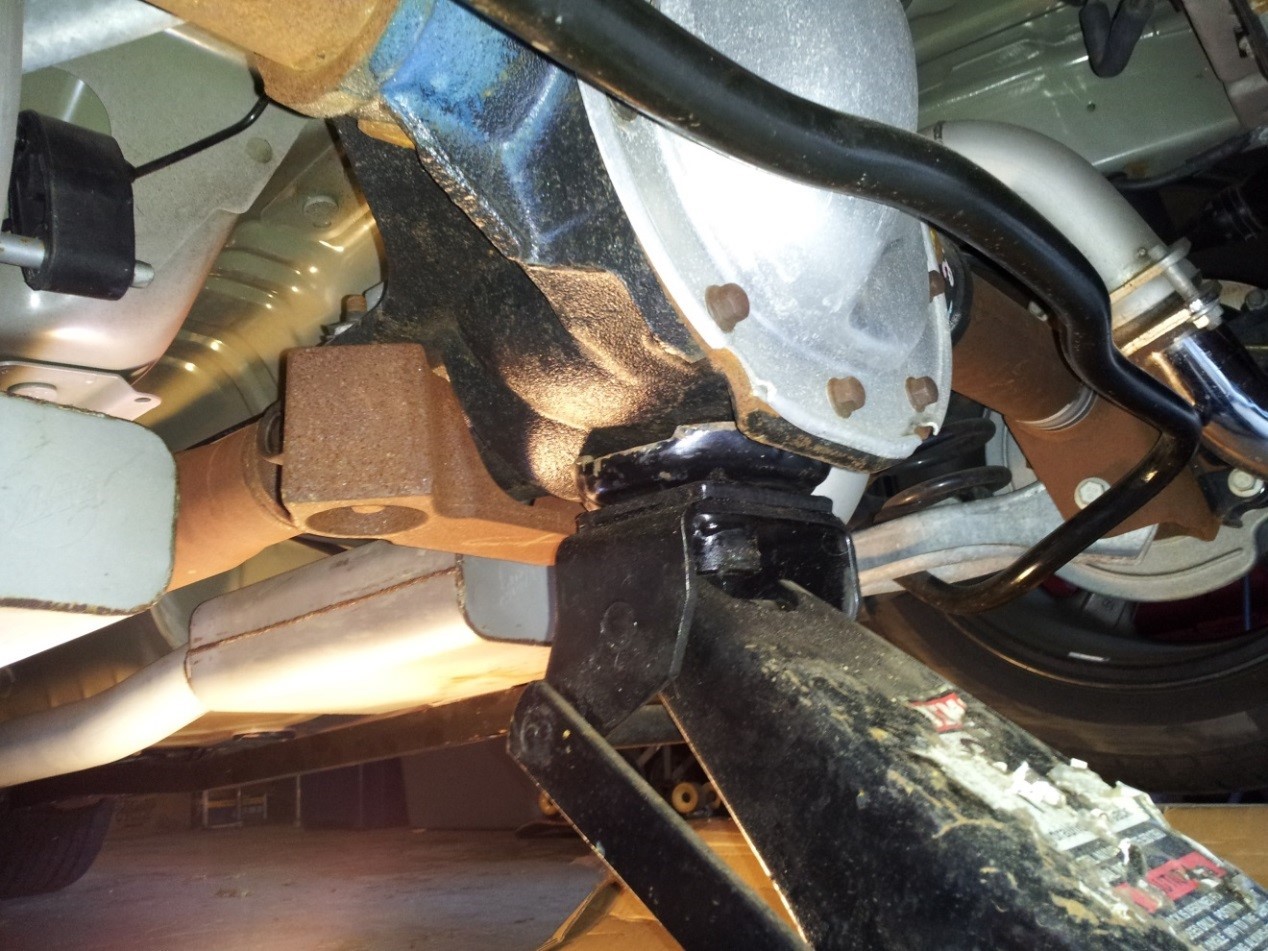
5. Before removing all 4 bolts, place a jack stand or similar support under the old driveshaft to prevent it from dropping.
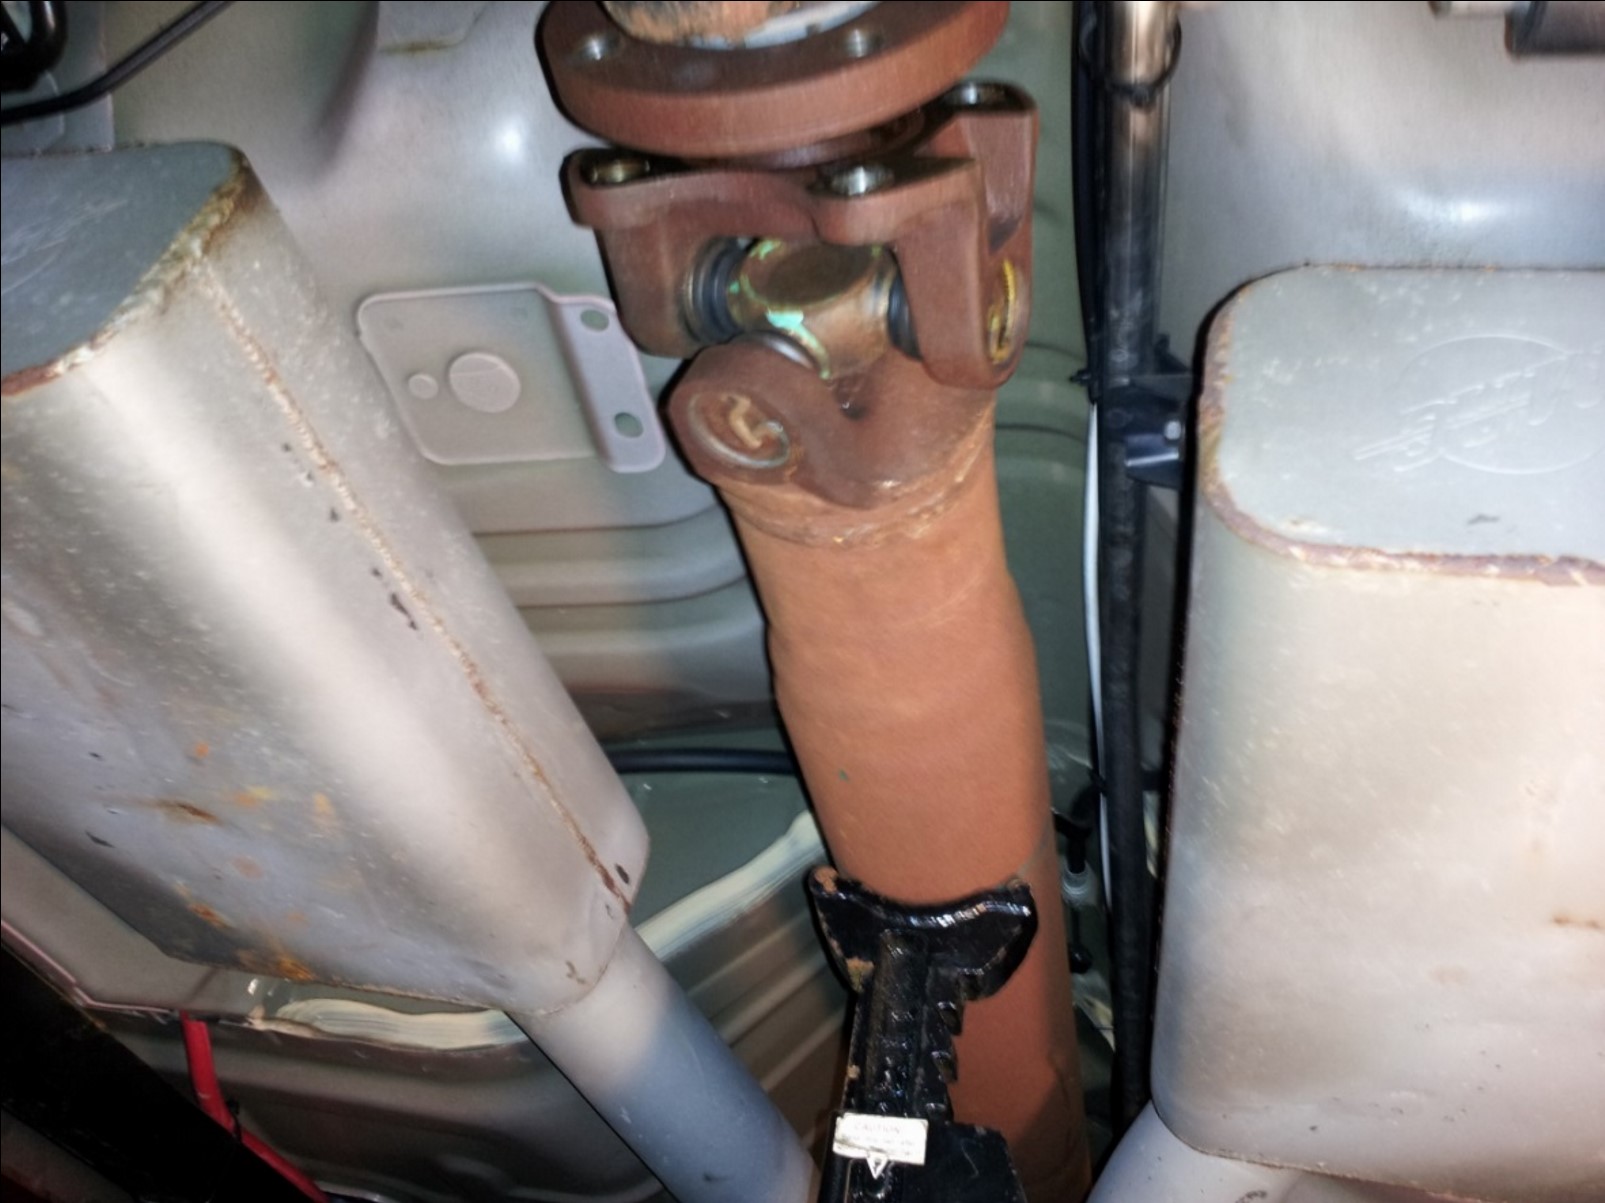
6. Slide the driveshaft rearward and away from the transmission. Watch for any fluid that may leak out of the transmission. If the rear is elevated higher than the front, this should not be an issue.
(This is a good time to check the rear transmission seal for excessive wear or damage)
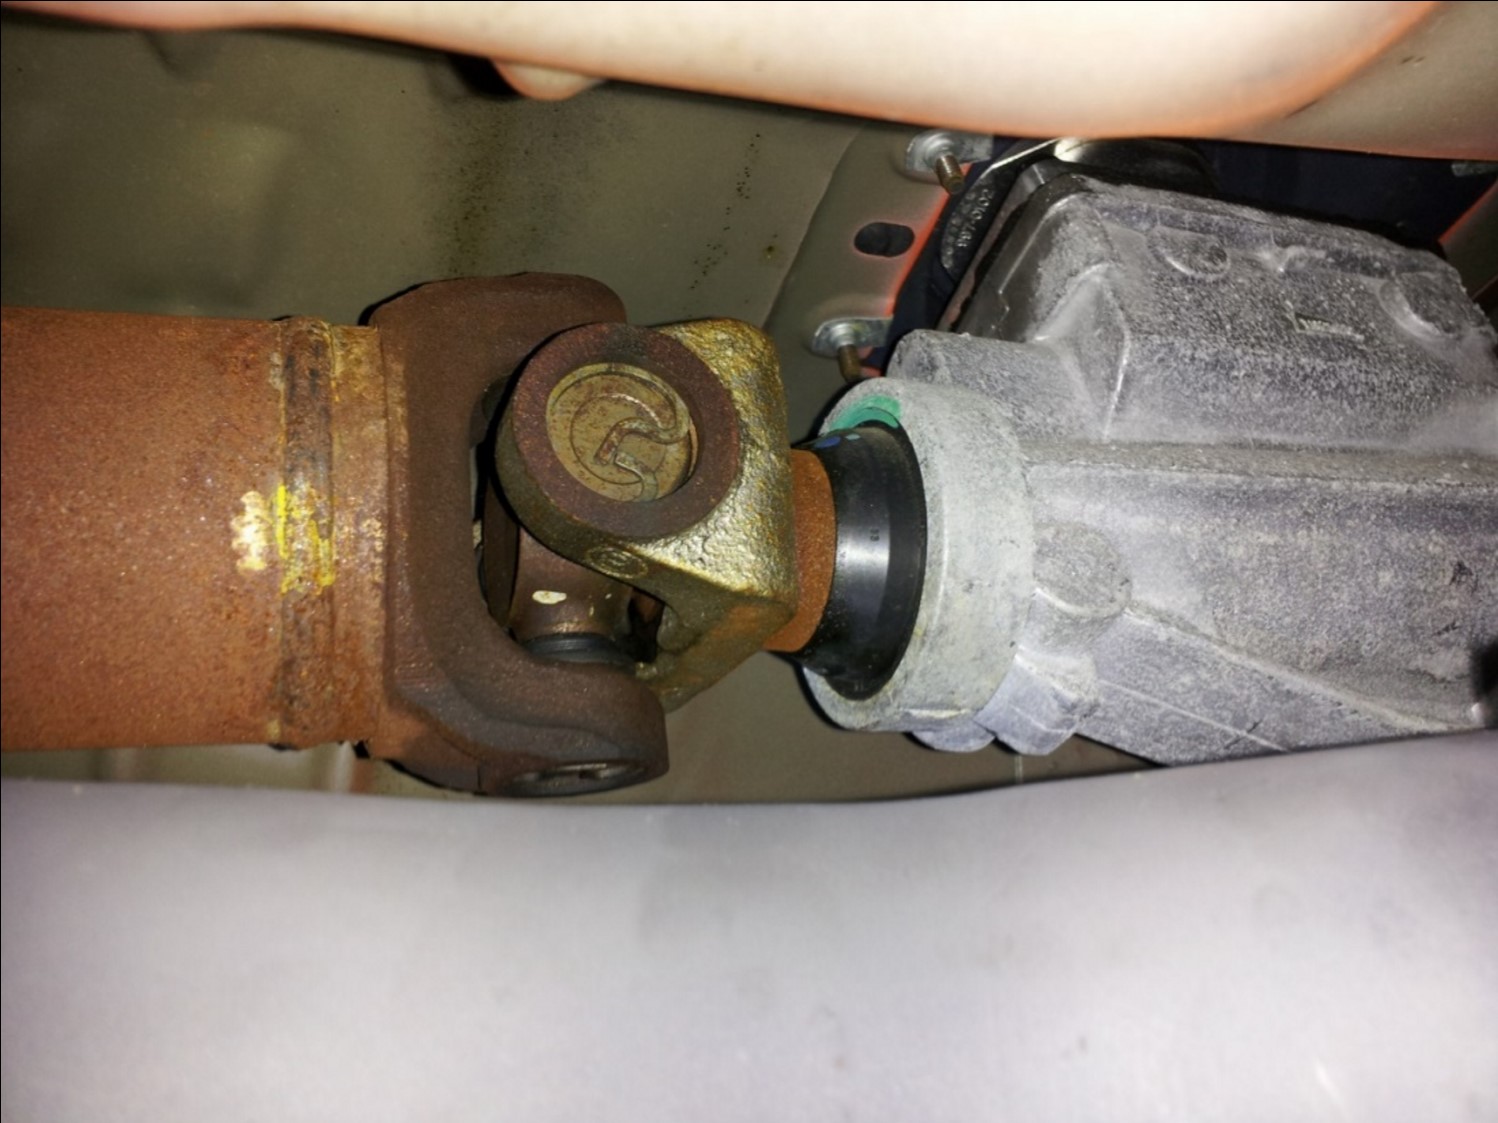
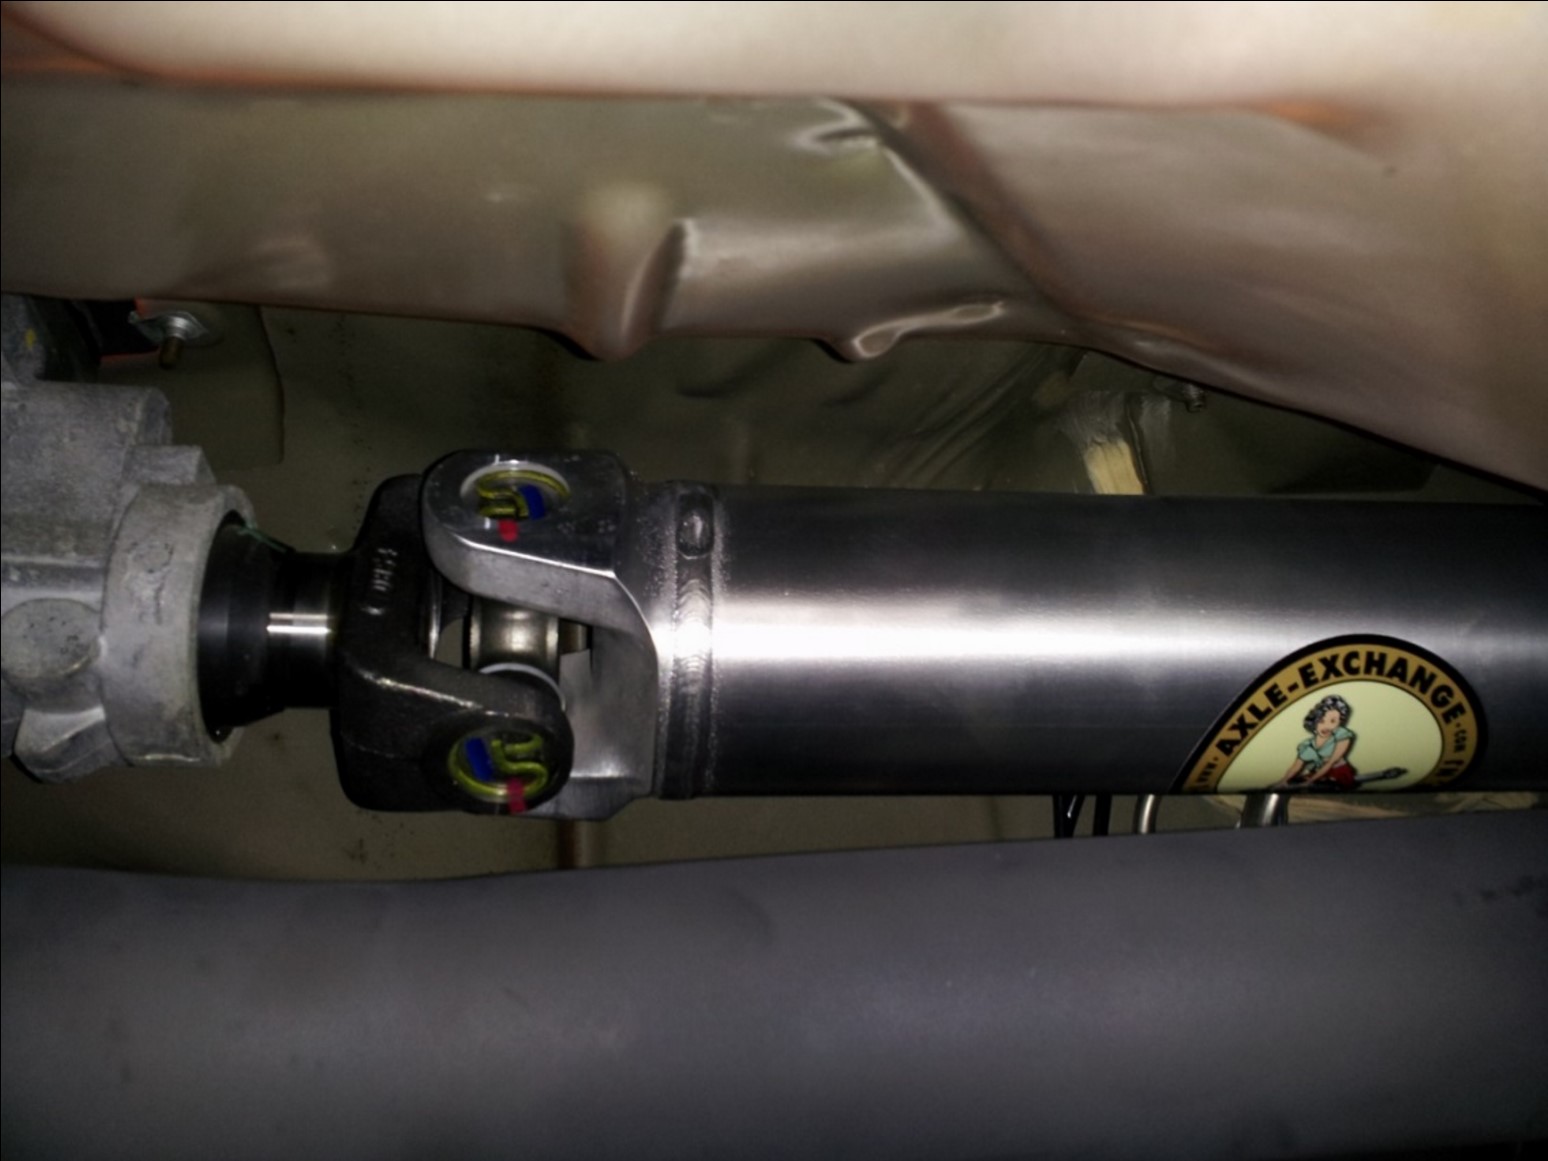
7. Carefully slide the yoke of the new driveshaft into the end of the transmission.
8. Locate the 4 original bolt holes in the differential pinion flange.
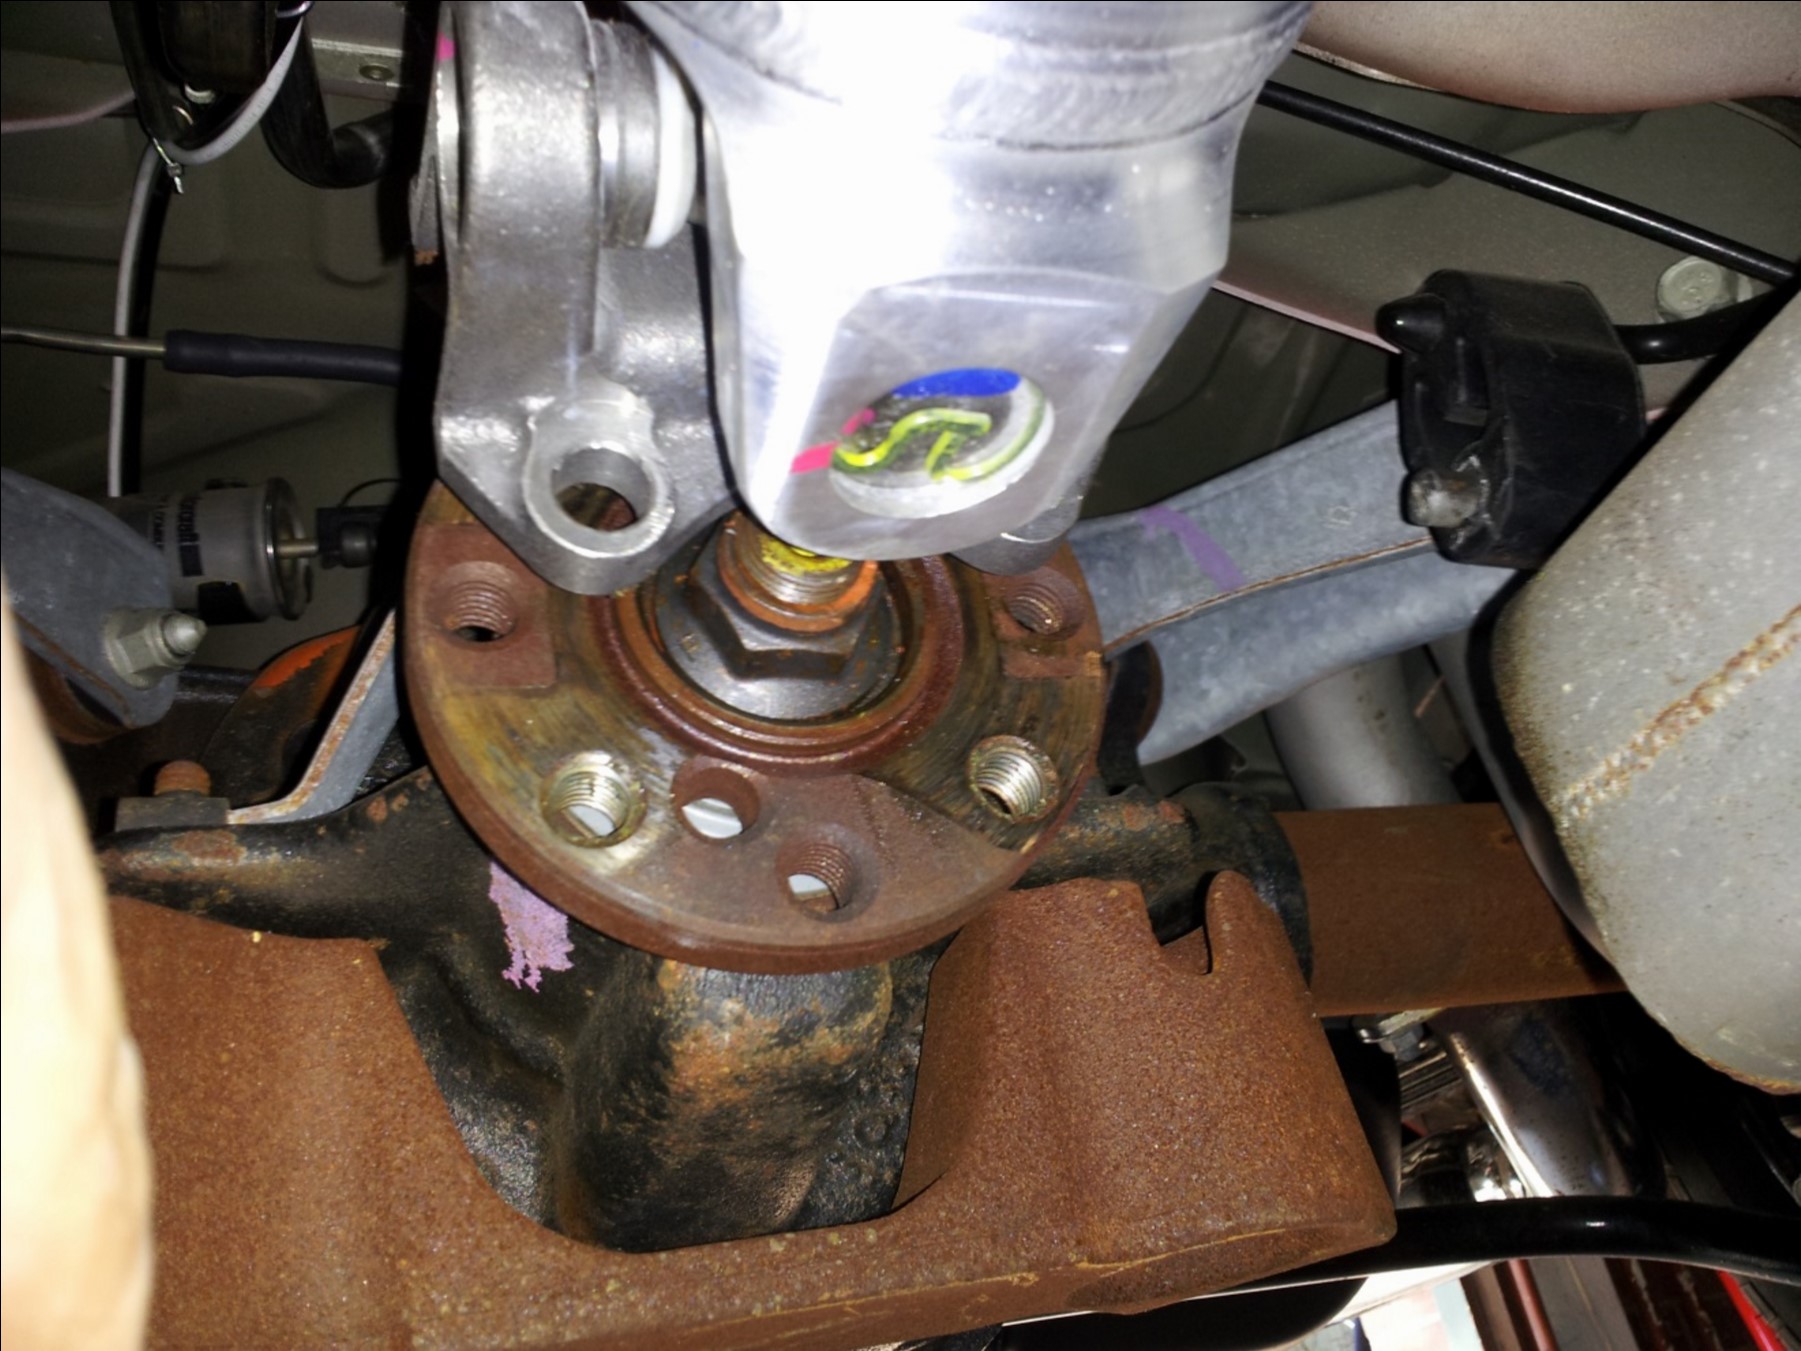
9. Re-install the original bolts (or if they are old and damaged, you should consider installing new bolts)
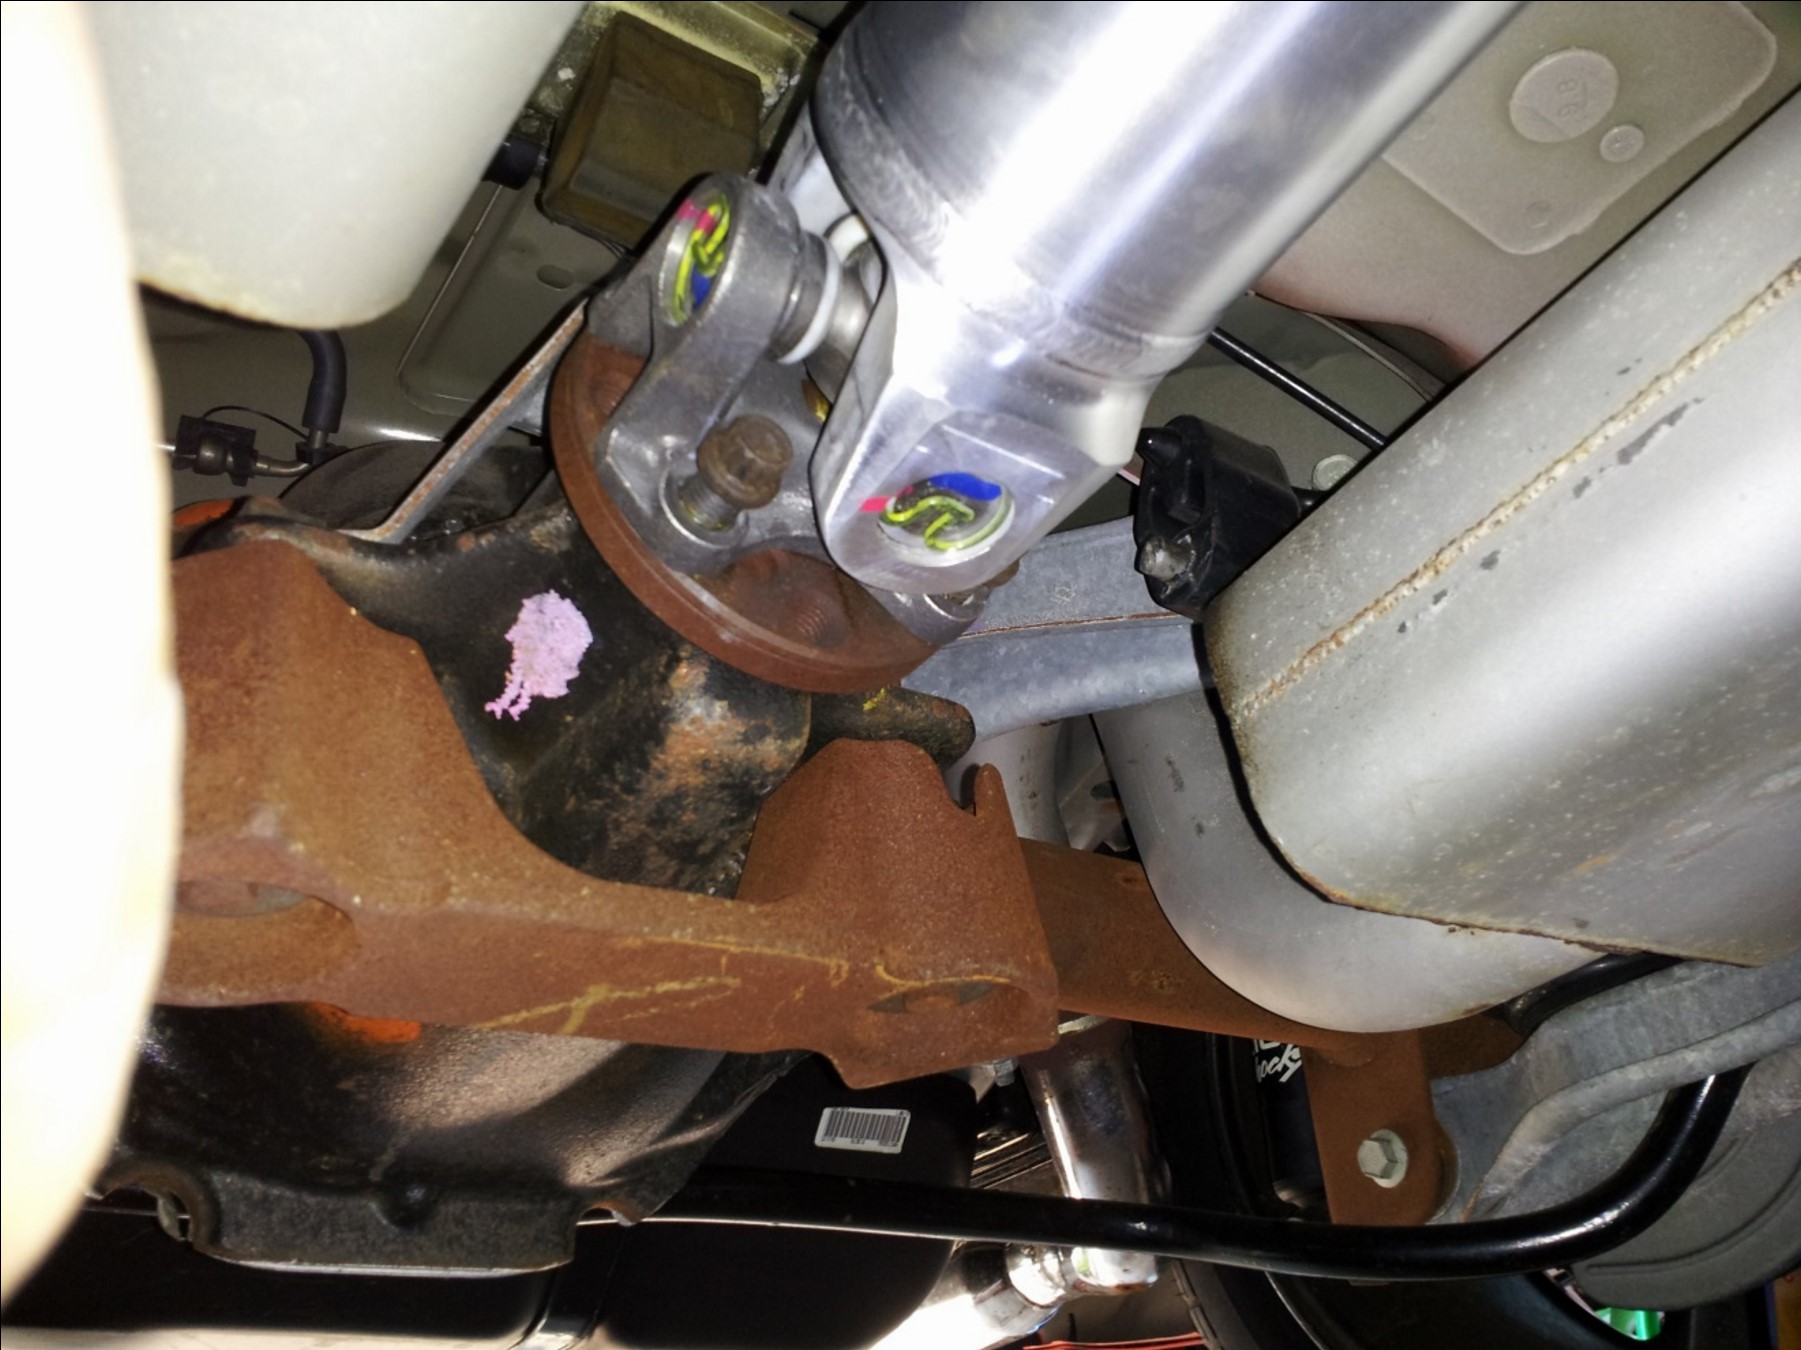
10. Tighten and Torque the pinion flange bolts to 75-90ft/lbs.
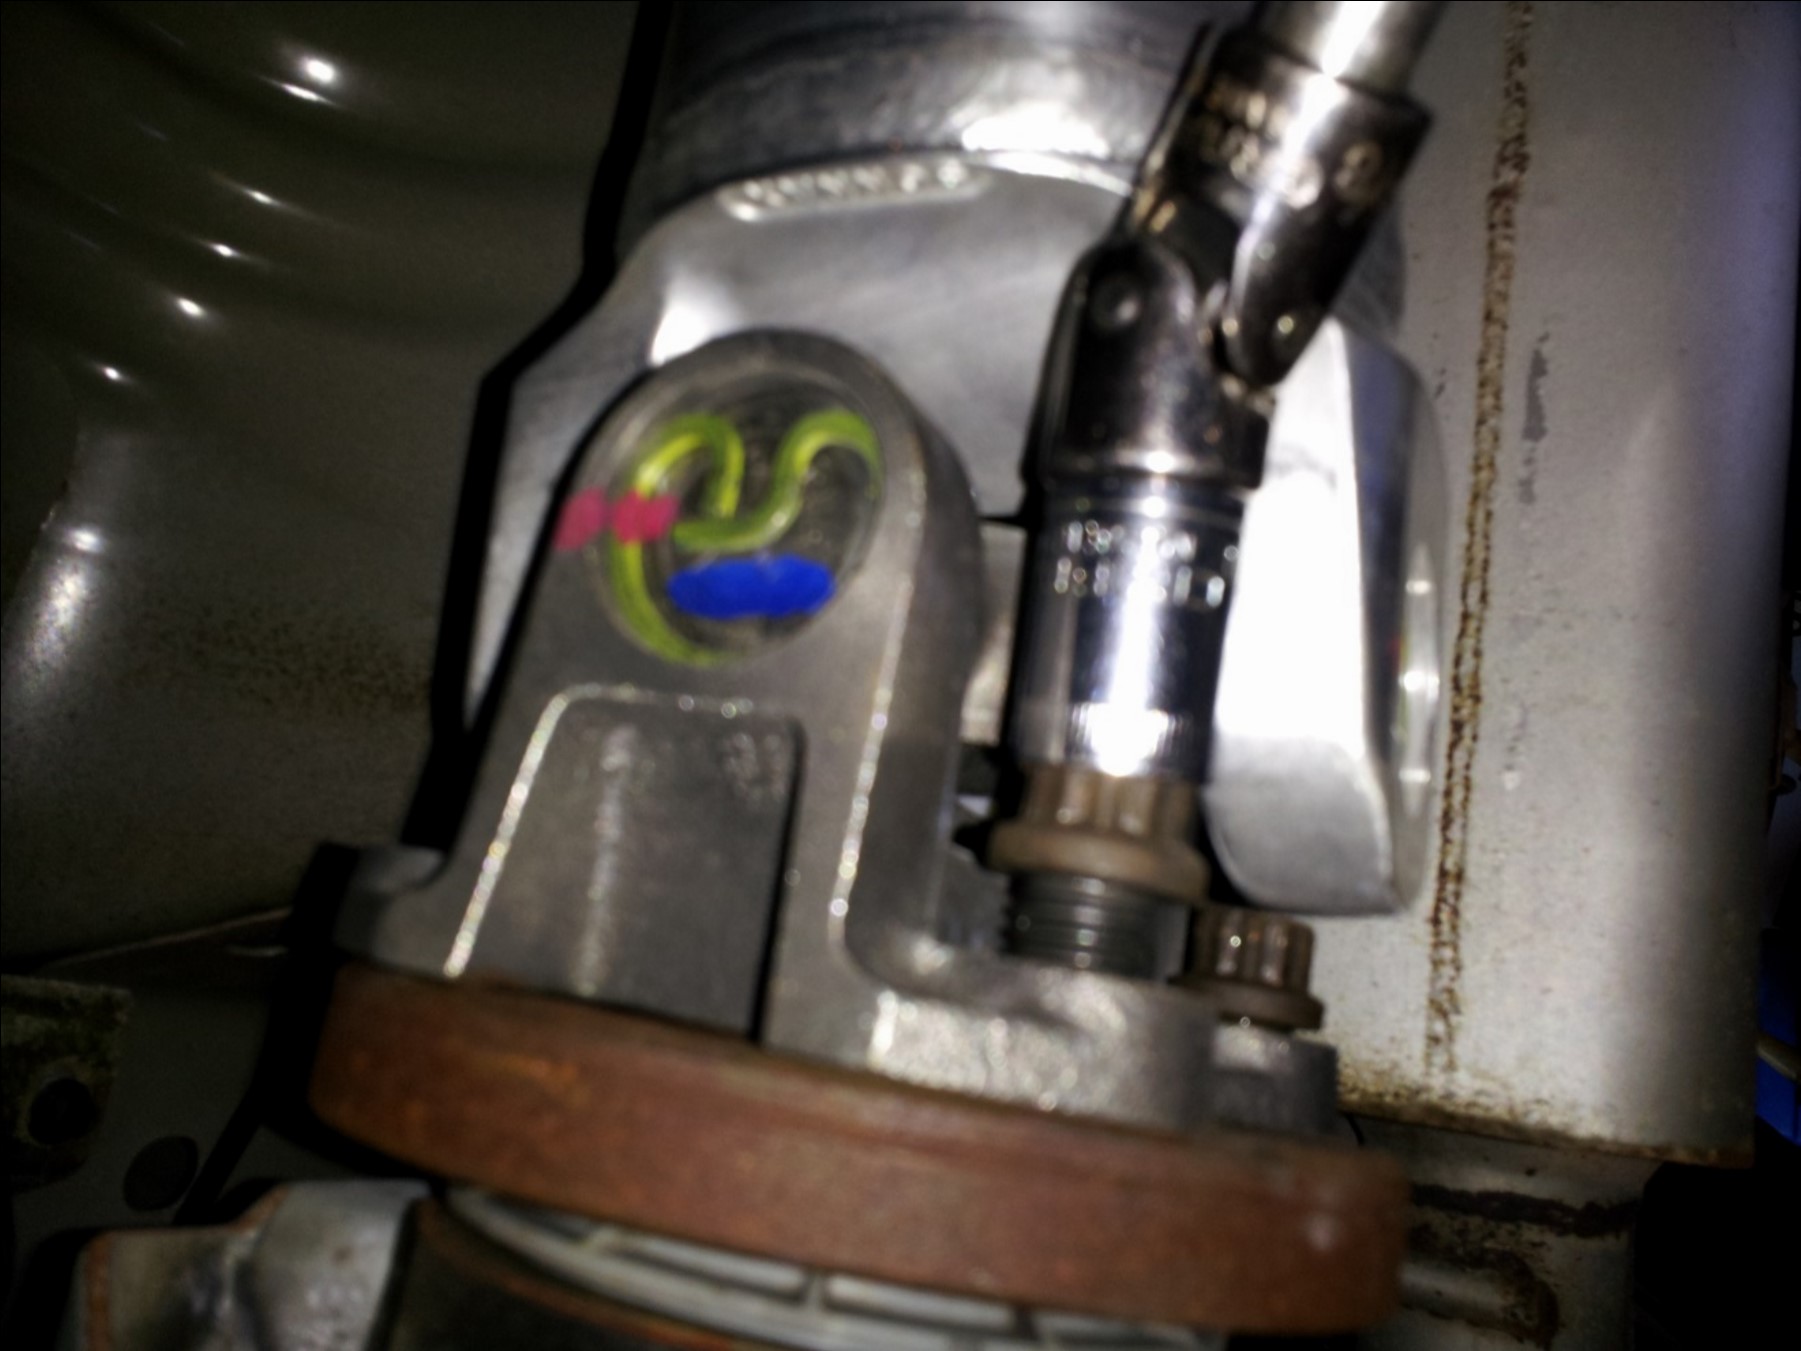
11. Carefully lower your vehicle and enjoy your new One Piece Aluminum Driveshaft.
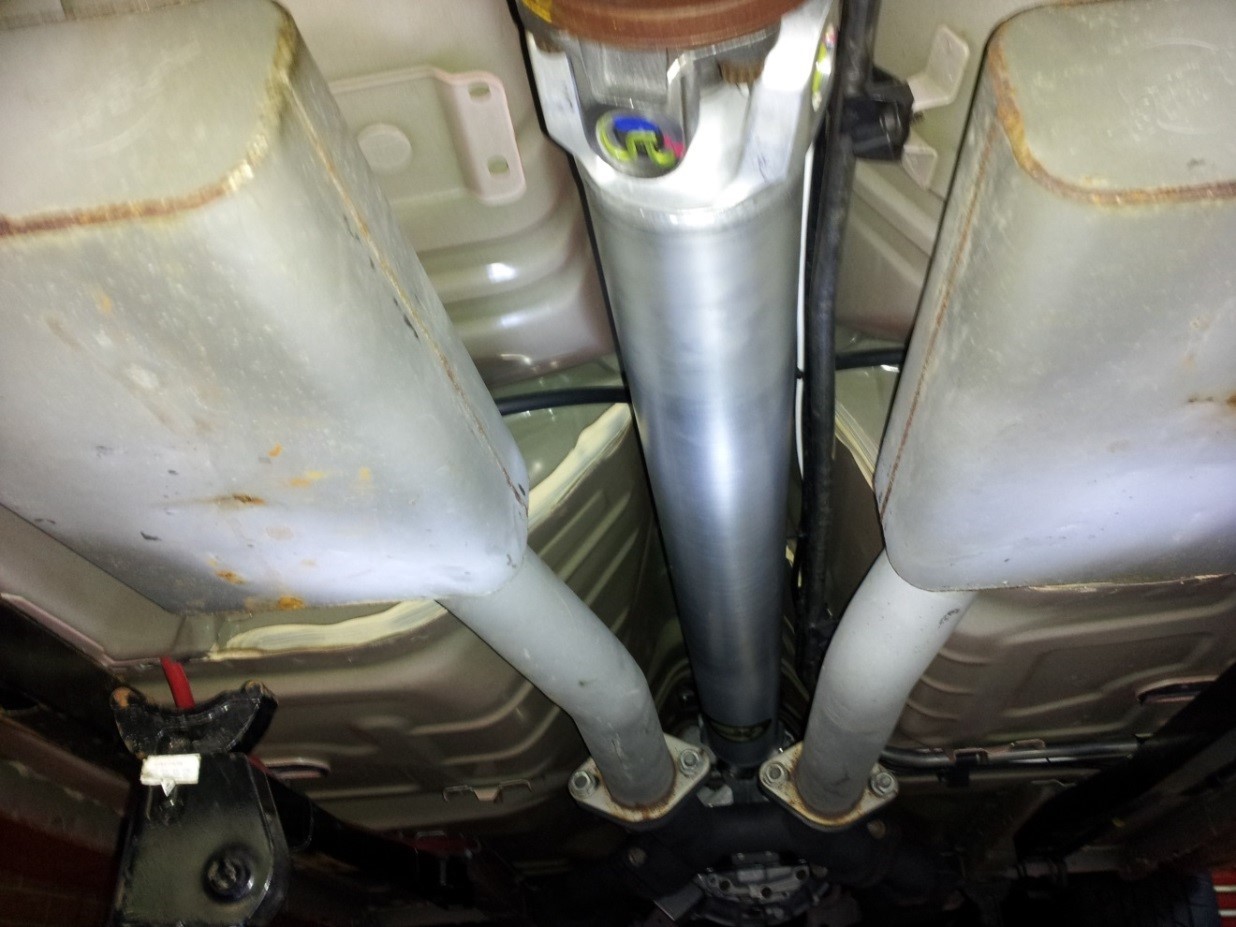
Facts to consider...
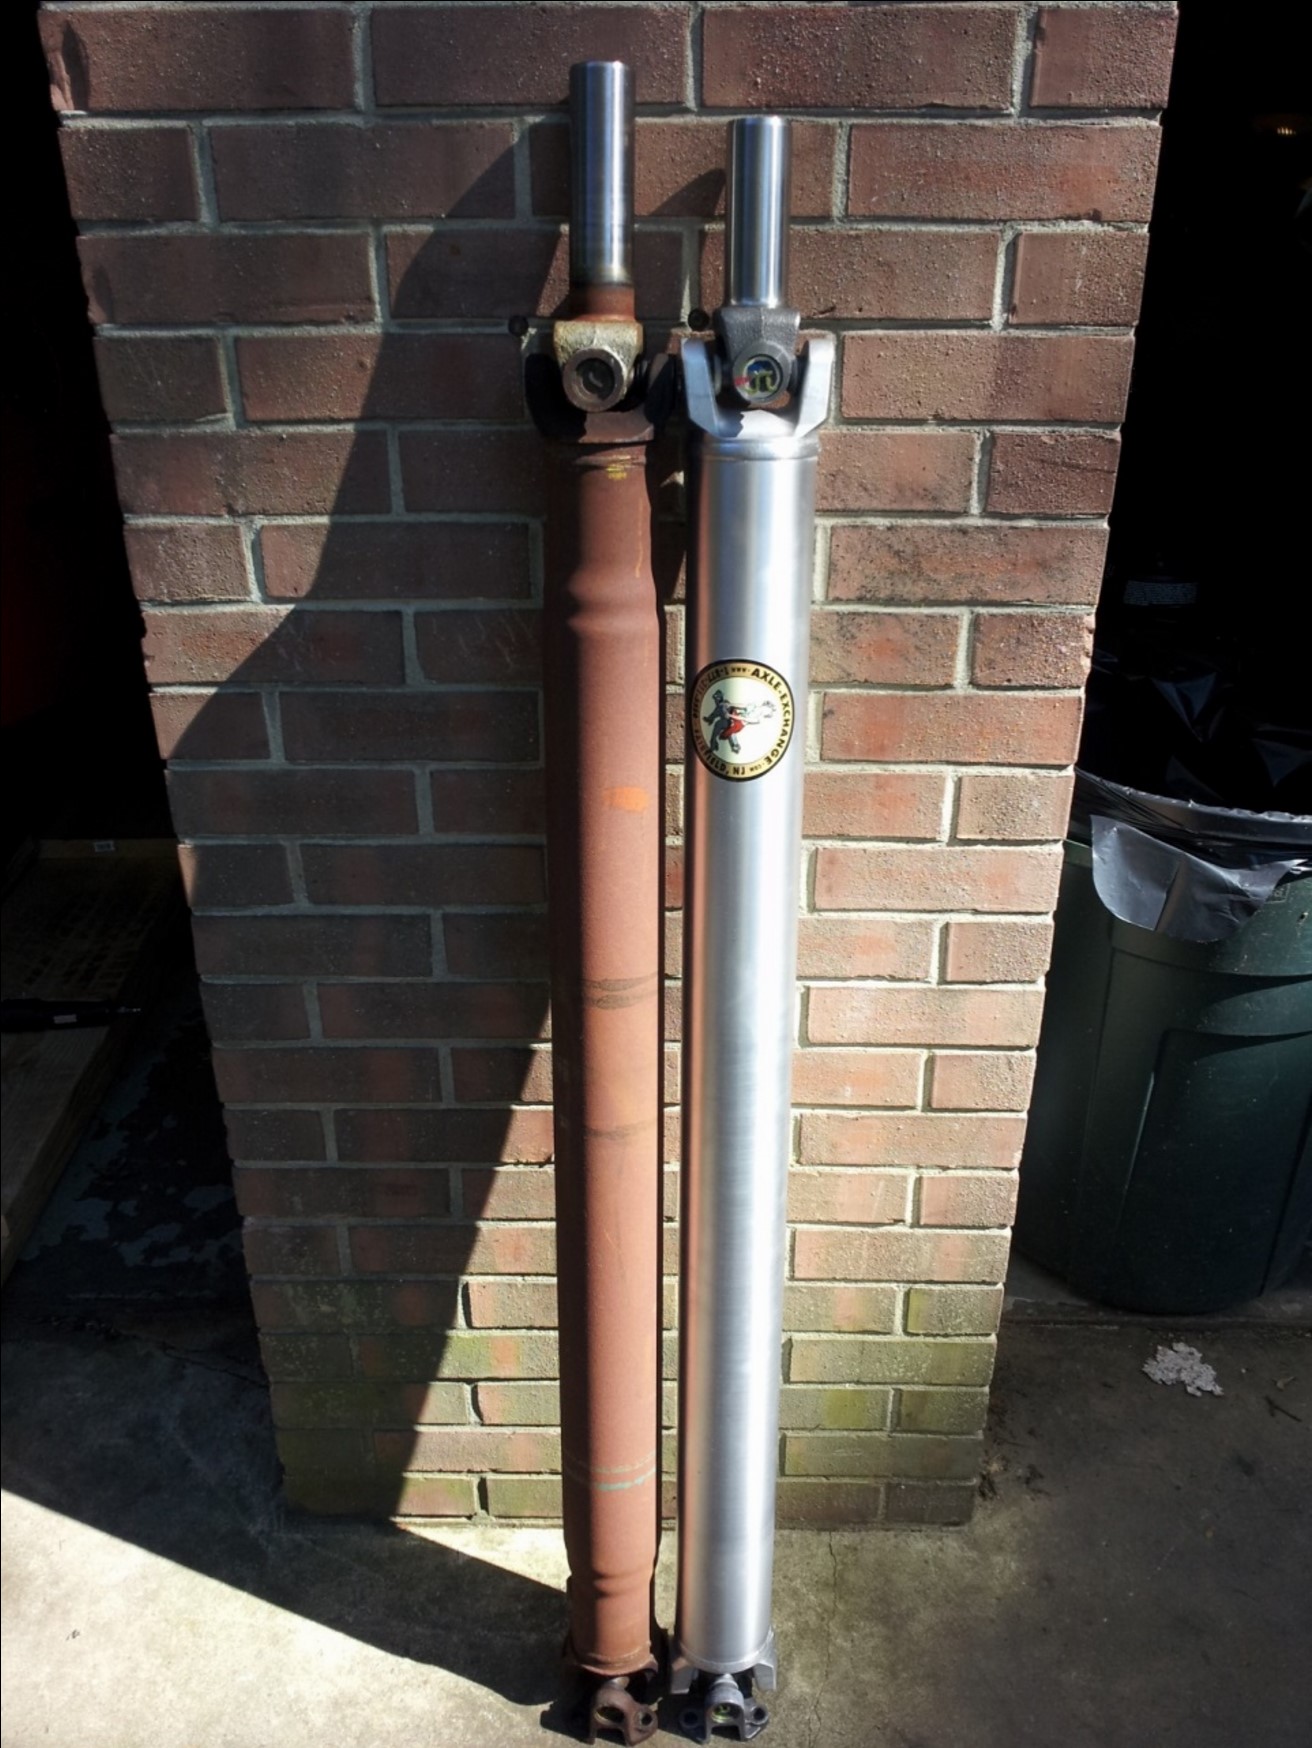
- The stock Mach 1 drive shaft weighs 21.2 lbs.
- The Axle Exchange Aluminum Driveshaft weighs 13.0 lbs.
- That’s a weight savings of 8.2 lbs.
- The savings in “rotational mass” is said to be near 29 lbs.
- This will increase your wheel horse power
- Better throttle response
- Quicker acceleration
- Lower ET’s
Also noteworthy …
The new driveshaft will be 1 and ¼ inches shorter than the stock unit. This is not a problem. I called the manufacturer and they assured me that the design and length of the new driveshaft is intentional. The extra length of the stock yoke was unnecessary and wasted. The new yoke was designed to maximize contact area inside the transmission, while reducing mass and weight.
Installation instructions provided by American Muscle customer Paul Distefano 7.8.2013


