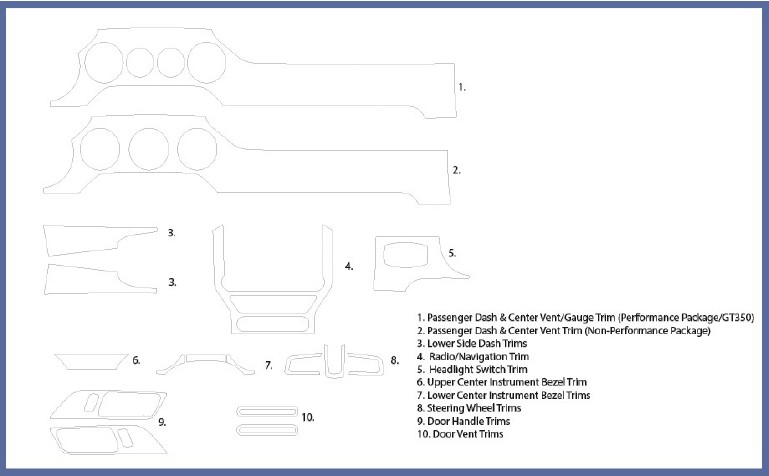
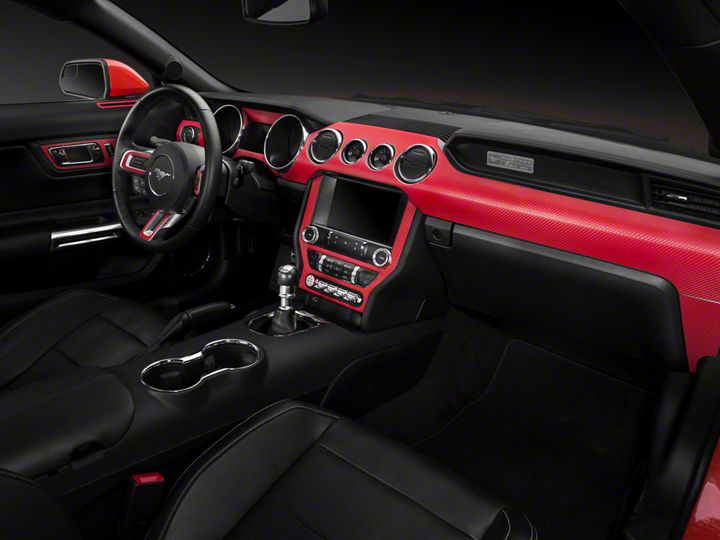
How to Install Red Carbon Fiber Dash Kit on your Mustang
Installation Time
1 hours
Tools Required
- Spray bottle with soap & water mixture
- Hair dryer
- Surface clean such as Rapid Prep
- Hand towel– micro fiber towels work well
Shop Parts in this Guide
Prep:
Clean car well to ensure good adhesion of the dash kit. Using a cleaner such as Rapid Prep. Fill a spray bottle with a mixture of water and soap (we use baby shampoo), about 4 large drops per 32 oz. spray bottle of water. Be sure to install decal out of direct sunlight. Its best to have the interior as close to room temperature as possible. It is also recommended to have adequate lighting in the car such as a work light. It is also is helpful to have a helper handy.
Step 1:
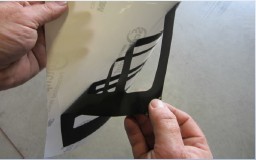
Peel the part from the backing of the dash kit you want to do first. It might be recommended to start with the easier smaller items to get used to the product before handling the more difficult parts like the center console.
Step 2:
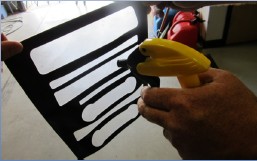
Next, spray the dash kit part with the soap and water mixture. Spray very lightly holding the decal outside of the car and spraying the back. You only need to cover the decal with a mist of solution, do not have it dripping wet.
Step 3:
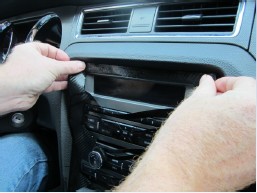
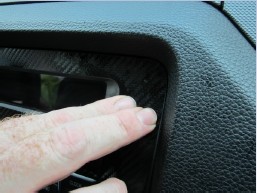
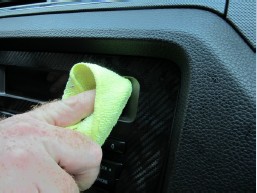
Place decal on the car. You will be able to maneuver the decal into position because of the soap and water solution you sprayed on earlier. Once you have the decal in its final position, use your finger to lightly smooth out the part. Using lighter pressure at first ensures you will not move the part out of position. Wipe any excess solution away with the towel as it comes out from under the part. This is were the importance using the solution sparingly will be evident, you don't want too much liquid especially near elec-tronics.
Step 4:
On some products with complex surface curves you may use a hair dryer cautiously to help conform the decal Do not over heat it will may wrinkle.
