How to Install Auto Meter AirDrive WiFi OBD-II Control Module (96-17 All) on your Ford Mustang
Shop Parts in this Guide
1.
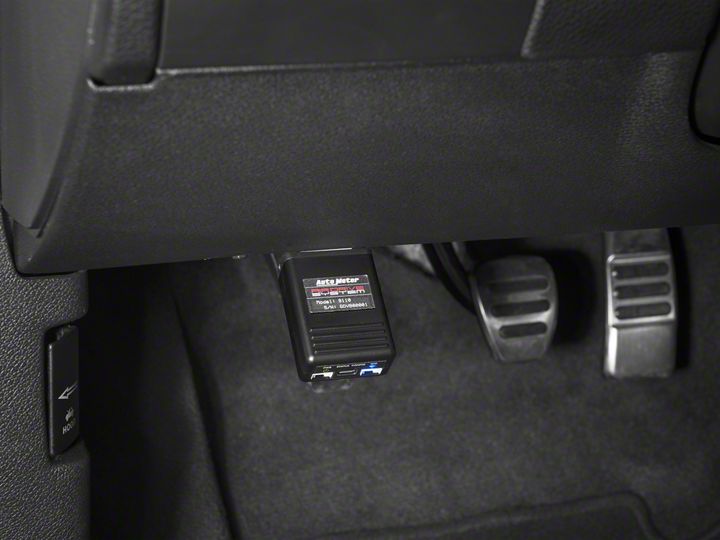
Plug the AirDrive Dongle into your vehicle’s OBD Port under the dash on the drivers side.
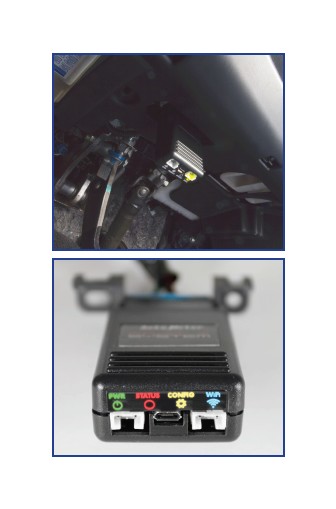
Turn ignition on. When powered on, the LEDs will light up for a half second. The blue WiFi LED will illuminate solid when the WiFi module is initialized. The green power LED will blink as it connects to the vehicle and will turn solid when successfully connected.
2.
Power up the AirDrive Gauge (s).
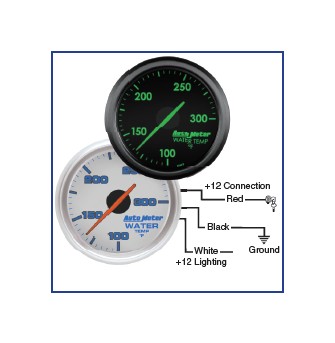
Connect your AirDrive Gauge to power, ground, and if chosen, the white lighting wire. Once powered your gauge will turn on and show an illumination code to indicate system status.
Pulsing Blue: Powered and Connecting to AirDrive Dongle.
Pulsing Green: Powered and connected to Dongle, but with no data input set yet.
Blinking White: being configured by App (Step 4)
3.
Connect your mobile device to the AirDrive Wi-Fi Hotspot: AutoMeterWiFi- ####, which will appear on your list of available networks.
(Note: #### will be unique to each AirDrive Dongle)
Enter Password: *
AutoMeter1957
*Case Sensitive
Download the AutoMeter AirDrive App from the Apple App Store or Google Play Store.

4.
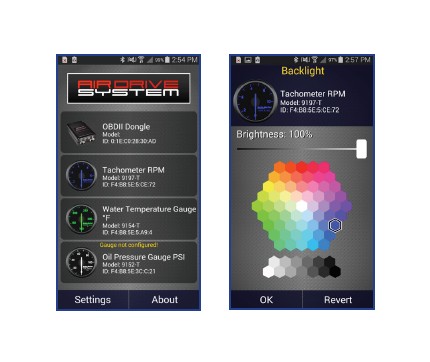
Start the AirDrive Gauge App.
The App will find the AirDrive Dongle and Gauges automatically, completing your AutoMeter AirDrive Wi-Fi Network!
Select vehicle year, make, and model.
Select the Gauge to Configure from the Main Menu.
Select the OBD Parameter ID (PID) for that Gauge from the list presented.
Select the backlight color and optional setpoint alarms from the App menu. See the full owners manual for detailed instructions. Return to Android home screen to exit configuration mode and return to normal operation.
