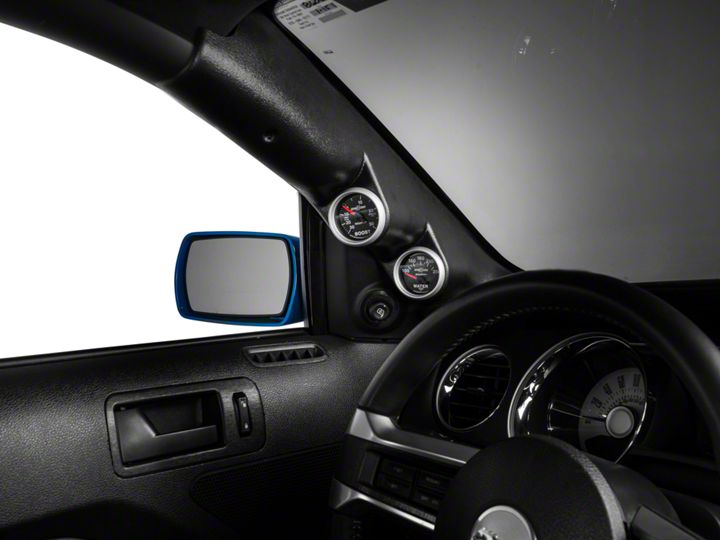
How to Install Auto Meter Replacement A-Pillar Dual Gauge Pod (10-14 Coupe) on your Ford Mustang

Shop Parts in this Guide
1. Remove the factory “A” pillar cover. Start by pulling down on the section closest to the rear of the car. Then pull forward (towards you) on the section closest to the windshield.
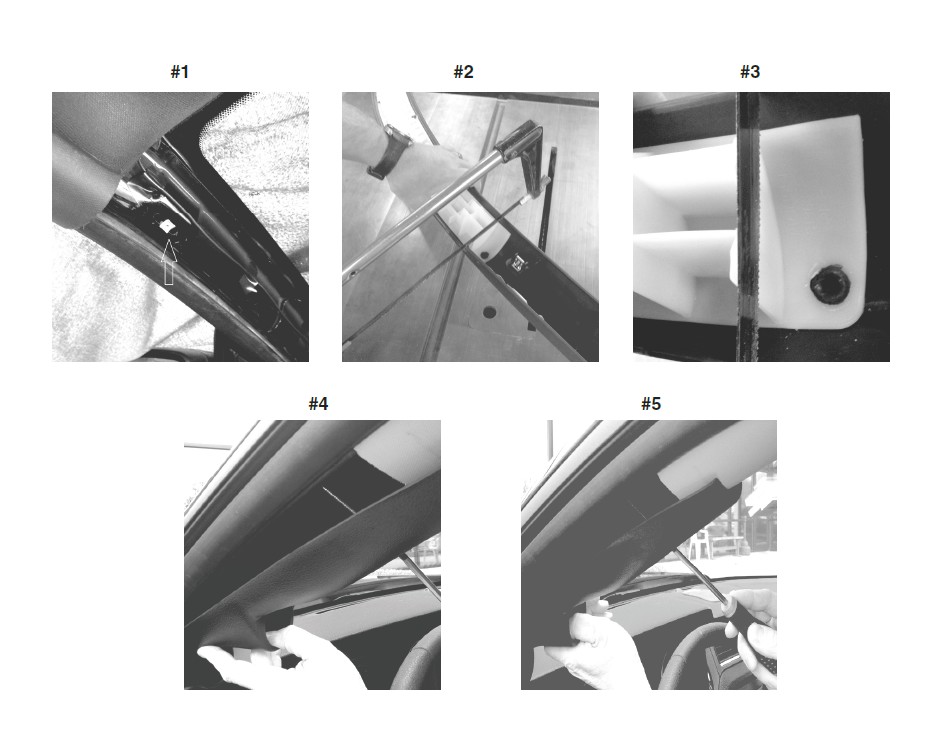
2. Install provided nut into oval slot as seen in photo. Photo #1.
3. Cutting off the orginial pillar is necessary. When finished, the new pillar will cover the cut end of the orginial.
4. On a flat surface using a hack saw, cut your factory “A” pillar as shown in the photo. Photo #2.
5. Use the white reinforcing ribbing as a blade guide when cutting. See close up photo. Photo #3.
6. Reinstall the upper portion of the factory pillar (the part that is furthest back, closest to the rear of the car)
7. You are now ready to install your new AutoMeter/GaugeWorks replacement pillar and gauges.
8. Slide your new pillar into place with a downward and forward motion.
9. After your new pillar is fully seated, pull the top portion out (towards you) as seen in photos #4 & #5. This will allow easy alignment of the provided screw into the nut. You may need to move the nut within the slot for proper fitment.


