How to Install Auto Meter Dual Dash Tach Pod (87-93 All) on your Ford Mustang

Shop Parts in this Guide
NOTE
Due to normal manufacturing processes you may have “flashing” (small fibers of plastic) around the pod holes. Once the gauge(s) are installed in the pod you will not be able to see the “flashing.”
Tach Pod Installation
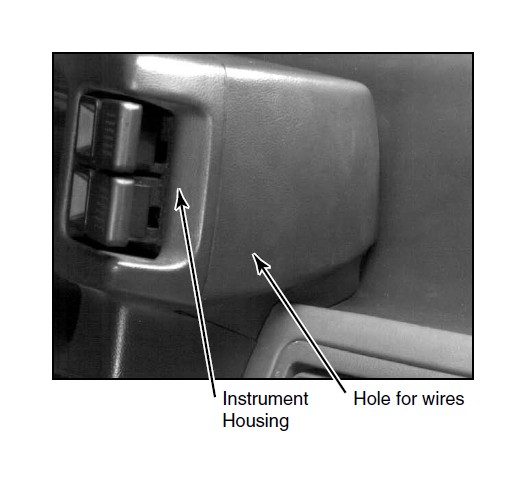
1. Make a small hole in instrument housing that allows all gauge wires to pass through.
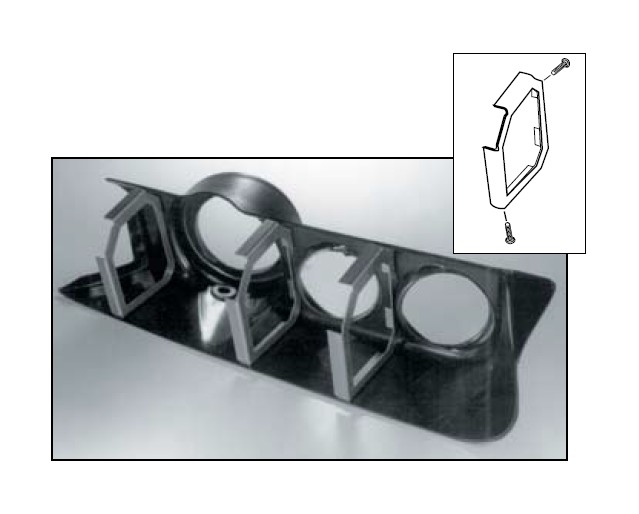
2. Install mounting brackets on pod using enclosed Allen screws. Use a 5/32” Allen Wrench.
3. Place Tach Pod on dash. Apply pressure on top front edge of pod to settle it in position. Due to slight variations in dashes the Tach Pod may need to be trimmed for a perfect fit.
4. While pressing pod in position, mark bracket location on dash.
5. Remove bracket screws and pod.
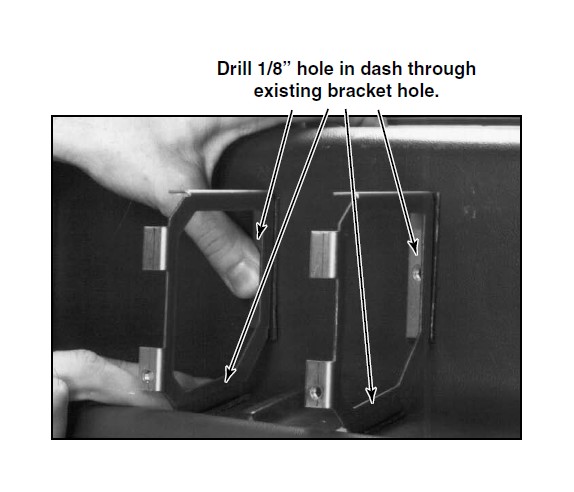
6. Hold bracket secure and drill 1/8” holes in dash through bracket holes. We recommend a minimum of 1 screw (passenger side bracket) for safety purposes.
7. Insert bracket screw(s) in new hole and tighten them snug do not over tighten. (HARDWARE INCLUDED)
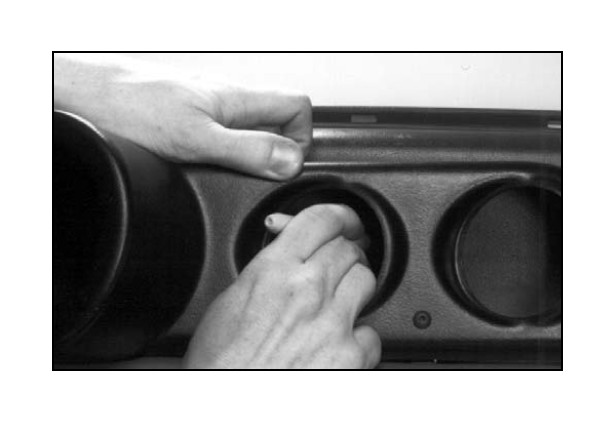
8. 2 5⁄8” gauges require mounting brackets to hold them in place (see gauge instructions for mounting). Tach mounting is a press fit. If a shift light is used, follow instructions below.
Shift light installation
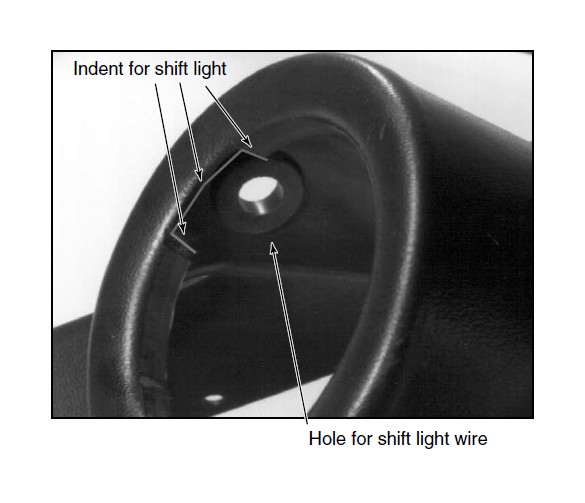
• Make an indent in the pod (see photo) the width of the shift light
base.
• To allow the wires to enter the pod from the shift light, cut a .75”
hole in the pod. Locate the hole directly below the shift light
wires (see photo).
• Install provided grommet in hole.
• Insert shift light wires through grommet.
• Place shift light in position and insert / press fit tach.
9. Route and connect instrument wires (see instruments wiring instructions). Route tach wires directly to hole in instrument housing. Route middle and right gauges wires through center of brackets and through instrument housing hole.
10. Place Tach pod on dash and install screws to attach Tach pod to brackets.
