Talk to a Mustang Sales Tech
1-877-887-1105
M-F 8:30A-11P, Sat-Sun 8:30A-9P
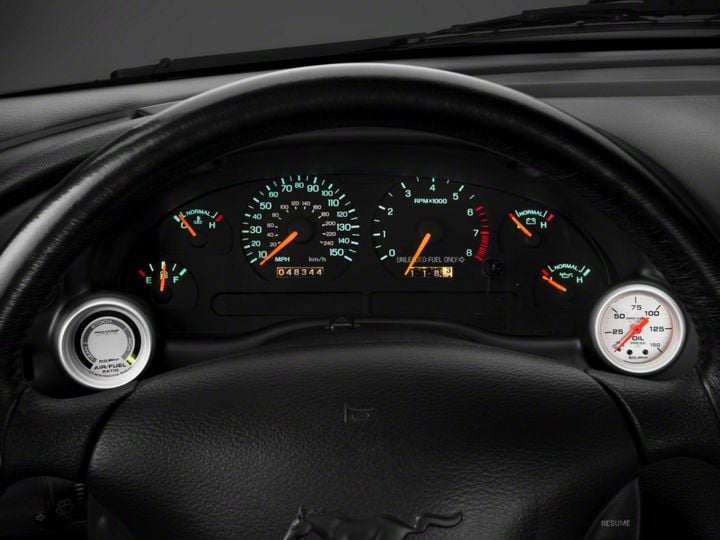
How to Install an Autometer Dual Gauge Instrument Bezel on Your 1994-2000 Mustang

Shop Parts in this Guide
Installation
NOTE: Gauge bezel can be painted using a plastic safe paint.
- Remove two screws in top of factory bezel. Use small screwdriver in the slotted area of the light switch knob to release tension on spring clip while pulling forward to remove knob.
- Pull forward on bezel from the inside bottom, detaching clips from the dash.
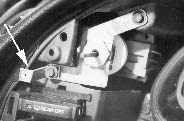
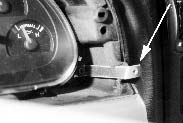
- Install aluminum brackets as shown in Figs. 1 and 2.
- Place new gauge bezel in dash as a test fit. Adjust brackets so that screw holes align. Brackets can be rotated or bent to align holes.
- Once brackets are aligned, remove new gauge bezel and install gauges per manufacturer’s instructions (gauges are press fit).
- Install new gauge bezel.

Fig. 1 - Short Bracket

Fig. 2 - Long Bracket

