Best Sellers
How to Install Barton Short Shifter w/ Round Handle - TR-3650 on your Mustang
Installation Time
1 hours
Tools Required
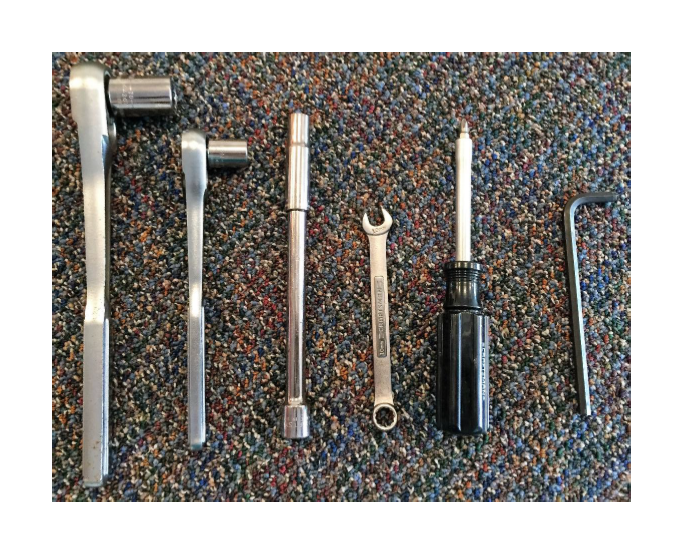
- 1/2’’ Drive Ratchet
- 18mm Socket (1/2’’ Drive)
- 3/8’’ Drive Ratchet
- 13mm Socket (3/8’’ Drive)
- 6’’ Extension (3/8’’ Drive)
- 10mm Deep Socket (3/8’’ Drive)
- 10mm Box End Wrench
- Phillips Screwdriver
- 1/4’’ Allen Wrench
- Jack and Jack Stands or Lift
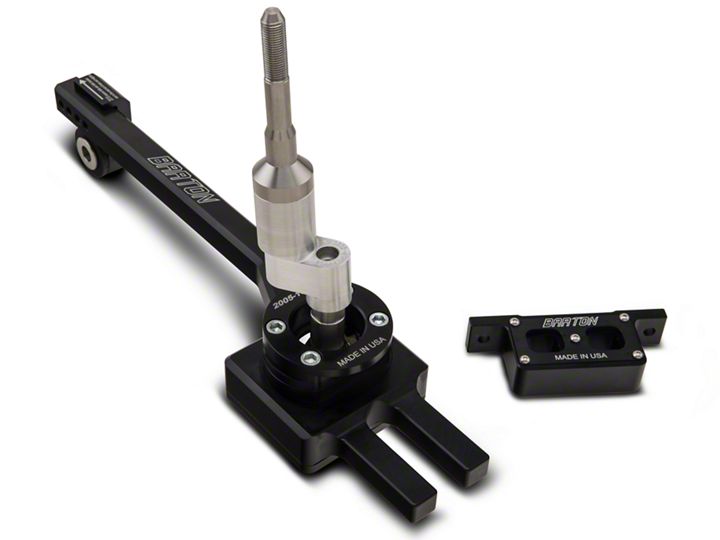
Shop Parts in this Guide
Installation Instructions:
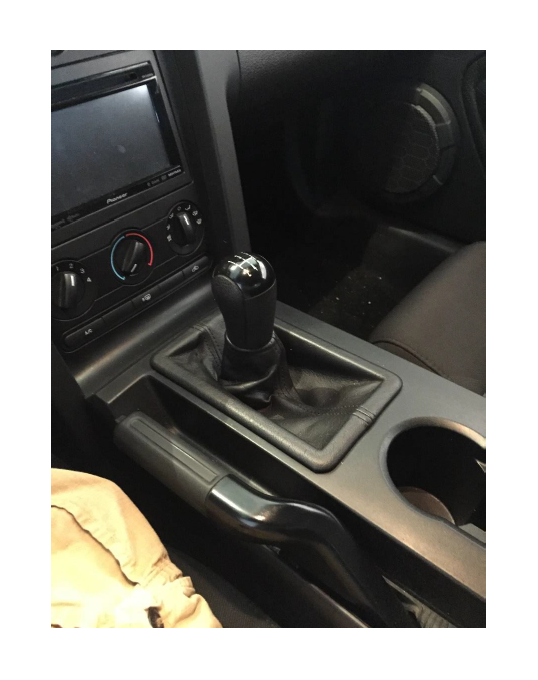
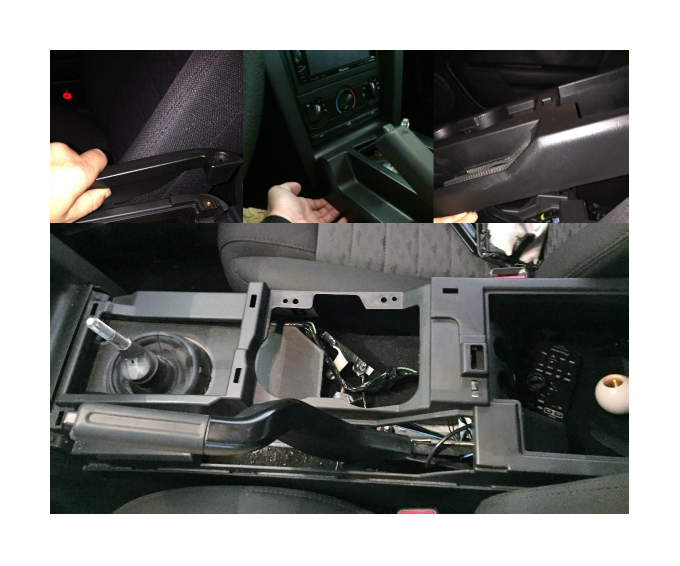
1. Remove shift boot from the shift boot retainer and remove shifter by rotating counter-clockwise.
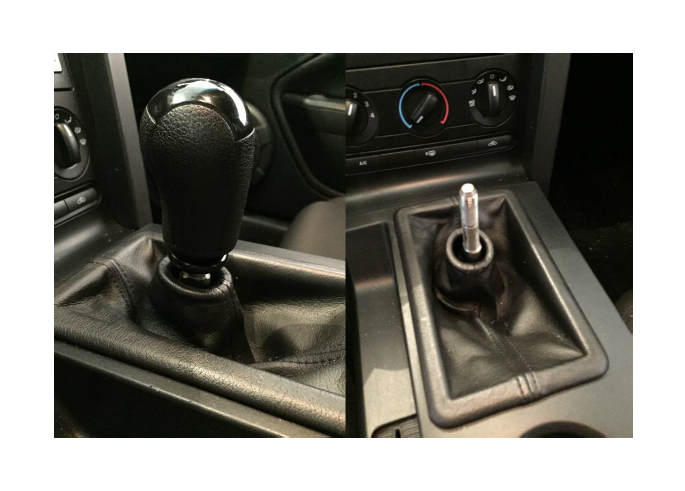
2. Remove shift boot by prying with fingers.
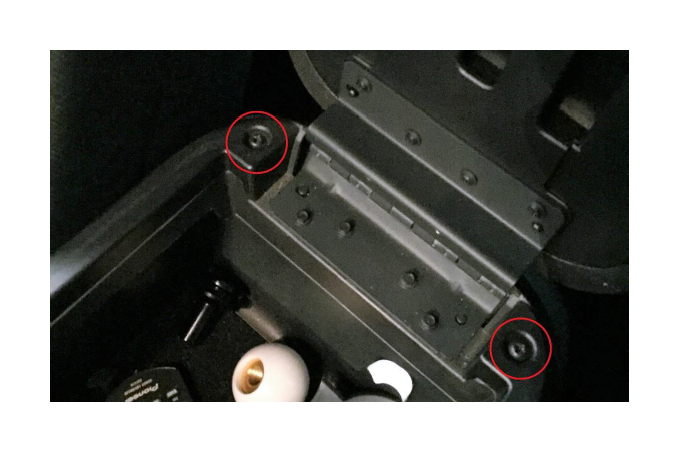
3. Remove the two Philips screws under the center console lid.
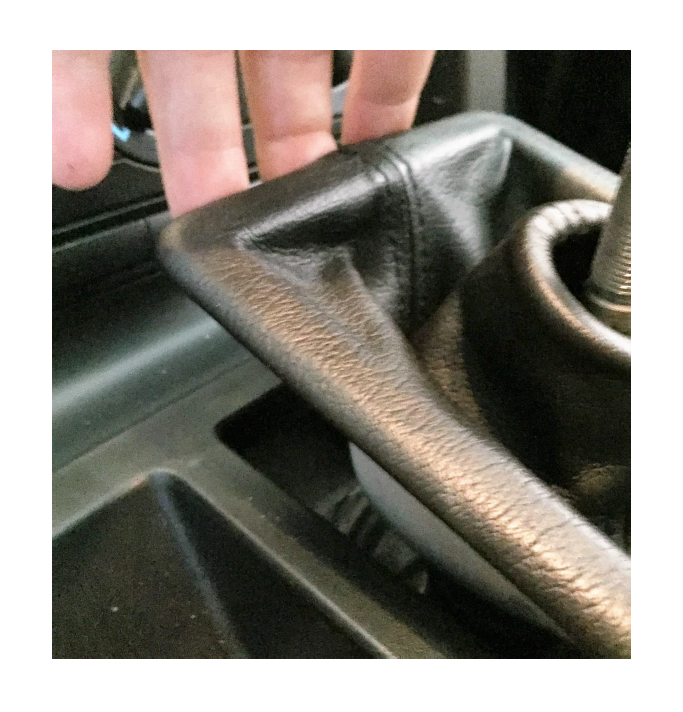
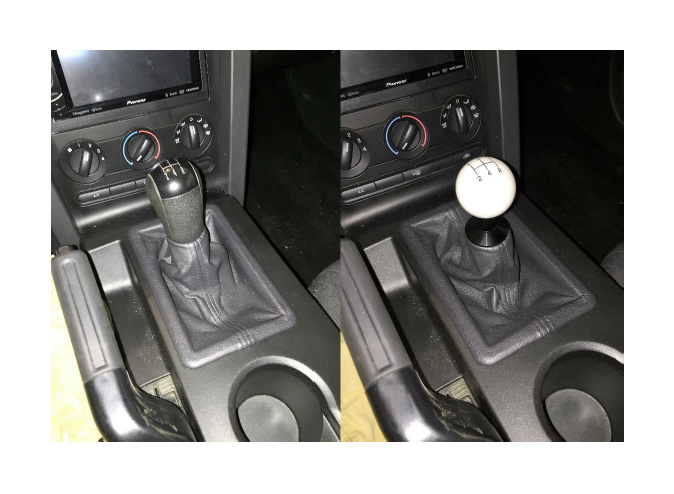
4. Remove the center trim by carefully prying on all for corners.
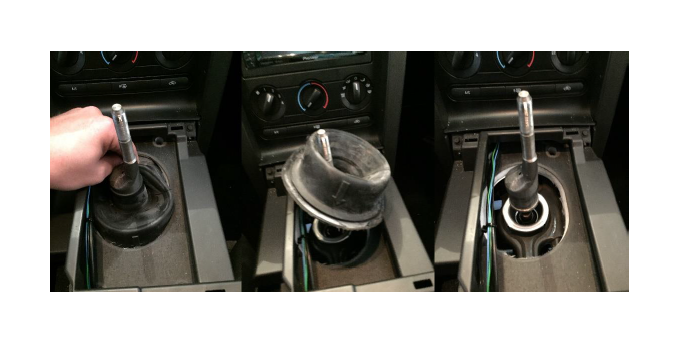
5. Remove shifter dust cover by carefully prying.
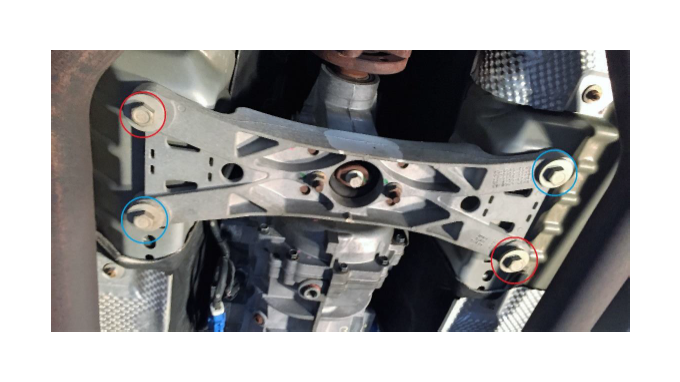
6. Underneath the car, remove two 18mm transmission cross member bolts (red). Put bolts back in 2 threads. Loosen the other 2 bolts (blue) to lower cross member. This extra space will be necessary.
7. Remove the 13mm shift linkage nut (red) with ratchet.
8. Pull linkage out of shifter and leave off to the side.
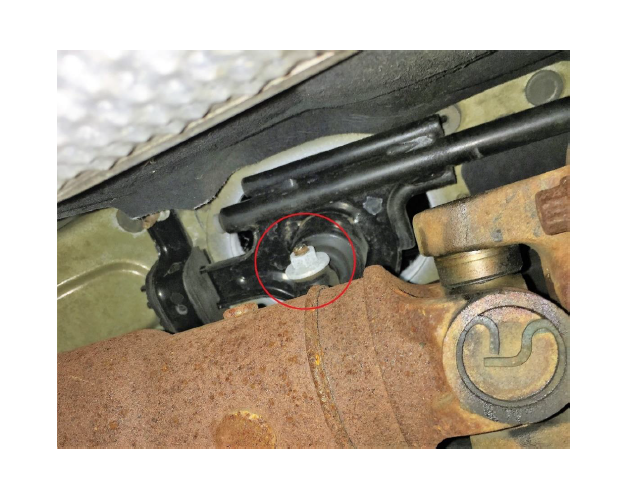
9. Remove 10mm shifter front support bolt (red) with boxed end wrench.
10. Remove 10mm rear support nuts (red) with deep socket, extension and ratchet.
11. Remove bracket and clip by pulling down bracket with force or prying on clip.
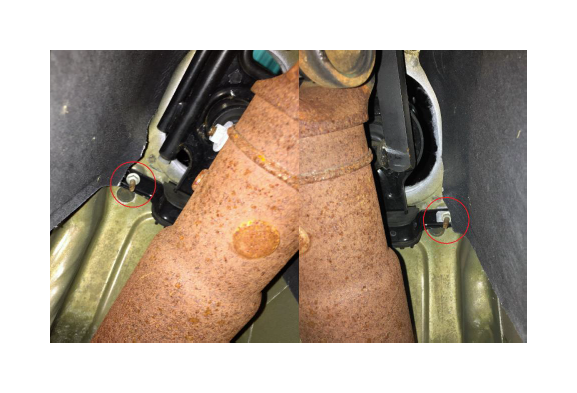
12. Remove stock shifter through interior of car.
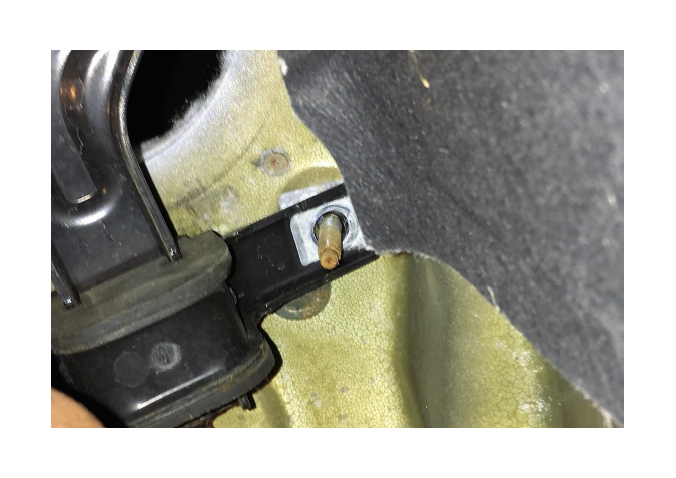
13. Put Barton shifter into place through the interior of the car.
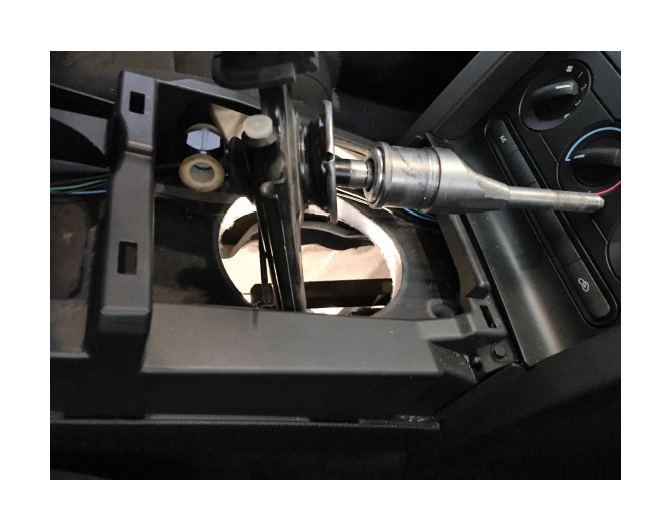
14. Install the linkage in the new shifter and finger tighten the nut.
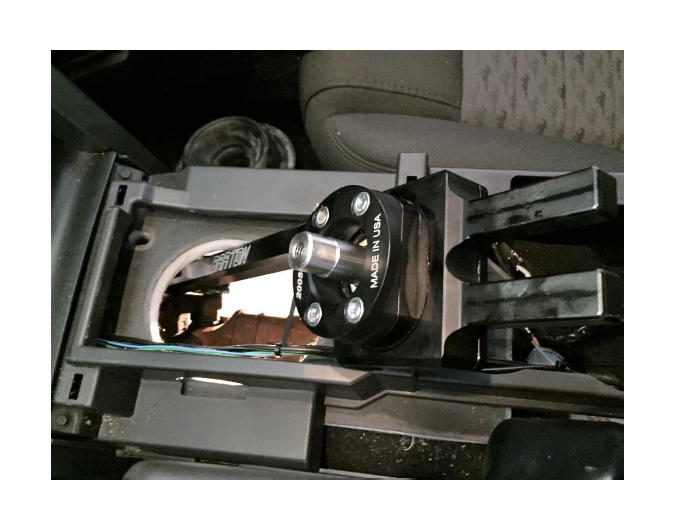
15. Install the new rear bracket and the 10mm rear bracket nuts.
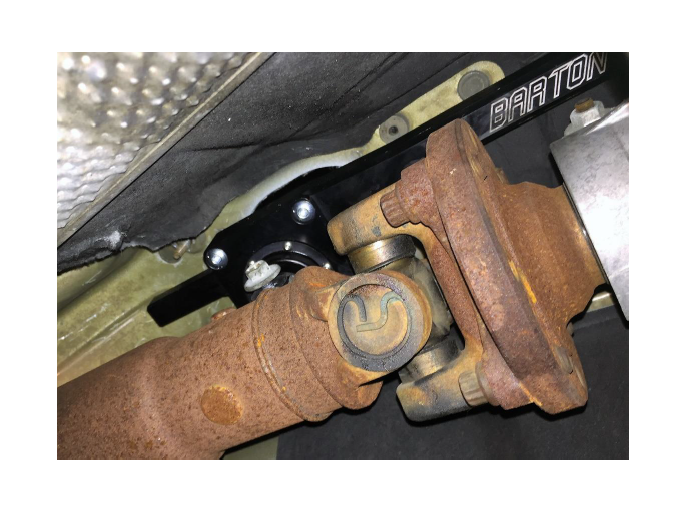
16. Install the 10mm front support bolt.
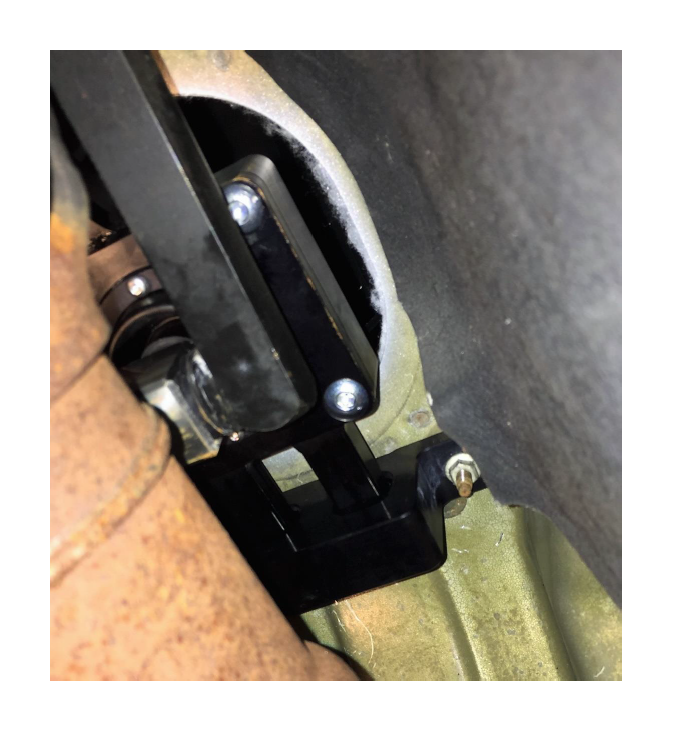
17. Finish tightening the 13mm shifter linkage nut.
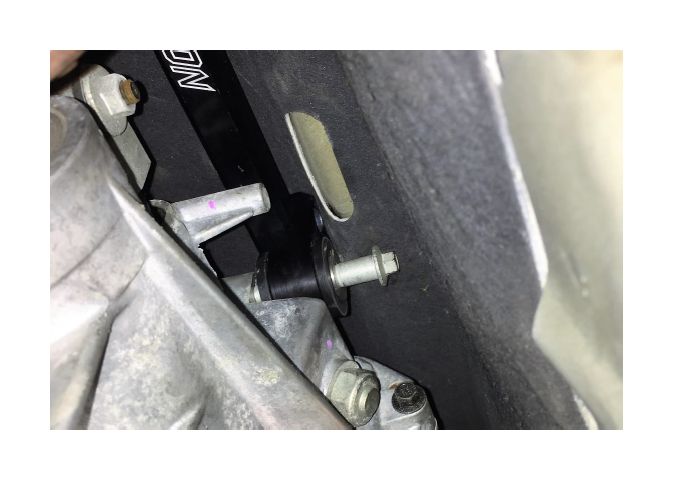
18. Reinstall dust boot by pushing and pulling the rubber into place.
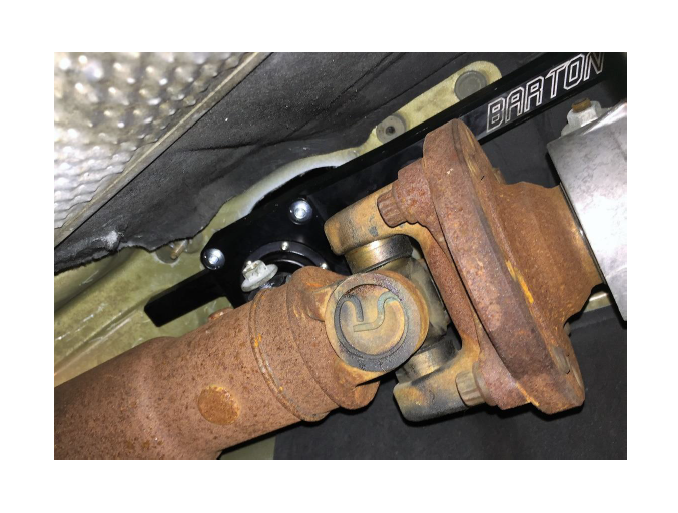
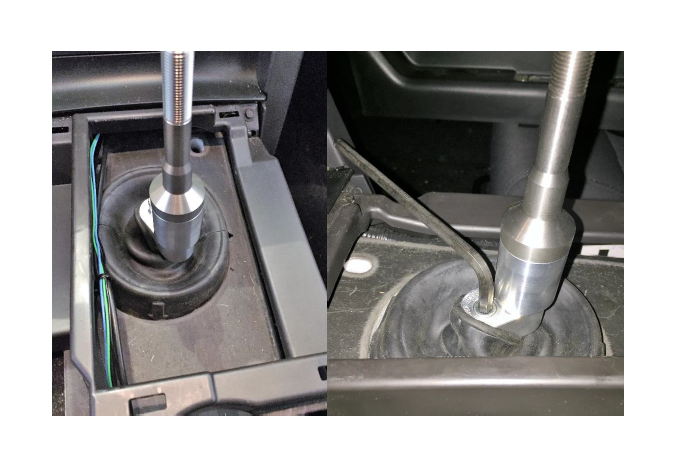
19. Install handle by sliding it into place and tightening the screw with a 1/4’’ Allen Wrench.
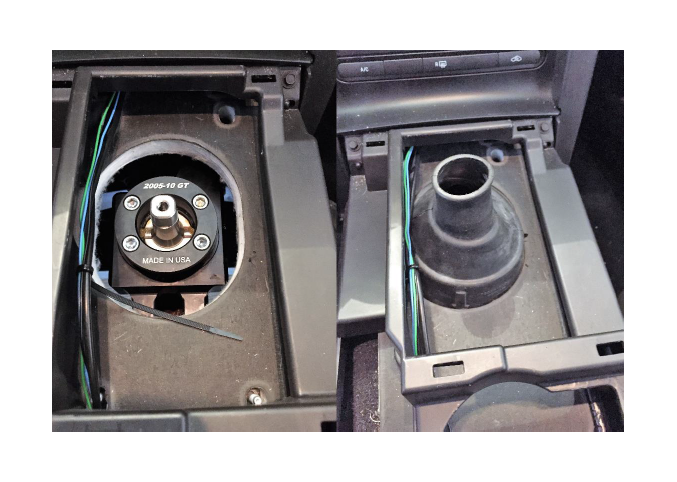
20. Lastly, reinstall center trim, shift boot and shift knob (stock or aftermarket) by reversing steps, 4, 3, 2 and 1 respectively.
