
How to Install BBK Chrome Cold Air Intake on your Mustang
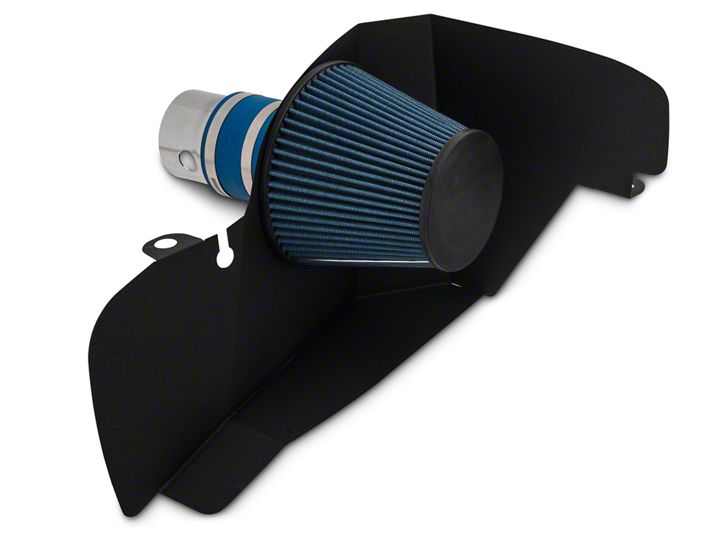
Shop Parts in this Guide
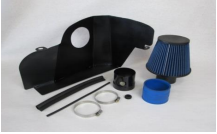
Follow these instructions carefully to ensure correct fitment and operation
STEP 1
Remove the 3 screw pins that hold the battery cover to the body lift up the battery cover and disconnect the negative battery terminal. Remove the engine cover by pulling it upward releasing it from its rubber grommets.
STEP 2
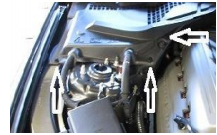
Unplug the air temp sensor from the air box. Detach the air temp Sensor wire harness from the side of the air box by slightly pulling on the harness on the barbed mounting pin.
STEP 3
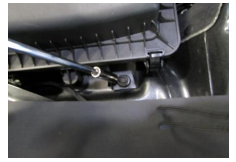
Remove the 10mm bolt on the right side of the air box that mounts it to the inner fender. Detach the air box from the lower inlet tube on the side of the radiator as you remove the air box. By pulling upwards and towards the firewall.
STEP 4
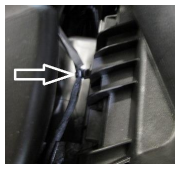
Remove the plastic radiator cover by prying up the center of the plastic pin heads at the slots; cut on each side, pull all the pins out, and set the cover to the side.

STEP 5
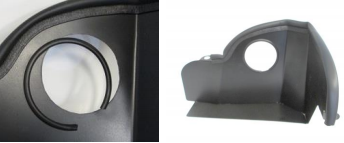
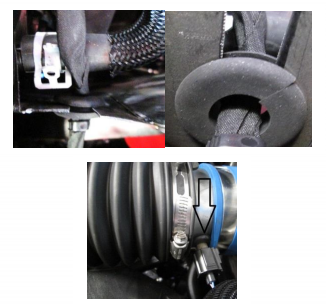
Install the supplied small trim into the hole that the BBK cold air tube will run through and cut off any excess. Install the supplied spongy trim to the top of the Air Filter Shield and cut off any excess trim.
STEP 6
Remove the two 10mm bolts from the driver side radiator mount and remove the mount by pulling it upwards from the vehicle. Install the BBK Air Filter Shield into place by setting it straight down onto the radiator mount peg. Install the stock bolt through the air shield and bolt it back into the small tab on the inner fender. Reinstall the upper radiator mount and tighten the 2 bolts.
STEP 7
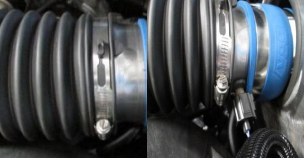
Install the rubber o–ring into the adapter pipe, remove the Air Temp sensor from the stock air box and install it into the adapter tube. Install the BBK adapter tube into the inlet tube. Install the BBK coupler and supplied clamps onto the BBK air filter, install the BBK Air Filter thru the hole in the air shield. Next slide the air filter onto the adapter tube once you have it in position tighten down all of the clamps.
STEP 8
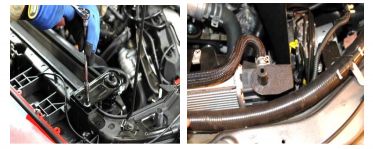
Pull back the spongy trim on the air shield. Take the rubber grommet supplied in the kit and cut a slit into it so that it can be opened up and slid over the wiring harness for the air temp sensor. Once it is placed on the wiring harness, slide the grommet and wiring harness down the cut out on the air shield until it is in place, push the spongy trim back onto the air shield. Connect the wiring harness to the Air Temp Sensor.
Re-install the radiator cover. Reconnect the negative battery terminal. Place the batter cover back onto the battery and re-install the 3 screw pins.
Follow the ECU Relearn procedure before driving on the road
Because your vehicle's engine is electronically controlled by a computer, some control conditions are maintained by power from the battery. When the battery is disconnected or a new battery is installed, the engine must relearn its idle and fuel trim strategy for optimum drive-ability and performance. To begin this process:
1.) With the vehicle at a complete stop, set the parking brake.
2.) Put the gearshift in P (Park) (automatic transmission) or the neutral position (manual transmission), turn of all accessories and start the engine.
3.) Run the engine until it reaches normal operating temperature. Approximately 4-5 minutes.
4.) Allow the engine to idle for at least one minute.
5.) Turn the A/C on and allow the engine to idle for at least one minute.
6.) Drive the vehicle to complete the relearning process.
• The vehicle may need to be driven 10 miles or more to relearn the idle and fuel trim strategy.
• If you do not allow the engine to relearn its idle trim, the idle quality of your vehicle may be adversely affected until the idle trim is eventually relearned.

