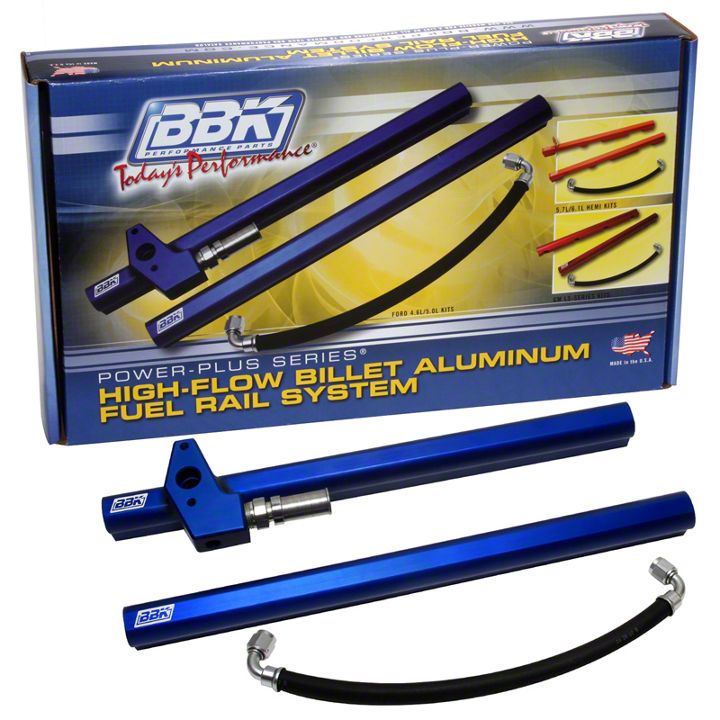
How to install a BBK High Flow Aluminum Fuel Rail Kit on your 2005-2010 Mustang
Installation Time
3 hours
Tools Required
- 5/8" Spring-Lok type fuel line disconnect tool
- 11/16" wrench
- 8mm socket
- 4mm, 5mm, 7/64", & 3/16" Allen wrenches
- Lithium grease
- Teflon tape
- Anti seize

Shop Parts in this Guide
Installation
Bill Of Materials
(1) Driver side rail
(1) Passenger Side Rail
(4) Rail mounting brackets
(1) Fuel pressure sensor mount
(1) 1/8” Pipe plug
(2) 6-32 x ¾” SHCS
(2) 10-32 x 5/8” BHCS
(4) ¼”-20 x 3/8” BHCS
(4) M6x1.0x16mm BHCS
(6) O-Rings
(8) Washers
(4) Black spacers
(1) Spring-Lok fitting
(1) 13” Fuel line hose
(2) 9/16” Rail end plugs
(2) 9/16” Rail end adapters
(2) 9/16” 90°Pushlock hose swivel fittings
Step 1
Disconnect negative battery terminal.
Step 2
Unplug fuel injectors and fuel pressure sensor (on top of driver side rail).
Step 3
Disconnect the vacuum hose that connects to the fuel pressure sensor.
NOTE
In the next step you will release the fuel pressure in the fuel rails. Be sure to extinguish any open flames and disable any spark or ignition sources, or other potential fire hazards around the work area. Keep in mind that Gasoline vapors are more flammable than gasoline itself.
Step 4
Wrap a rag around the fuel pressure sensor to avoid fuel spray and loosen the bolts that attach it to the driver side rail while holding the rag tightly. Remove the bolts and the sensor from the rail.
Step 5
Use a Spring-Lok disconnect tool to separate the fuel feed line from the driver side rail.
Step 6
Use an 8mm socket to remove the (4) fuel rail hold down bolts from the intake manifold.
NOTE
.
Fuel rails will have some fuel remaining in them. Use caution when removing them from the engine as the remaining fuel will spill out when moving them.
Step 7
Remove the keeper clips that hold the injectors into the rails and remove the injectors from the rails.
Step 8
Place the supplied O-rings onto the (2) supplied rail end caps, (2) -6 fittings & (1) Spring-Lok adapter.

