
How to Install BBK Chrome Tuned Length Shorty Headers on your Mustang
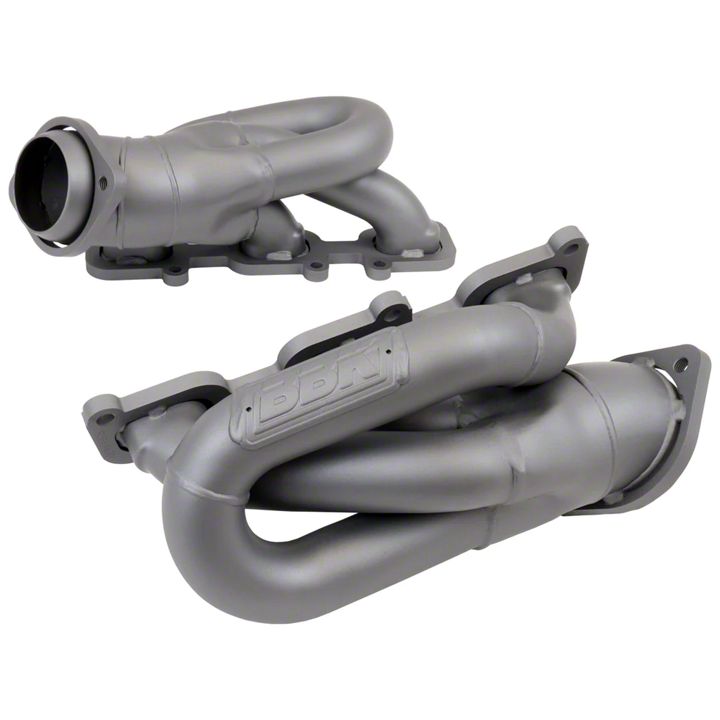
Shop Parts in this Guide
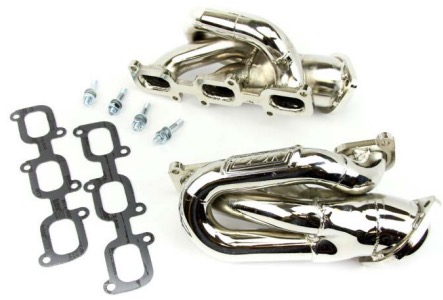
Hardware Included
1411- Set of Gaskets (1pc)
• KIT1442/0
o HDW153- Stud, M10-1.50x62mm (4pcs)
o HDW105- Flat Washer, 10mm (4pcs)
o HDW150- Hex Nut, M10-1.5 (4pcs)
o HDW151- Lock washer M10 (4pcs)
Follow these instructions carefully to ensure correct fitment and operation.
STEP 1
Disconnect the negative battery terminal, then raise and support the vehicle using jack stands or a car stand.
STEP 2
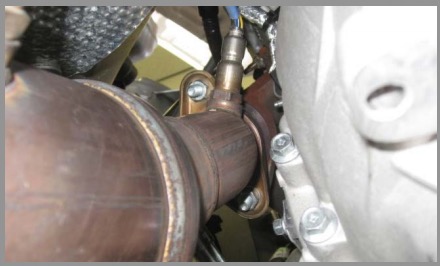
Unbolt the factory x-pipe from the exhaust manifolds and let it hang down. This will aid in tightening the passenger side BBK Header.
STEP 3
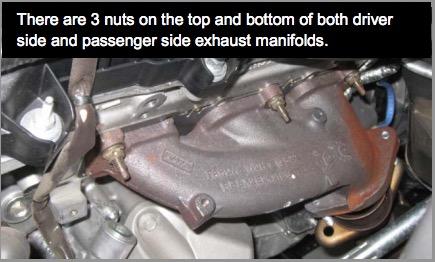
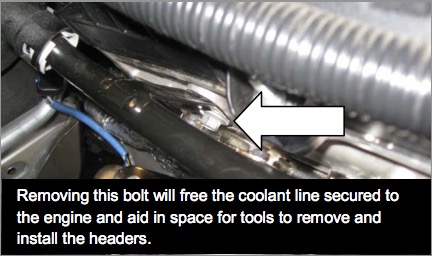
Remove the heat shields on the exhaust manifolds. Remove the 6 nuts securing each exhaust manifold to the cylinder head. Remove the Header and Gasket from the vehicle.
NOTE!!! These manifolds can be removed from the top of the engine compartment.
STEP 4
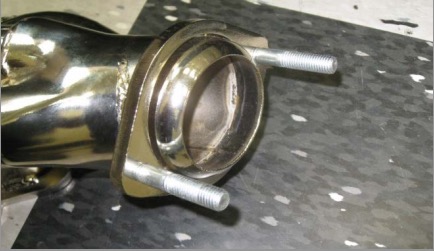
Install the supplied studs onto the BBK Header Collectors.
STEP 5
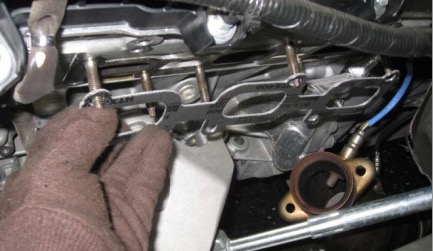
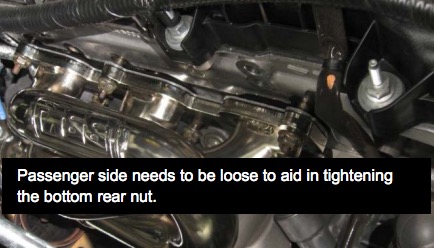
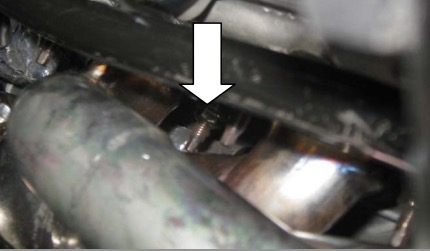
For both the driver side and passenger side place the supplied BBK Gasket and header into place. Then Tighten.
NOTE!!! The passenger side is a little more tricky. Make sure to leave all the nuts loose so the header has room to move. With the stock x-pipe hanging out of the way, the bottom rear nut needs to be tightened from behind the collector.
STEP 6
After tightening both headers, lift the vehicle and re-install the stock x-pipe using the supplied hardware and reconnect the battery.
NOTE!!! Be sure to check and re-torque the header nuts after 500 miles of driving

