
BBK Shorty Headers Installation Guide ('99-'04 V6)
Tools Required
- 13mm Wrench
- 10mm Wrench
- Socket Wrench and Assortment of Sockets
- Flashlight
- Crescent Wrench
- Ramps or Jacks
Installation
1. Before embarking on your journey to greater horsepower you must first DISCONNECT YOUR CAR BATTERY. Even though headers aren’t electrical it is a wise thing to do....trust me.
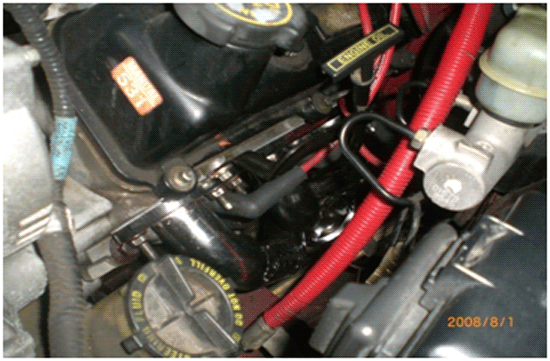
2. Now you're ready to start disassembling. Get your 10mm wrench and remove the bolt holding on your oil dipstick located on the right side of your engine.
3. After removing the bolt you will pull on the dip stick until it comes completely out. Try and locate the hole it comes out of. Being able to locate this hole now will make it easier when it comes to put it back in.
4. If you have one you may have to remove your cold air intake system as well. This step is optional.
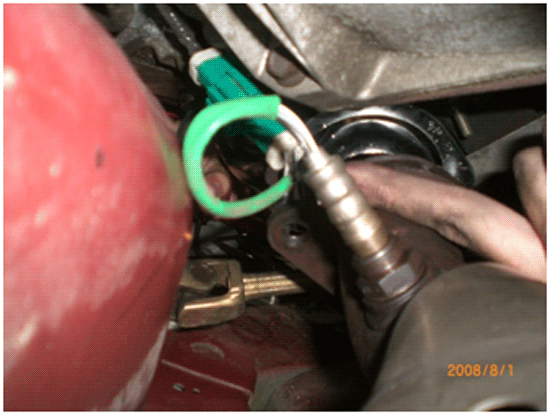
5. On the left side you may have to remove your O2 sensor pipe if it is in the way. The O2 pipe is easily identifiable as it is made of brass.
6. Also you may have to remove some of your spark plugs in order to get to all of the header bolts.
7. Now locate the nuts and bolts holding your headers on and remove all 6 of them with your 13mm wrench. You can either remove the nuts and leave the studs on or you can completely replace both the nuts and the studs. This is really a judgmental. I used my stock bolts.
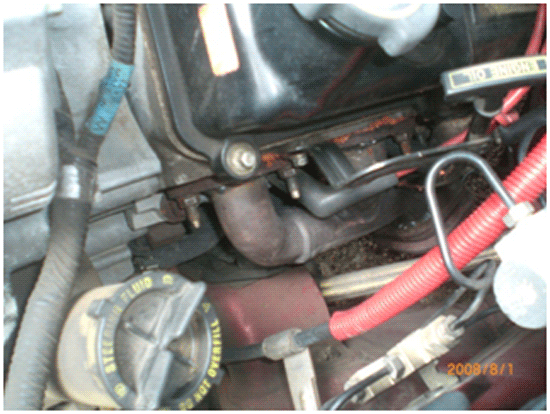
8. Again with the 13mm wrench go under the car and remove the two bolts connecting the exhaust to the headers. (Mine were previously converted to a true duel exhaust but if you have the stock exhaust and are using a downpipe you must disconnect the headers from it).
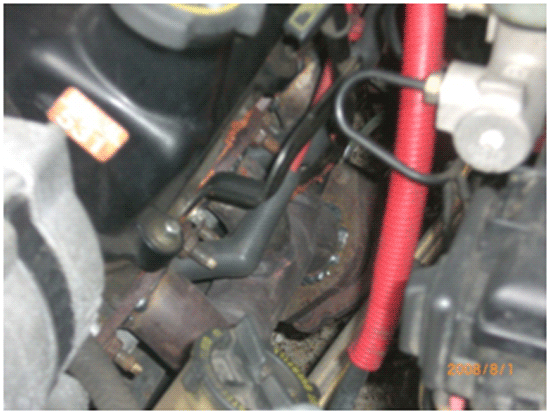
9. Repeat last two steps for both sides.
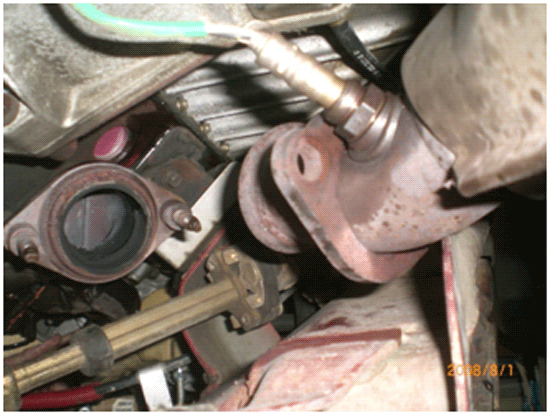
10. Now very carefully pull the headers out. I found it was easier to remove one header through the bottom on the left side and the other header through the top on the right side.
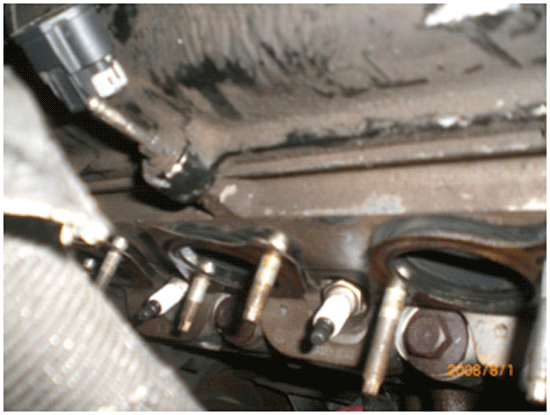
11. Once you have both headers completely off which sounds a lot easier when it's explained in this guide than it is when you're actually doing it you are ready to put on your new BBK Performance headers.
12. You might want to clean your manifold with some throttle body cleaner or something of that sort. Make sure it is alcohol based and will dry quickly.
13. Now grab your gasket and place it on the studs accordingly.
14. Then put your headers on the studs making sure it is a good fit before placing the nuts back on the studs.
15. Now tighten them down almost as tight as you can. You want to make sure the headers fit flush upon the exhaust manifold.
16. Now go back under the car and attach the new headers to the exhaust and tighten the bolts. I found it helpful to use one or more socket extensions when reattaching the headers to the exhaust which makes tightening the bolts a little easier on your hands.
17. Tighten the nuts on the headers to the studs all the way and replace everything you removed.
18. After finishing start your Mustang and make sure everything sounds all right and that your "Check Engine" light is not on.
19. Now just enjoy the power of your NEW BBK HEADERS!
Installation instructions provided by AmericanMuscle customer Taylor Matlock 8.1.08

