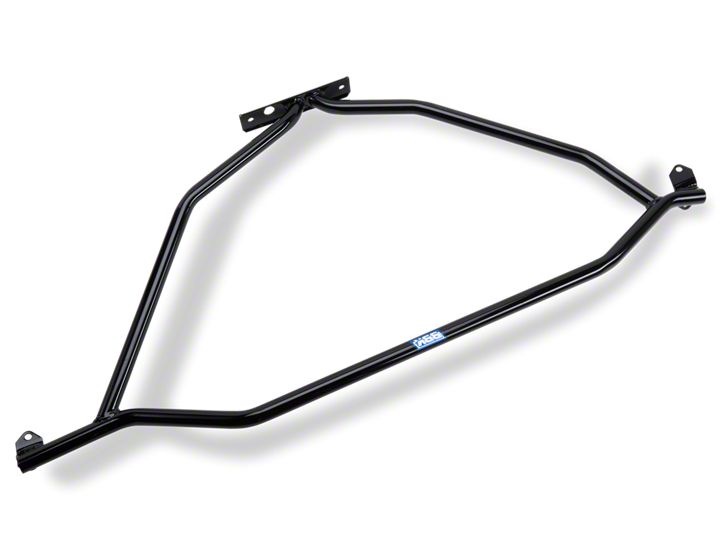
How to Install BBK Strut Tower Brace - Black on your Mustang

Shop Parts in this Guide
Step 1: Raise hood disconnect neg.(-) battery.
Step 2: Remove factory-installed strut tower brace if equipped.
Step 3: Position BBK tower brace in vehicle and attach with supplied hardware using the existing threaded holes in chassis where the factory tower brace was attached. If vehicle was not equipped with a factory-installed brace and there are not any threaded holes in the chassis to install one then move on to STEP 4.
Step 4: Remove the windshield wipers and the plastic grate installed beneath them.
Step 5: On 1979-93 Mustang position the brace on each strut tower and against the firewall and verify sufficient clearance with the hood and other components in the engine compartment. Once verified drill a hole in the chassis to match the mounting holes in the BBK brace, insert a supplied bolt into each hole as you finish drilling them – this will ensure appropriate alignment of all the holes once drilled. Install the supplied bolts, washers and nuts and tighten securely. A firewall spacer/backing plate is supplied and can be used either as a spacer between the brace and the firewall or as a backing plate on the backside of the firewall.
Step 6: On '94 - 02 Mustangs position the brace on each strut tower and against the firewall. If there are no mounting holes or insufficient material on the firewall seam protruding into the engine compartment to align to the 2 holes in the brace, then the supplied firewall adapter will need to be installed along the seam using the supplied hardware. The 2 tapped holes in this bracket must align to the 2 large bolt holes on the firewall mount portion of the brace. (Note- all the hardware on the firewall adapter and/ or the firewall mount portion of the brace is installed in a vertical manner.)
Step 7: Trim the plastic firewall shroud to fit around the brace and/or adapter and reinstall.
Step 8: Reconnect neg.(-) battery terminal and verify hood clearance before closing hood.

