Guaranteed Free Delivery by 12/24! available on most items - Details
How to Install Hood Accent Decals on you 1999-2004 Mustang GT and V6
Installation Time
1 hours
Tools Required
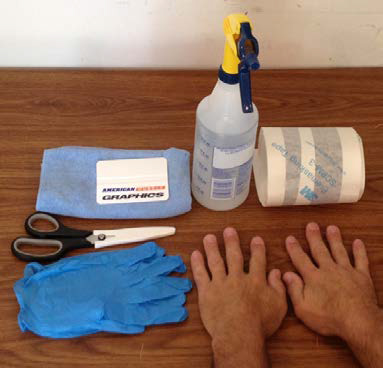
- Microfiber Towel
- Squeegee
- Spray Bottle Filled with Water
- Scissors
- Hands
- Rubber Gloves (optional)

Shop Parts in this Guide
Before
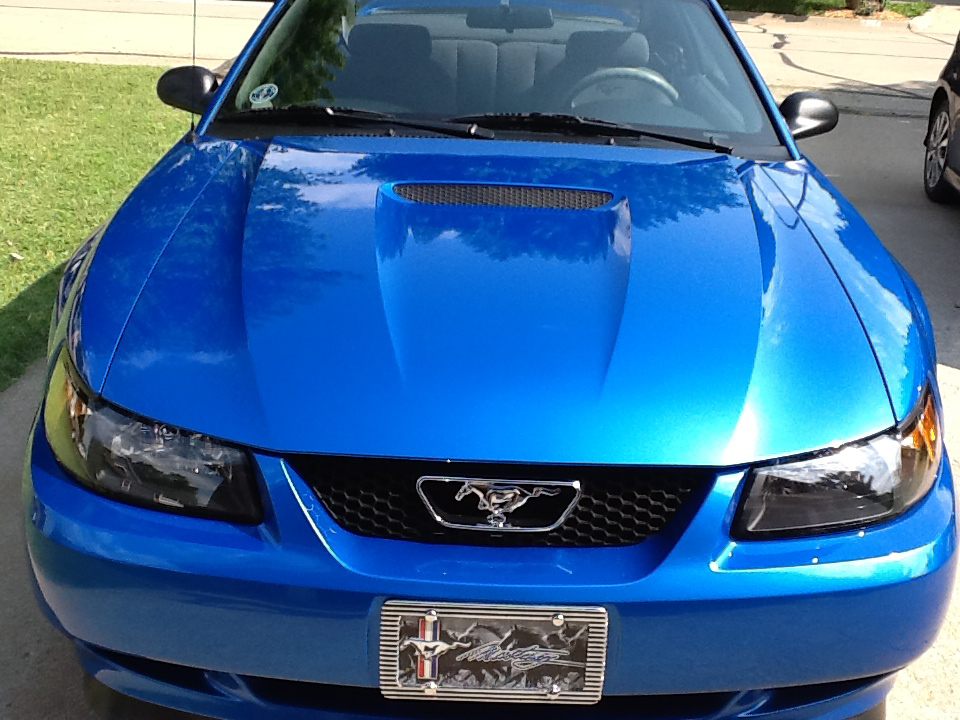
1. Clean the ridge on the hood with the microfiber cloth where the decal will be applied to ensure there is no dust or debris.

2. Separate the decals by cutting them apart on the roll
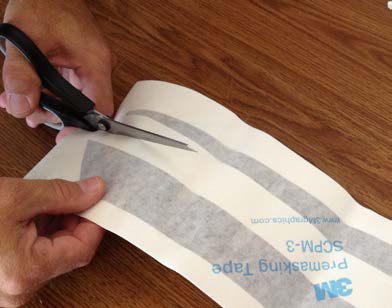
3. Lay decal on hood to see the area to cover.
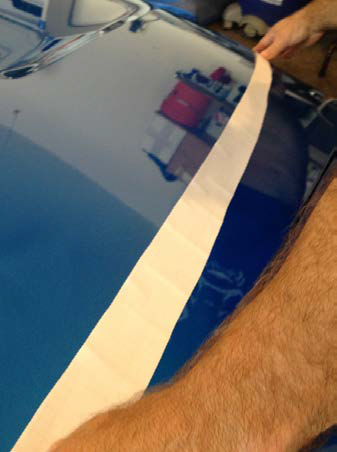
4. Before peeling the decal from the tape, determine which side of the hood the decal will be applied. The side with the writing is UP.
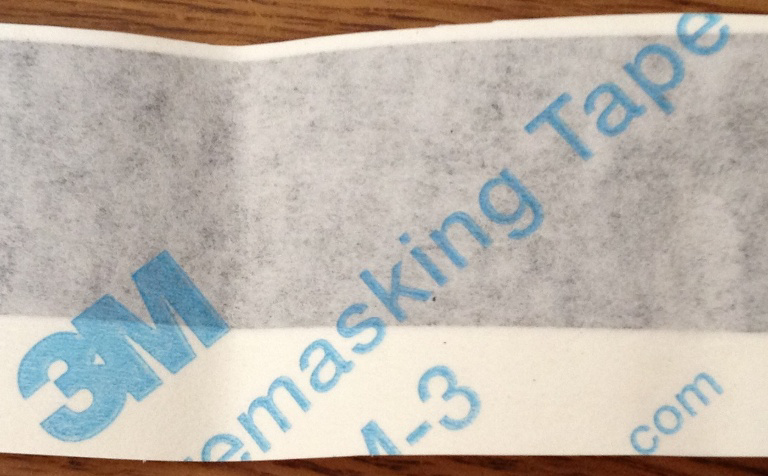
5. Carefully peel both sides of the decal from the tape (NOTE: the decal is very thin and may stretch.)
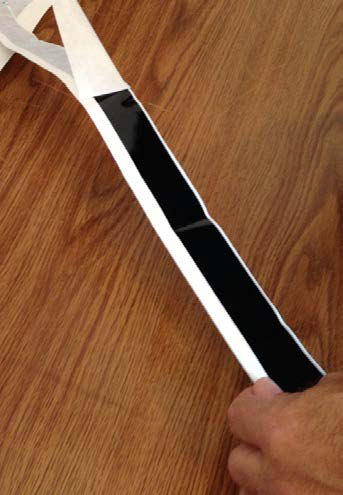
6. LIGHTLY mist the application area and lay the decal as close to the final application area as possible. Starting on the windshield end. (NOTE: you should have someone help you by holding the tapered end as you do the initial laydown)
NOTE: Most decal applications are easier with a lot of water applied to the surface. However these decals are very thin and water drops on the surface will create a bubbles
7. Once you have the initial application. Start on the windshield side and pull if half way off and begin the final application. The decal is about as wide as your thumb is long, so use that as your squeegee.
8. Slowly use your thumb and guide the decal along the ridge until you reach the windshield
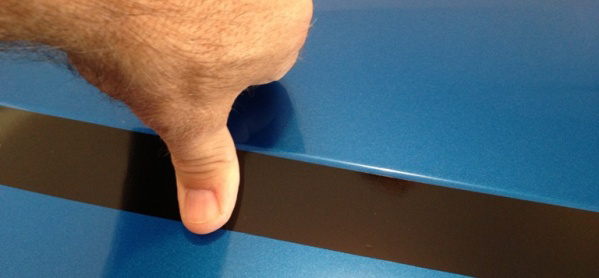
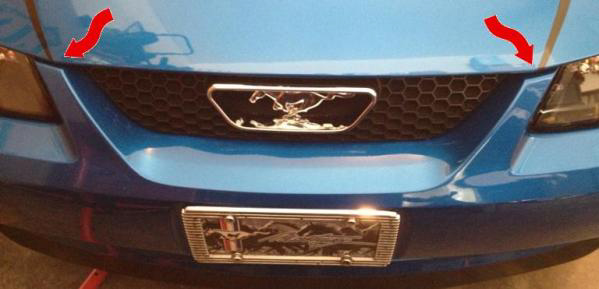
9. The decal will have stretched approximately an inch or two, which lets you extend it beyond the hood and tuck it along the edge of the hood
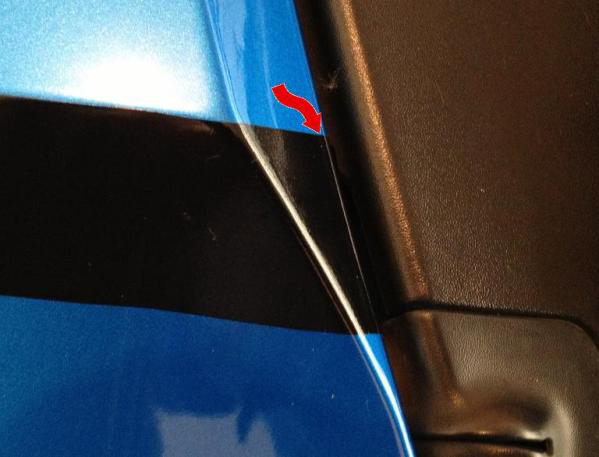
10.Go back to the middle and do the same as in step 8 towards the front of the hood. This will stretch as well and you can wrap it around under the front of the hood
11.Use the front bumper to gage the front points are even.
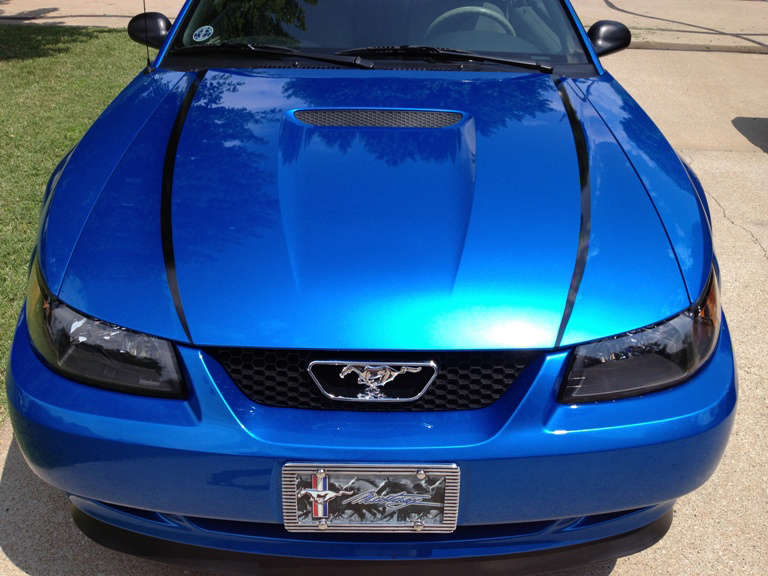
After
Installation Instructions Written By AmericanMuscle Customer Curt Herrman 7/10/2013
