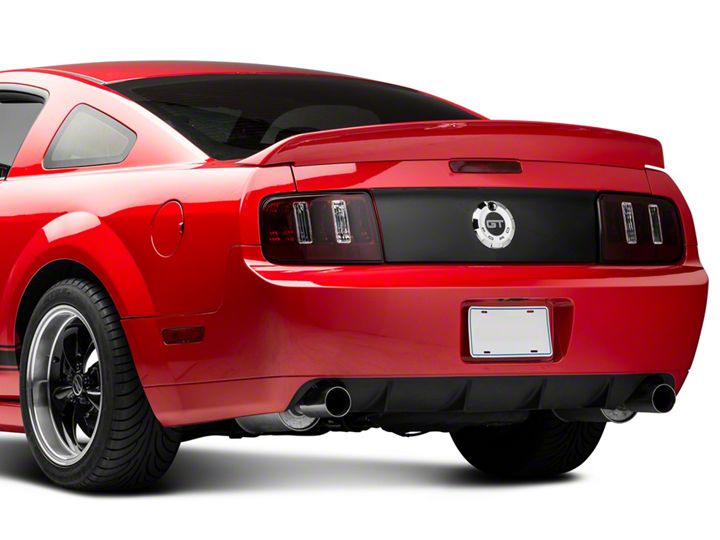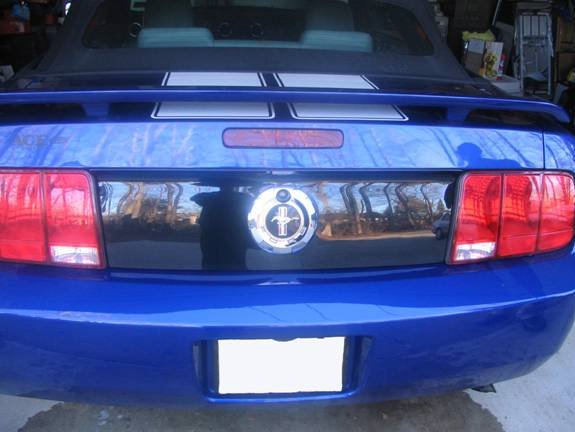
2005-2009 Mustang Rear Blackout Panel Installation Guide
Installation Time
30 minutes
Tools Required
- Any car washing liquid
- Micro fiber Towel (Optional)

Shop Parts in this Guide
Installation
1. Open the package you will see the items listed above. Everything you need will be right there. You’ll notice that on the backside of the panel the 3M double sided tape is already applied to the product.
2. Clean the area of the deck lid that you will be applying the panel to. At this stage you can either use your own cleaning supplies or use the alcohol wipes provided. I prefer using my own supplies as I am more comfortable with the end result. Make sure to dry the area completely and efficiently to avoid complications with the 3M adhesive.
3. Remove the thin strip of plastic that is covering the 3M double sided tape on the back of the panel. This part is where you have to be careful not to place it in the wrong spot.
Note:The first time I put the panel on it wasn’t evenly lined up. In order to take it off it took a lot of force. No damage to the car at all but still a pain to get off. (Lets you know how strong and reliable this adhesive really is)
4. Slowly start to bring the bottom end of the panel on the deck lid keeping it straight as much as you can. Ease the panel from the bottom to the top until it sits on the deck lid. Step back and take a look, you have just installed your brand new Blackout Panel.
5. Double check to that each side of the adhesive is secure, then wipe down the panel and enjoy your hard work.

Installation instructions provided by AmericanMuscle customer Chris Latini.
Related Guides
-
Installation
-
-
Installation

