
How to Install BMR A-Arm Support Brace - Hammertone on your Mustang
Installation Time
1 hours
Tools Required
- Floor Jack or Lift
- Jack Stands (2)
- Torque Wrench (can torque up to 140 ft/lbs)
- Ratchet
- 21mm deep socket
- Lug nut socket for your wheels
- Wheel chocks
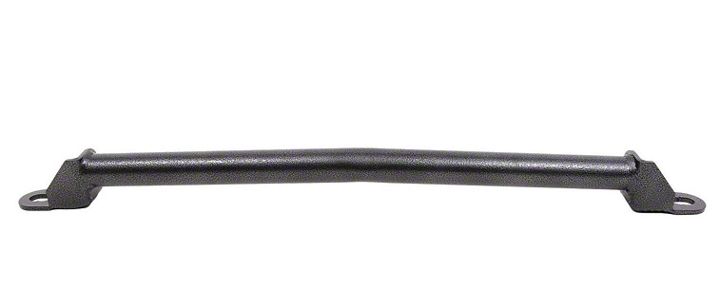
Shop Parts in this Guide
Removal Procedure:
1. Engage the parking break and put into first gear, park for automatics. (If car is lowered you might want to drive up on ramps or wood to have more clearance for floor jack, then engage parking brake and put into first gear or park.)
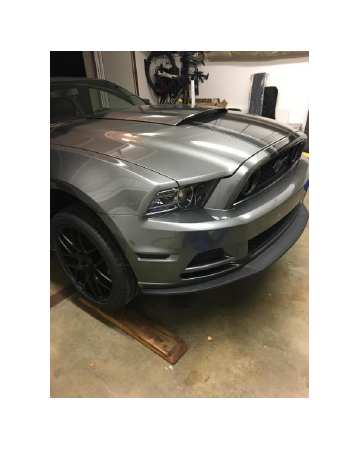
2. Place wheel chocks behind the two rear tires.
3. Place floor jack under right or left side and jack at jack point. Once the car is high enough, place a jack stand under the car at the appropriate jack point and remove floor jack to repeat the process on the other side. For extra support and safety, place the floor jack under the center, front jack point until snug.
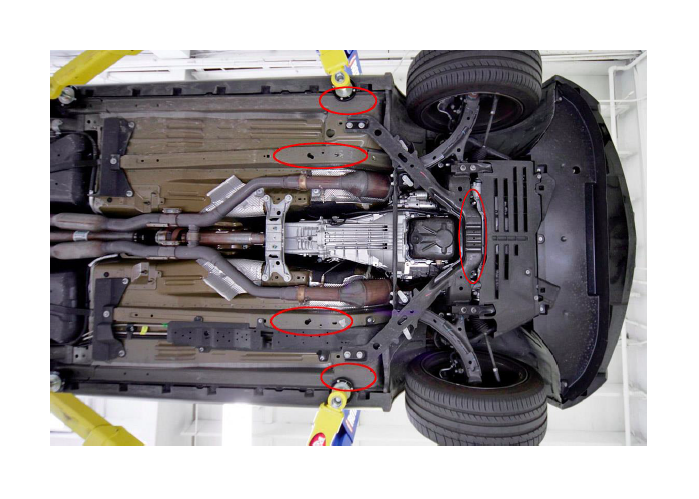
4. Once under the car locate the 21mm nut (green arrow) and the 18mm bolt (green circle on both sides of the car. From the picture below the nut and bolt are not visible. This is where the bar is installed. This bar does not replace the black bar that the red arrow is pointing to.
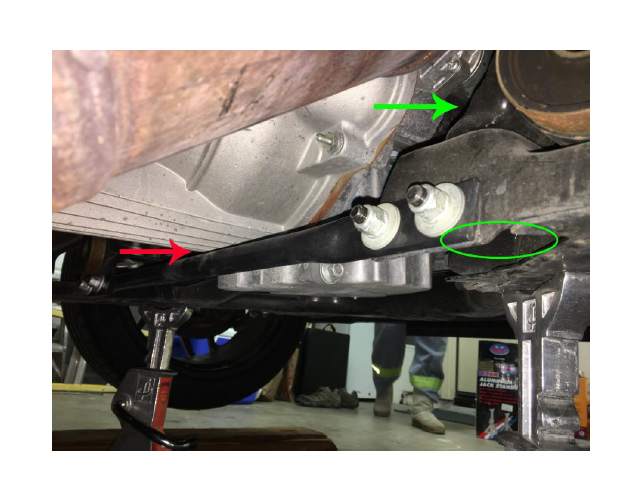
5. The picture below is the view under the green circle of the 18mm bolt. Note that due to the tab attached to the 18mm bolt it CANNOT be removed from the underside of the car. Therefore, the 21mm nut must be removed from the top.
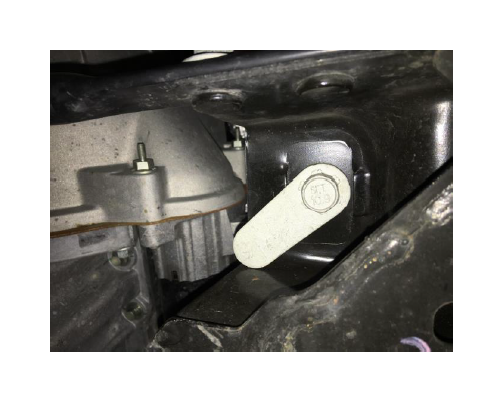
6. The 21mm nut cannot be removed from the underside of the car either because the exhaust cats are in the way. To access the 21mm nut with enough leverage, the wheel must be removed. With the wheel removed, the 21mm deep socket and ratchet have enough clearance to access the nut from this spot. Repeat on other side.
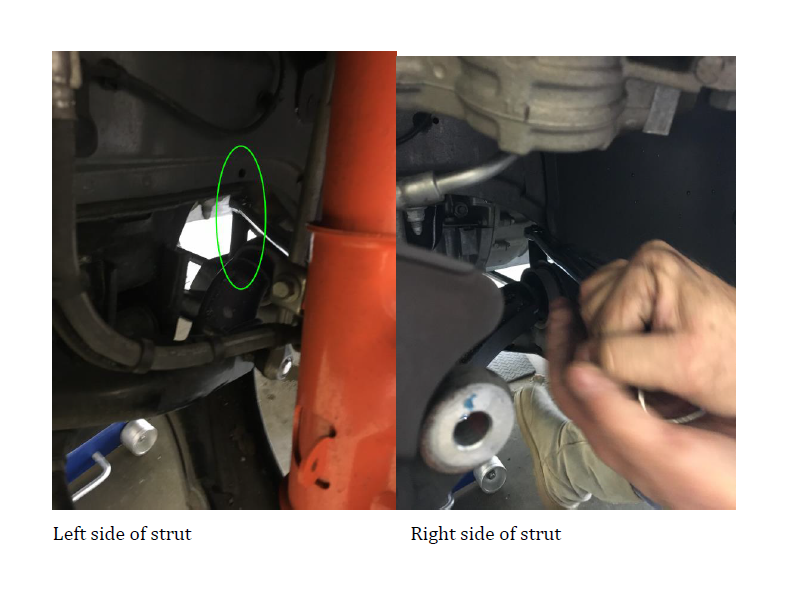
Install Procedure:
1. Now with the nut and bolt removed take the new BMR A-Arm support bar and put it in place. NOTE: You can put the nut and bolt back in exactly how it was with the 18mm bolt head and tab on the underside of the car with the 21mm nut on top, or save yourself some time and frustration and flip the nut and bolt making the 18mm head and tab on top and the 21 mm bolt on the underside of the car. Doing this will it make it much easier to torque at 140 ft lbs.
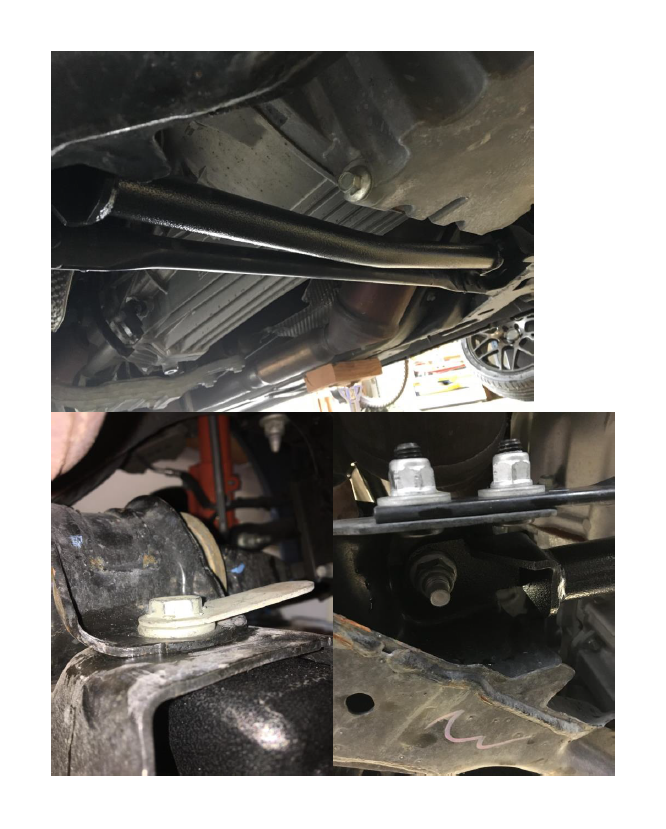
These two images show the 18mm head on top and 21mm nut on the bottom.
2. If you want to keep the nut and bolt the same as it originally was, with 21mm nut on top and 18mm head on bottom, the brake caliper must be removed in order to fit a torque wrench large enough to torque at 140 ft lbs.
3. Once bar is in place use a regular ratchet to hand tighten both 21mm nuts incrementally.
4. Once tight, Torque both 21mm nuts to 140 ft lbs.
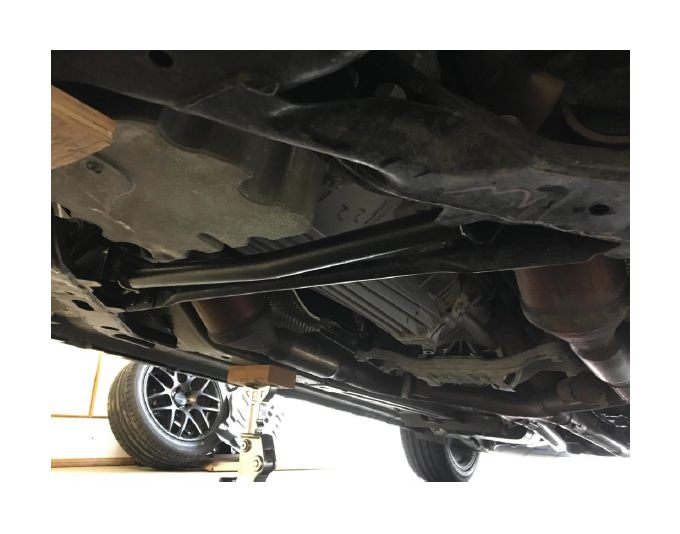
5. If you flipped the nut and bolt, put the front wheels back on and Torque lug nuts incrementally to 100 ft lbs. If you did not flip the nut and bolt and removed caliper, simply put the caliper back on the follow step 5.
6. Using the floor jack that is snug at the front jack point, jack the car up slightly to remove jack stands.
7. Lower the vehicle with floor jack.
8. Remove wheel chocks.
9. Have fun!

