FREE 1 to 3-Day Delivery on Orders $119+ Details
INSTALLATION:
1. Lift vehicle and support with stands positioned under the frame rails. Remove both front wheels/tires.
2. This step is not necessary for installation but makes the work area more accessible. Using a 18mm deep socket, loosen both outer tie rod ends. Knock both tie rods loose from the spindles using a brass hammer.
3. Using a 15mm wrench and 18mm socket, loosen and remove the spindle bolt that clamps the ball joint to the spindle.
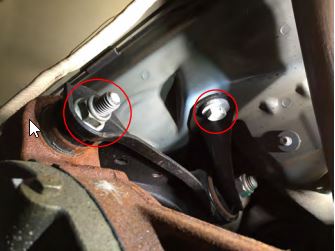
4. Using a 18mm socket (21mm for 2010 and newer), loosen and remove the rear A-arm bolts on the K-member.
5. Using a 18mm socket, remove the front A-arm bolt on the K-member.
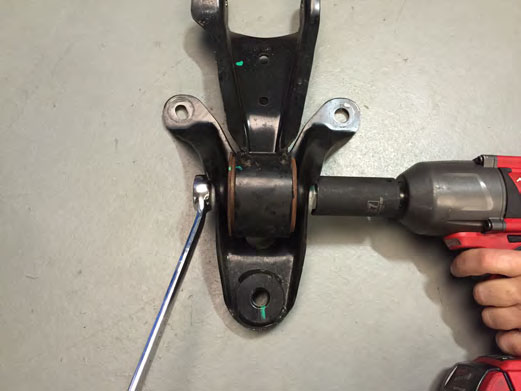
6. Remove A-arm.
7. If you are installing BMR non-adjustable A-arms, proceed with the installation using steps 1-6 in reverse. If installing BMR adjustable A-arms, adjust the rod-ends to the approximate length of the OE A-arm and then install. DO NOT TIGHTEN THE FRONT A-ARM BOLT UNTIL THE SUSPENSION IS LOADED, FAILURE TO DO SO WILL CAUSE BUSHING PRE-LOAD RESULTING IN PREMATURE BUSHING WEAR, IMPROPER RIDE HEIGHT, ETC.
8. With the A-arms installed, torque the following bolts to these specs:
•Rear A-arm bolts – 95 FT/LBS.
•Do not tighten front A-arm bolt at this time.
•Tie rod stud – 85 FT/LBS.
•Ball joint cross-bolt – 40 FT/LBS.
•If using BMR adjustable A-arms, tighten the jam-nut on the rod end at this time.
9. Repeat steps 3-8 for the other side.
10. Re-install wheels/tires and allow the vehicles weight to rest on the suspension. The suspension is now loaded and the front bushings may be tightened to 95 FT/LBS. If not on a service lift, this step may be done on ramps or blocks.
11. Grease all bushings on the A-arms with a grease gun. For optimal wear qualities and minimal noise, a silicone, polyurethane-specific grease is recommended.
With all versions of these A-arms, a 4-wheel alignment is necessary after installation. If you are installing BMR adjustable A-arms, it is possible to narrow the track width up to 9/16” per side. Depending on vehicle ride height, doing so may require additional camber adjustment in the form of camber bolts. These are also available from BMR under part number FC001.