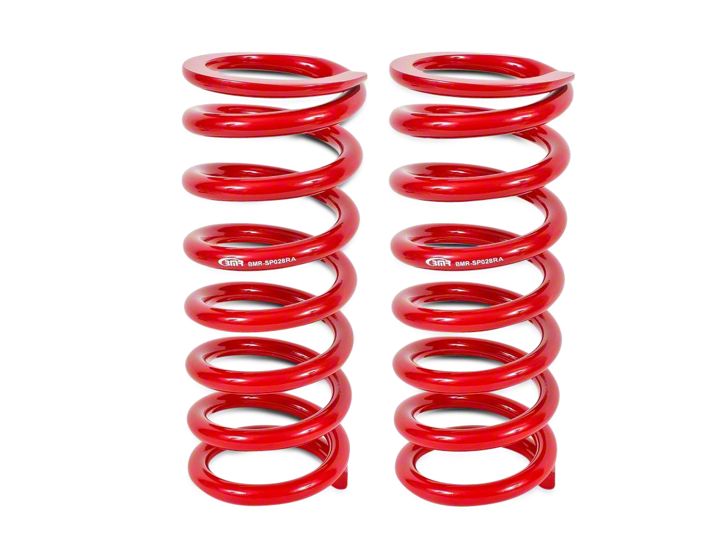
How to Install BMR Lowering Springs - Coupe on your Mustang
Tools Required
- 15mm wrench
- Sockets – 15mm, 18mm, 21mm
- Hydraulic floor jack
- 4 Jack stands
- Pry-bar
Shop Parts in this Guide
INSTALLATION:
1. Lift vehicle and support with jack stands under the rocker pinch welds.
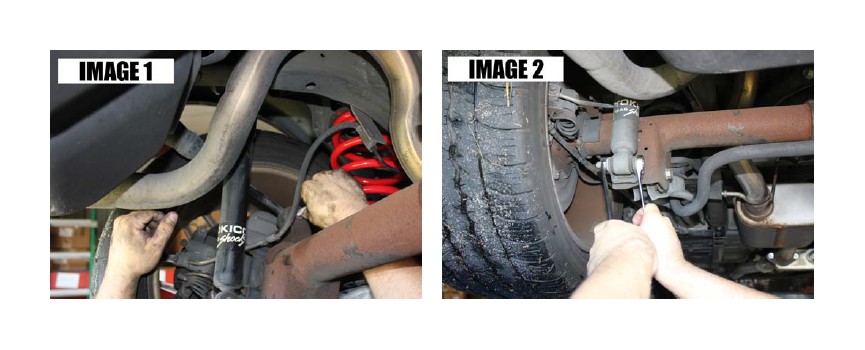
2. Using a 15mm socket, remove the quad shock bolts as shown in IMAGE 1.
3. Start with the rear. Using a 15mm wrench and an 18mm socket, remove the lower shock bolts as shown in IMAGE 2 then allow the rear end to lower until the springs are loose.
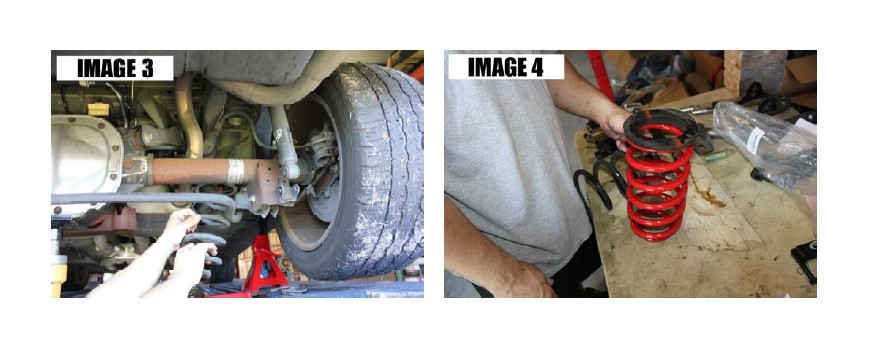
4. Remove the springs. (IMAGE 3)
5. Remove the rubber upper spring sleeve from the OE springs and place it over the BMR spring as shown in IMAGE 4.
6. Install the BMR springs making sure the springs are properly on their seats. Make sure to use the lower spring isolater on the control arms.
7. Lift the rear and re-connect the shocks. Tighten the bolts.
8. Re-connect the quad shocks and tighten the bolts.
9. Proceed to the front of the vehicle and remove the front wheels/tires.
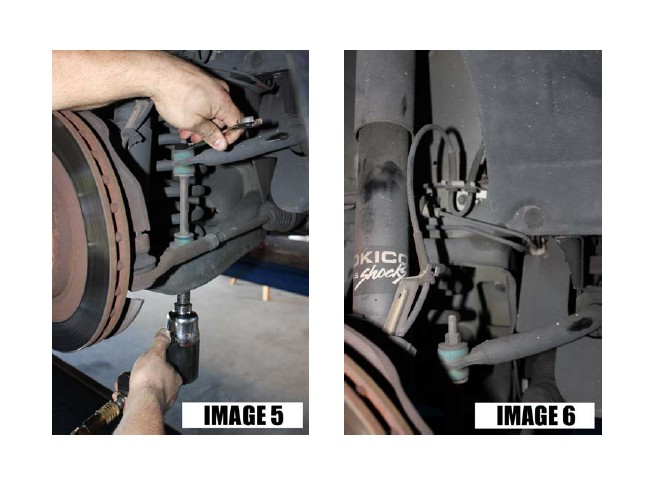
10. Using a 15mm wrench and socket, remove the sway bar end links. (IMAGE 5)
11. Remove the brake lines from their clips as shown in IMAGE 6.
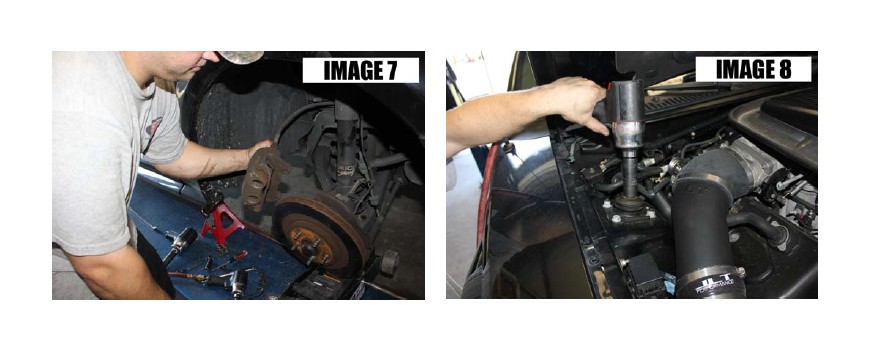
12. Using a 15mm socket, remove the caliper bolts. Hang the caliper out of the way using a clothes hanger or wire. (IMAGE 7)
13. Remove the brake rotor to provide access to the lower A-arm.
14. Place a jack under the lower A-arm.
15. Using 21mm socket, loosen the upper strut nut then lower the A-arm far enough to remove the spring. (IMAGE 8)
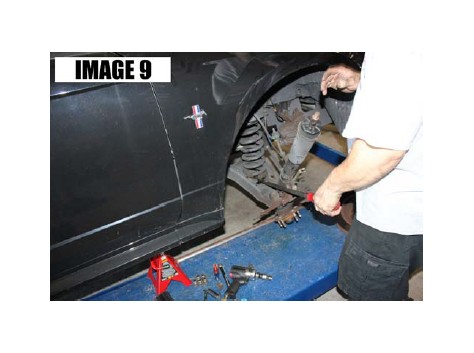
16. Using a pry-bar, carefully pop the spring out of it’s seat. (IMAGE 9 on following page)
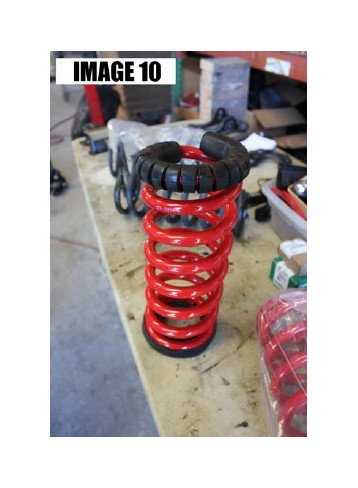
17. Swap the isolator bushings from the OE springs to the BMR springs. (IMAGE 10 on following page)
18. Install the BMR springs and lift the lower A-arm while guiding the strut through the strut tower. Once the stud protrudes through the tower, thread the nut onto it and tighten to.
19. Re-install the brake rotor and caliper. Tighten the caliper bolts to
20. Re-connect the brake lines to the clips on the spindle and frame.
21. Re-connect the sway bar end links and tighten.
22. Install the wheels/tires and lower vehicle.
23. Drive the car 10-15 miles to settle the springs. Lowering the car will create negative camber in the front of the vehicle. It is important to get the car to an alignment shop as soon as possible to prevent irregular tire wear.
Align the vehicle to the following BMR recommended specifications:
CAMBER: -1 to -1.25 degrees
CASTER: 3 to 4 degrees
TOE: 1/16” to 3/32” toe-in
