
How to install a BMR Non-Adjustable Panhard Bar on your 2005-2014 Mustang
Installation Time
1 hours
Tools Required
- Jack
- Jack stands
- 18mm socket
- Rubber mallet
- Tapered punch
- Grease Gun (with silcone grease ONLY)
- Torque wrench capable of 129 foot pounds
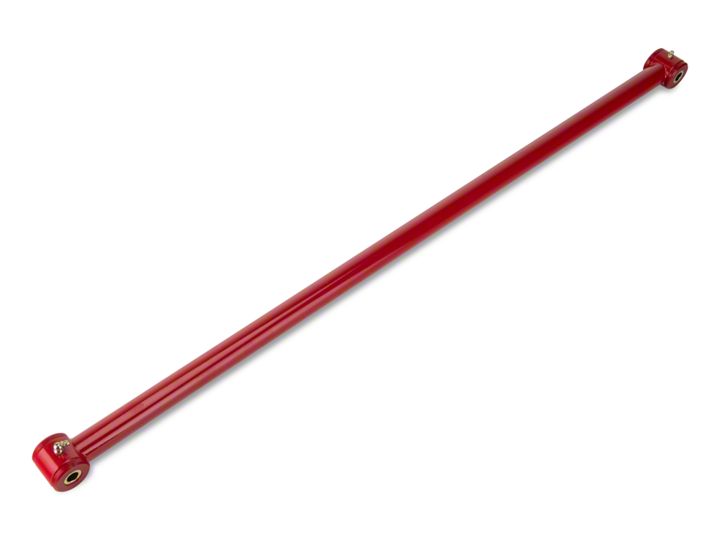
Shop Parts in this Guide
Tools:
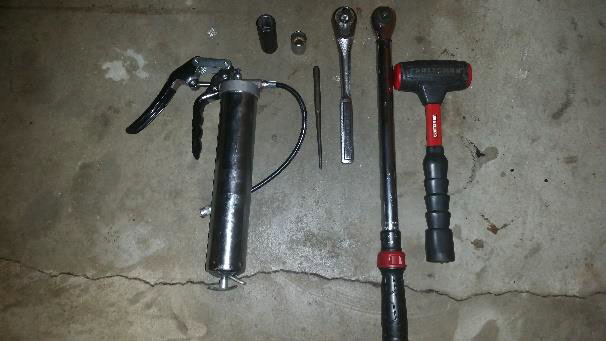
1. Start by raising the rear of vehicle, place jack stands under rear axle.
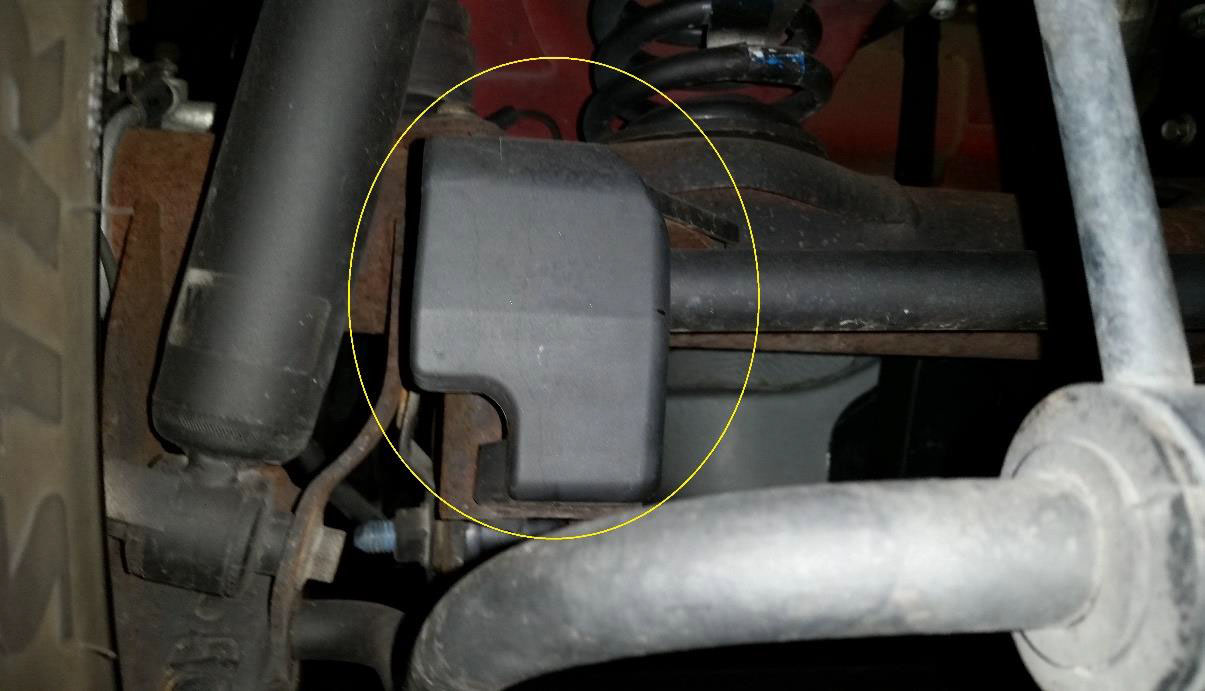
2. Remove plastic on the driver side that covers the 18mm bolt circled in the picture below.
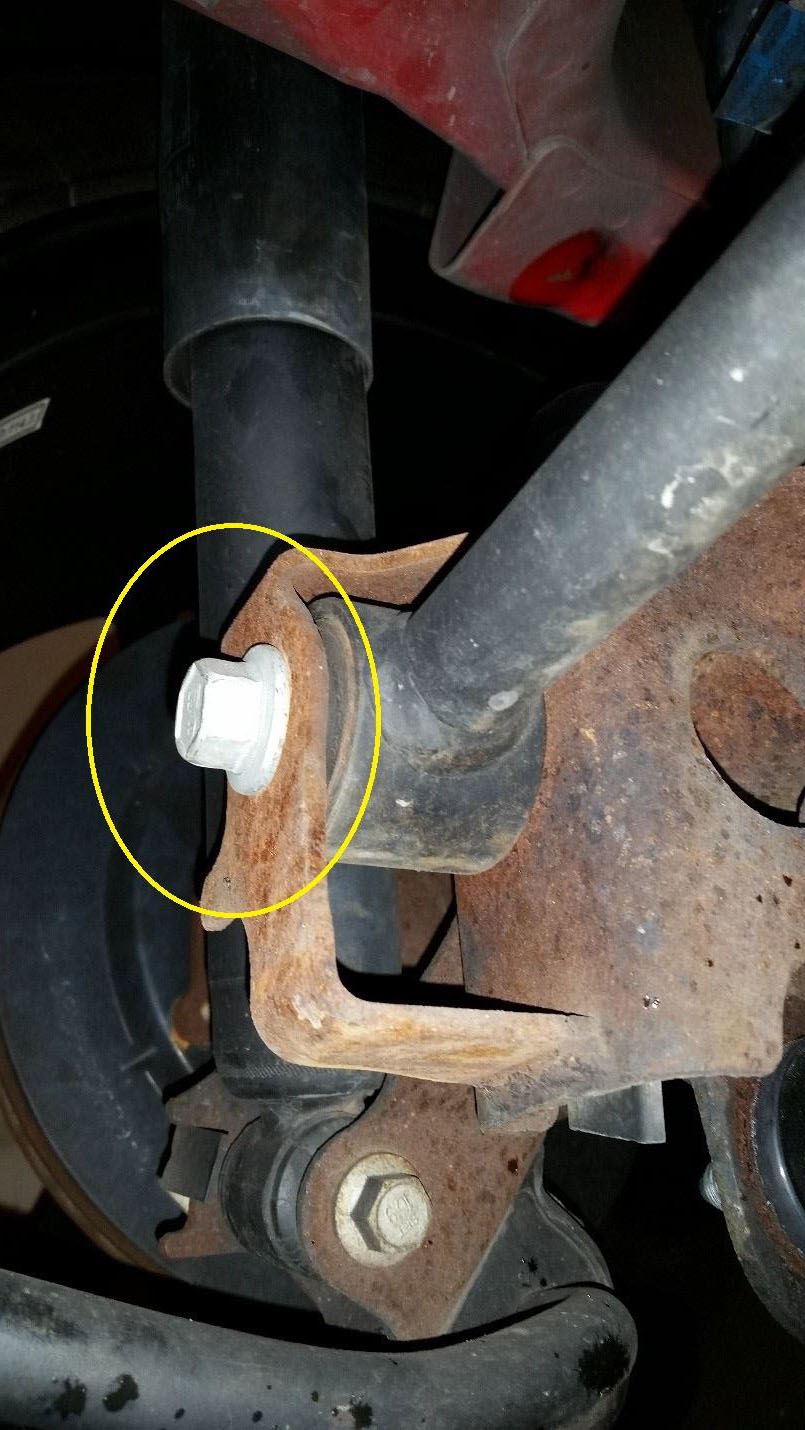
3. Remove 18 millimeter panhard bolt on driver side circled in the picture below.
4. Loosen the panhard support bolt on passenger side circled in the picture below. Do not remove completely as it is unnecessary.
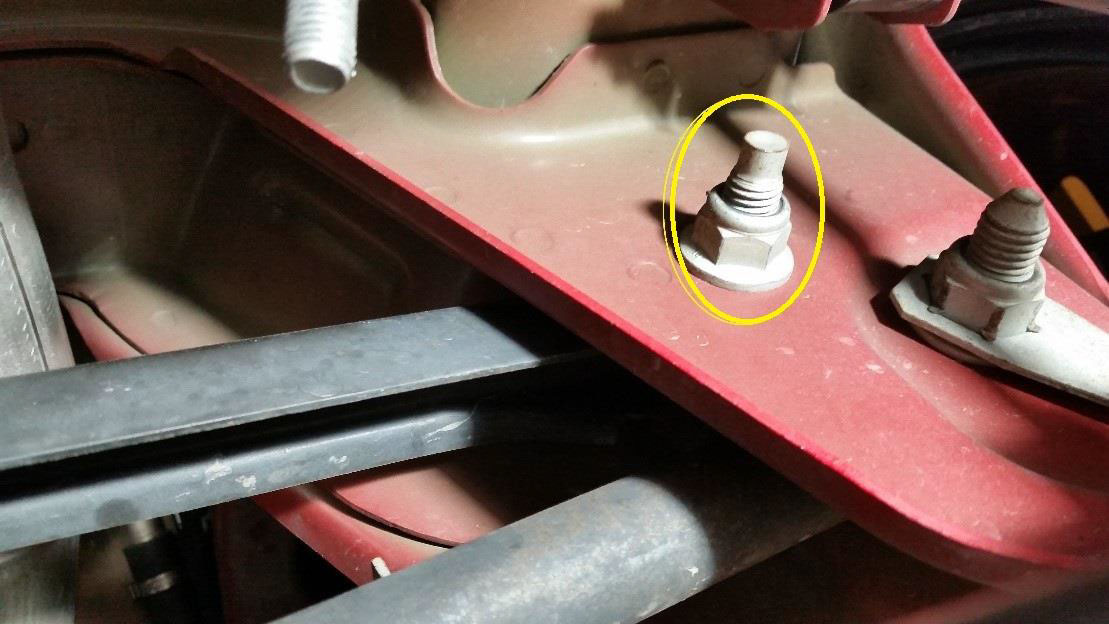
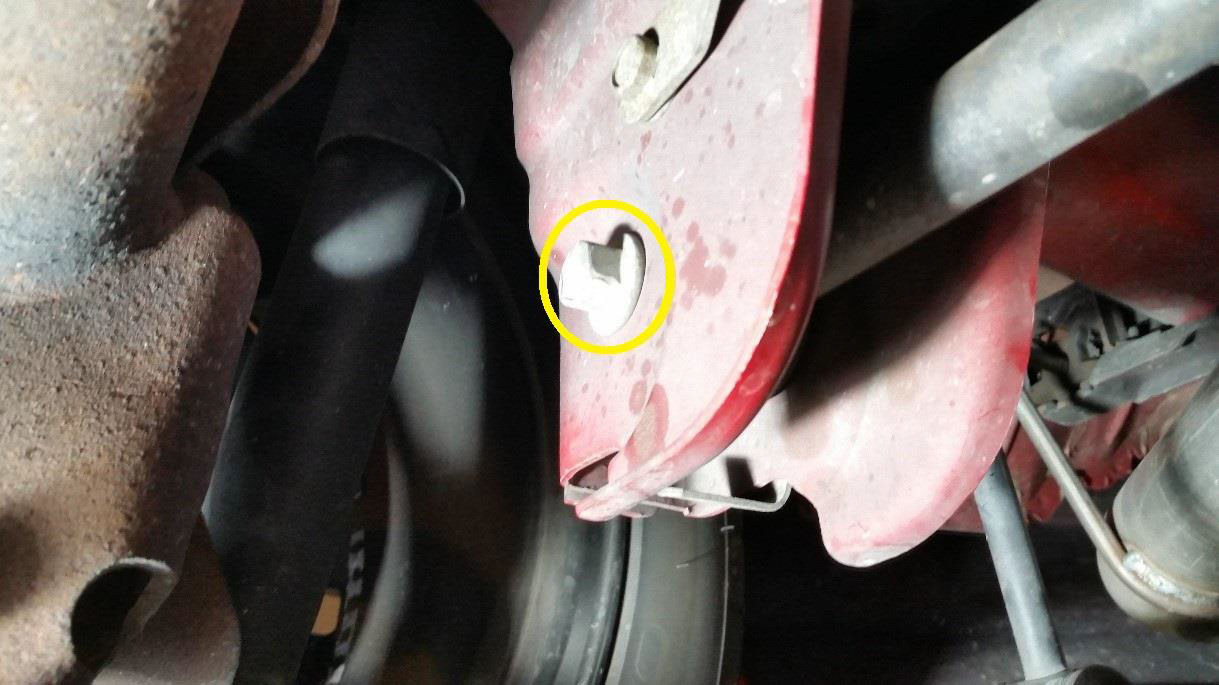
5. Carefully remove the 18 millimeter passenger side panhard bolt circled in the picture below. At this point the panhard bar will swing free from the bracket.
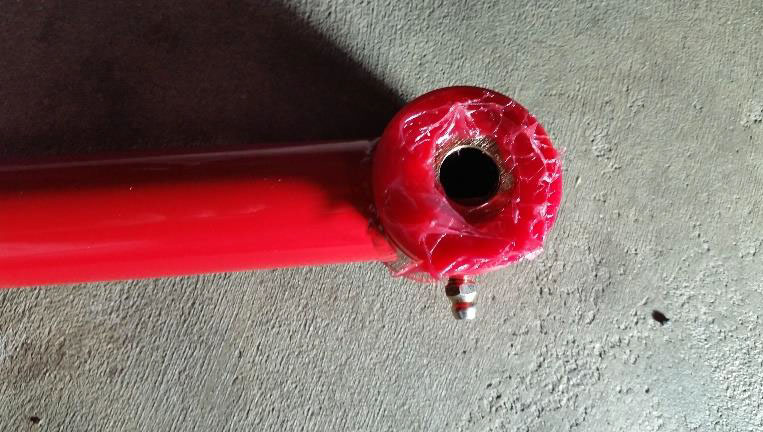
6. Lubricate all four sides of the BMR panhard bar bushings with silicone grease only. Proper consistency is shown in the picture below.
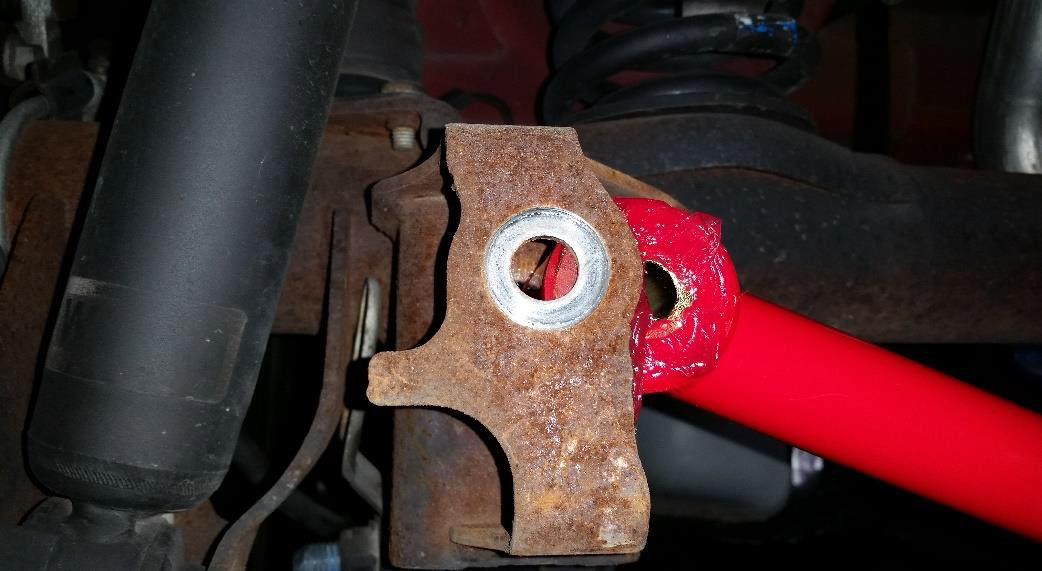
7. Slide new BMR panhard bar in driver side slot first as pictured below. It may be necessary to use a rubber mallet on opposite side of the panhard bar to align bushing openings.
8. With bolt holes aligned place the removed 18 millimeter bolt back into the new panhard bar and hand tighten. NOTE: the nut with a tab should be facing down, as well as the right angle grease fitting shown below.
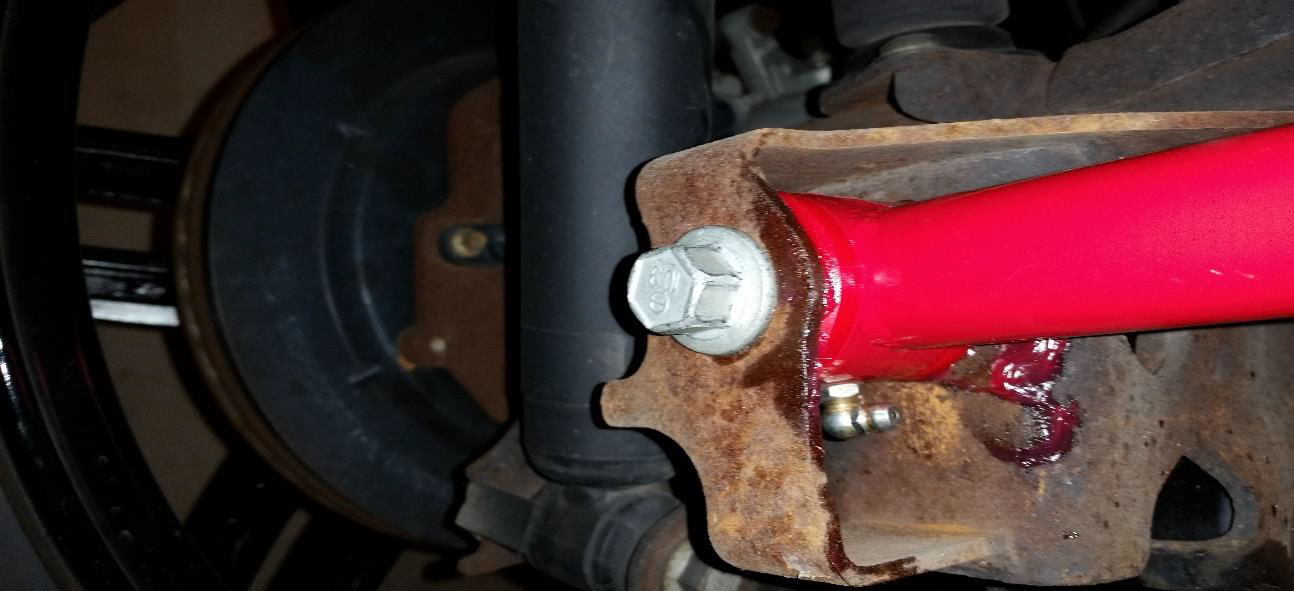
9. Push panhard bar up to align it into the passenger side mount pictured below. It may be necessary to use a tapered punch to align holes in order to slide the bolt through.
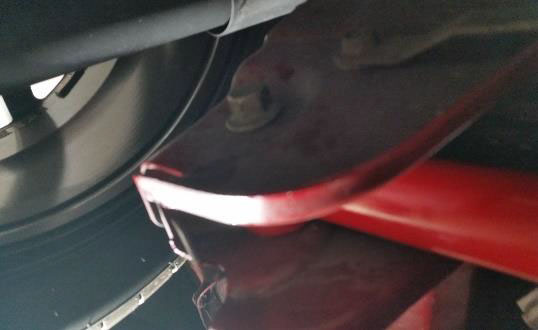
10. Using a torque wrench tighten 18 millimeter panhard support bolt (pictured in step 4 to 85 foot pounds.
11. Torque both 18 millimeter panhard bolts shown in step 8, and 9 to 129 foot pounds.
12. Grease both bushings with 2-3 pumps each.
13. Reinstall plastic cover shown in step 2.
14. Remove jack stands and lower vehicle.
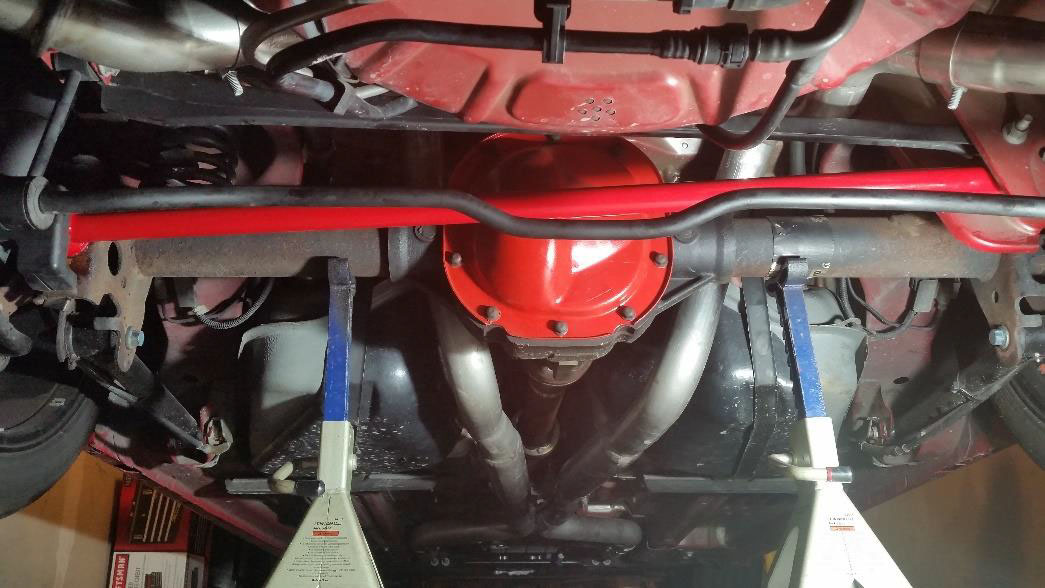
Installation Guide Created By AmericanMuscle Customer Anthony Reygaert on 9.21.2015

