Top Sellers in Mustang
How to Install BMR Upper Panhard Bar Support Brace on your 2005-2014 Mustang
Installation Time
1 hours
Tools Required
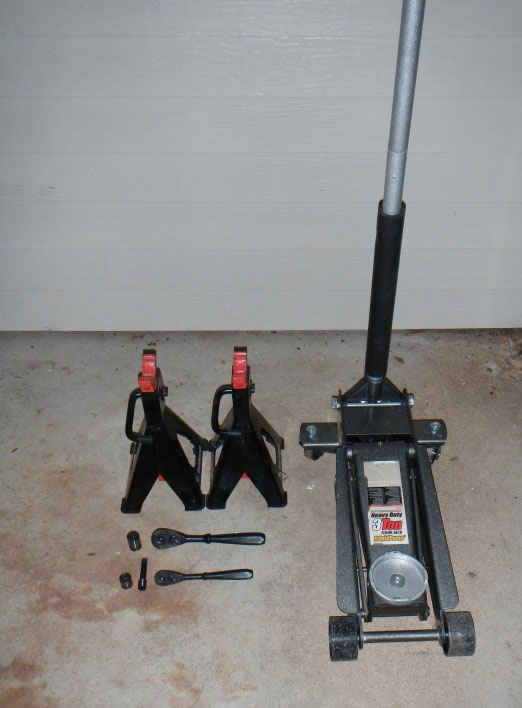
- 15mm Socket & Ratchet
- Extension for the 15mm Socket
- 18mm Socket & Ratchet
- Jack*
- Jack Stands*
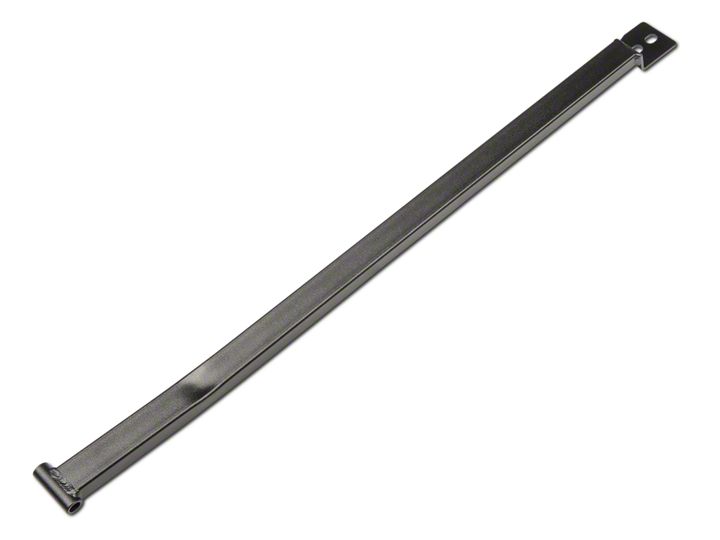
Shop Parts in this Guide
Tool Required
15mm Socket & Ratchet
Extension for the 15mm Socket (a Deep 15mm Socket can be used instead)
18mm Socket & Ratchet
Optional Equipment (installation time may increase without optional equipment)
Jack
Jack Stands
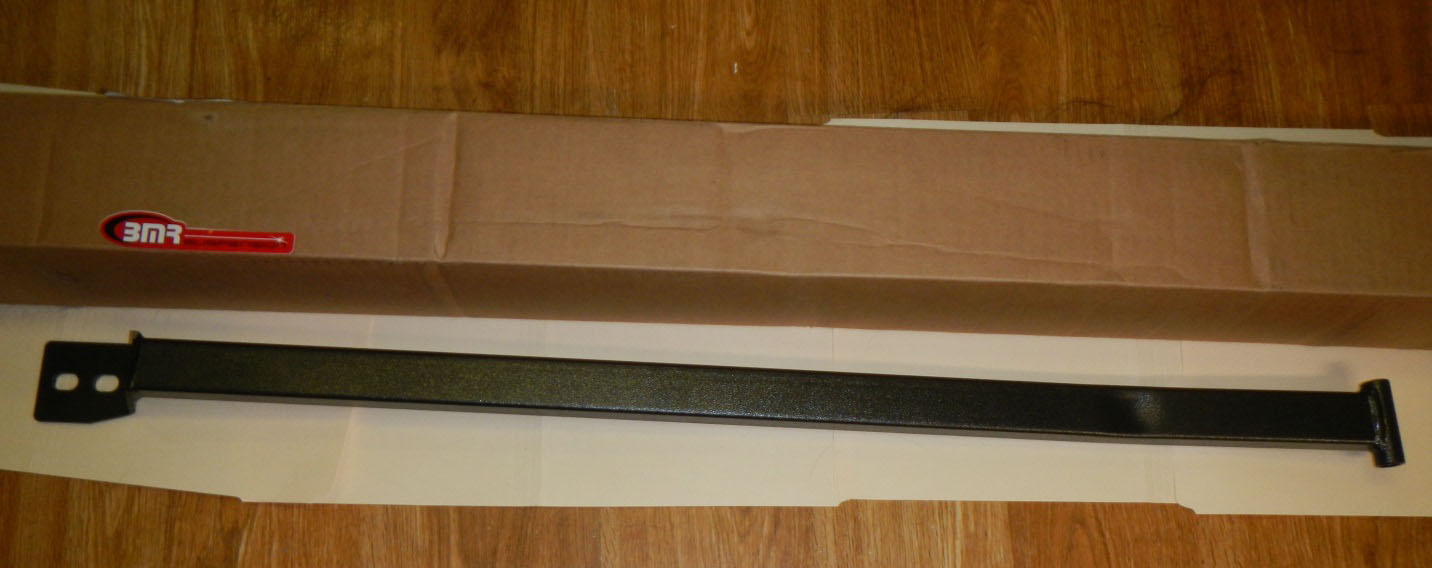
Included Parts:
1. BMR Panhard Brace
2. Must reuse stock nuts and bolts
Installation Time: approximately 60 minutes
Removal Steps:
1. Unpack your new BMR panhard brace and gather your required (and or optional) tools.
2. (optional) Jack up the vehicle from the center of the rear end and support the car with jack stands for safety precautions.
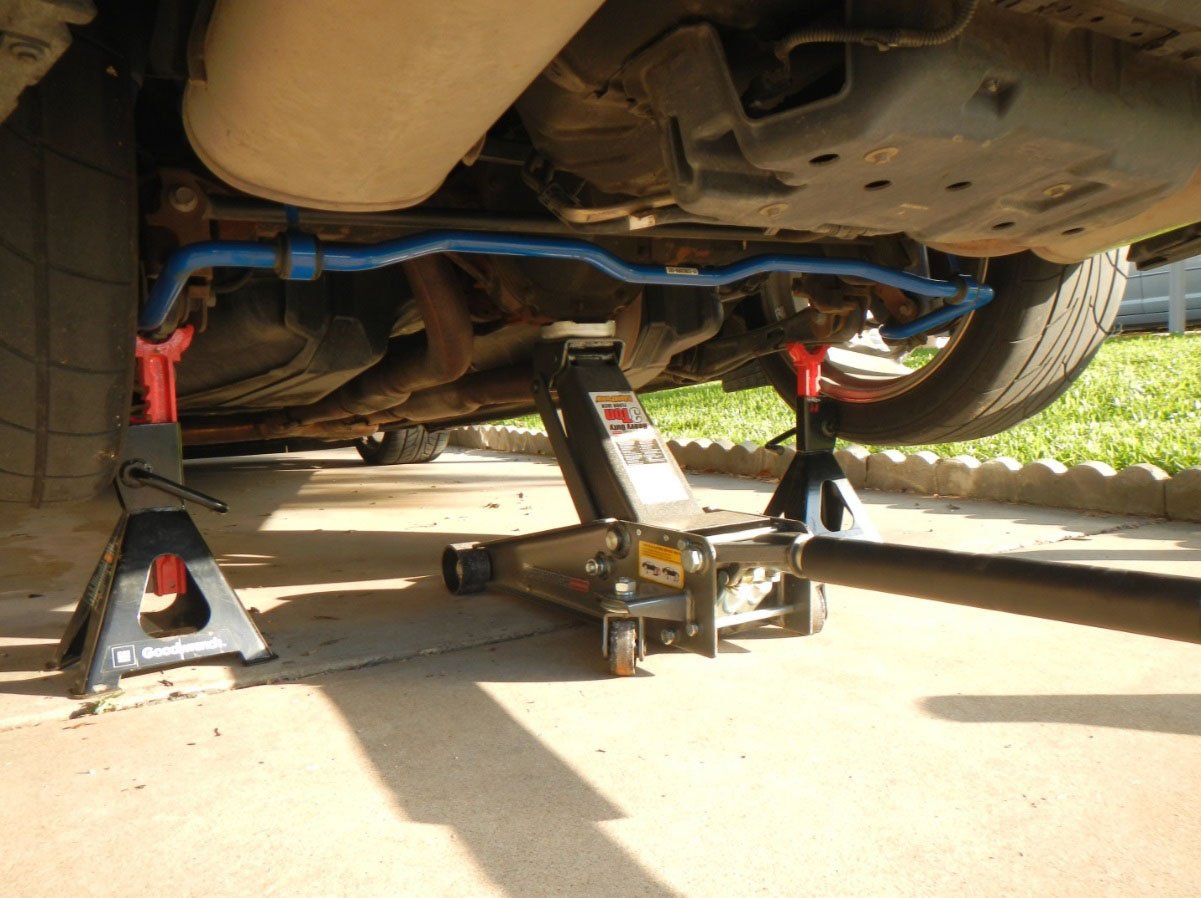
3. Start by loosening the (2) 15mm bolts on the driver side. Do not completely remove the bolts as they will be used to support the stock panhard brace until you remove the passenger side 18mm bolt.
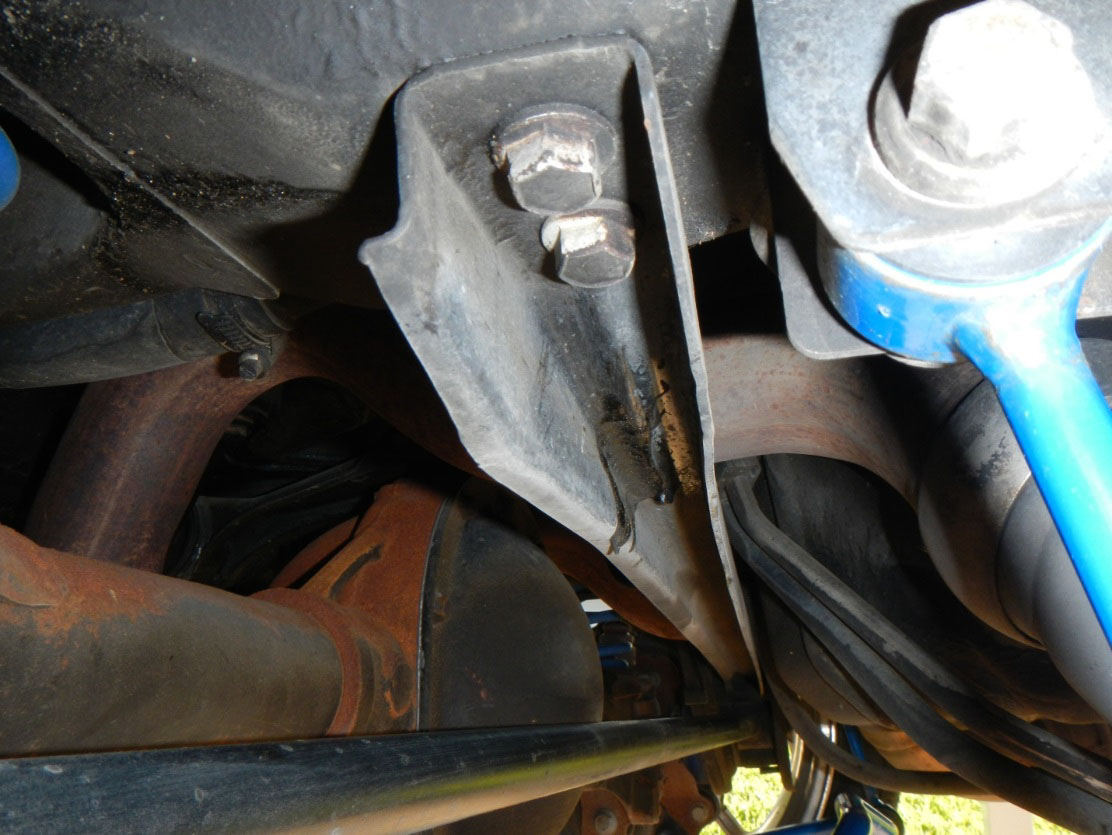
4. Remove the (1) 18mm nut holding the passenger side bolt. Then remove the bolt completely.
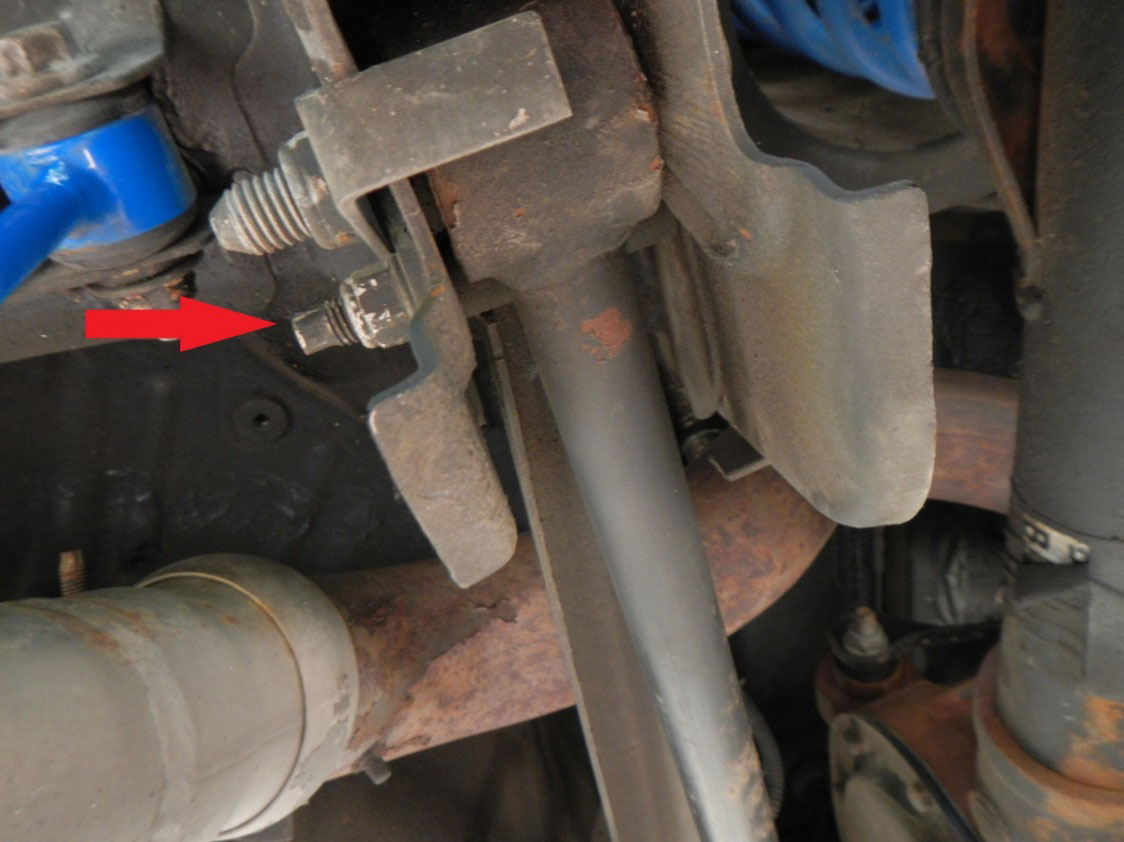
5. Loosen (do not remove) the Panhard Bar 18mm Nut. This will help with take-off and installing the panhard brace.
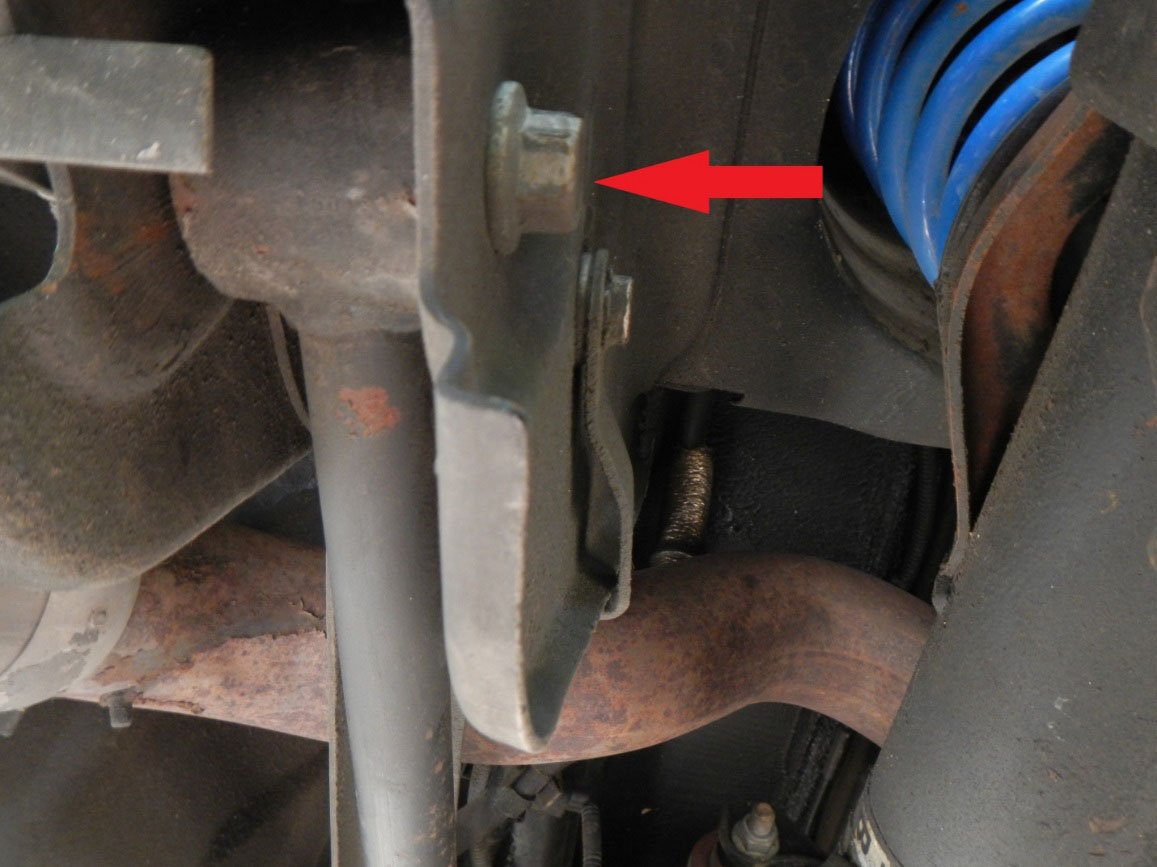
6. You can now remove the (2) 15mm bolts from the driver side.
7. You will now be free to remove the panhard brace from the vehicle.
Installation Steps:
1. When installing, the bent part of the panhard bar will be facing passenger side and towards the ground.
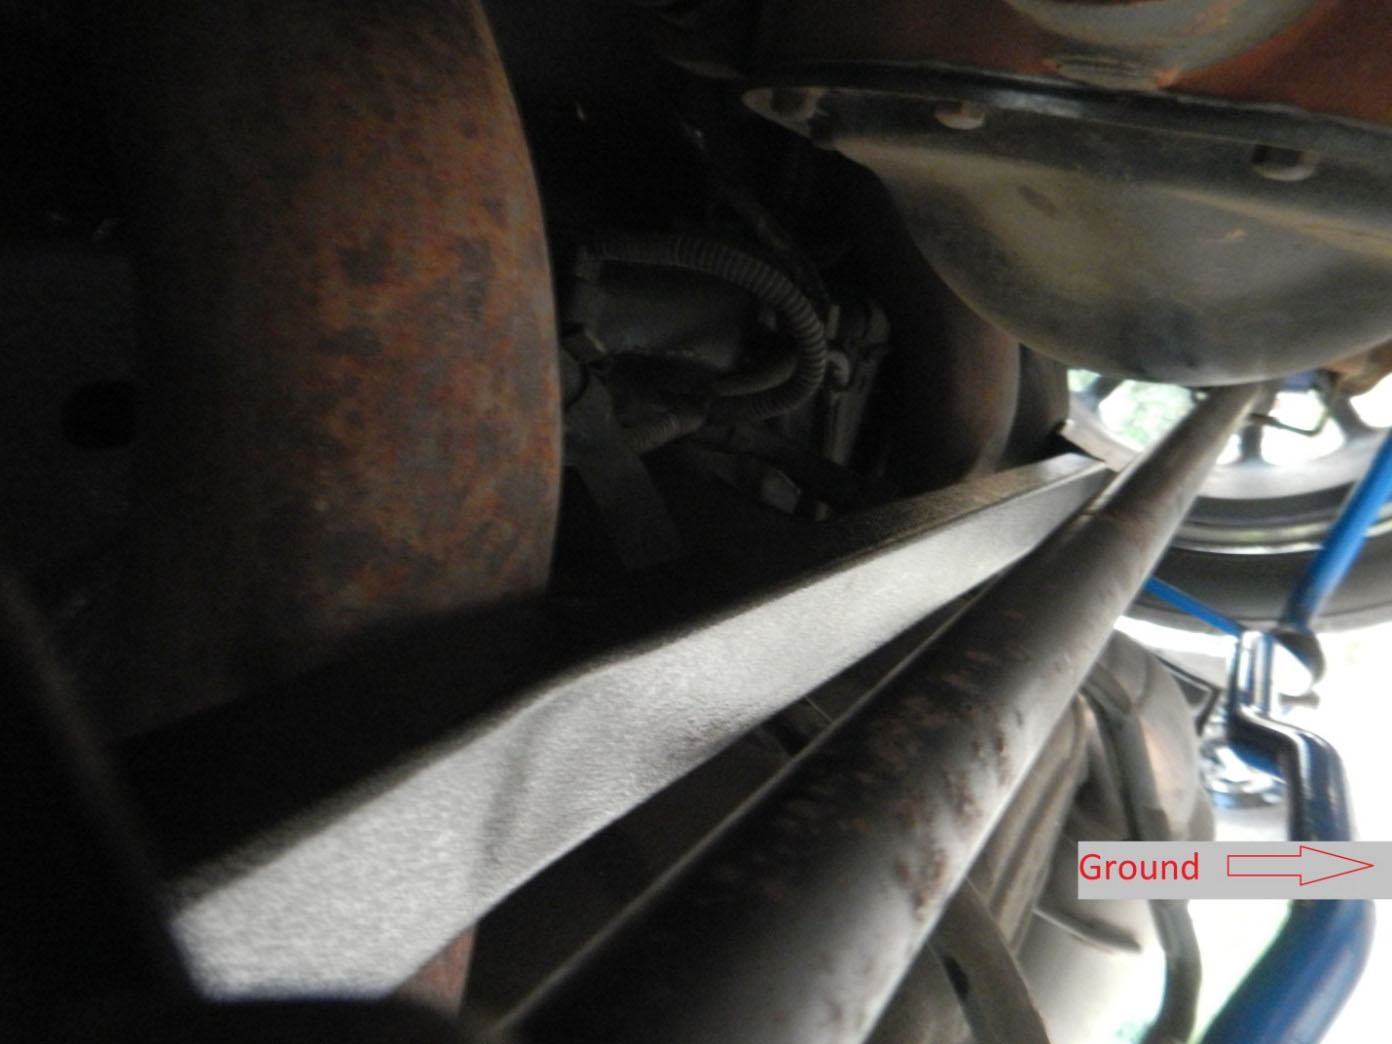
2. You can now slide the passenger side bolt in place and start to thread the (1) 18mm nut on for supporting this side of the panhard brace.
3. Begin to thread the (2) 15mm bolts on the driver side of the panhard bar. You can now use your ratchet to tighten them down.
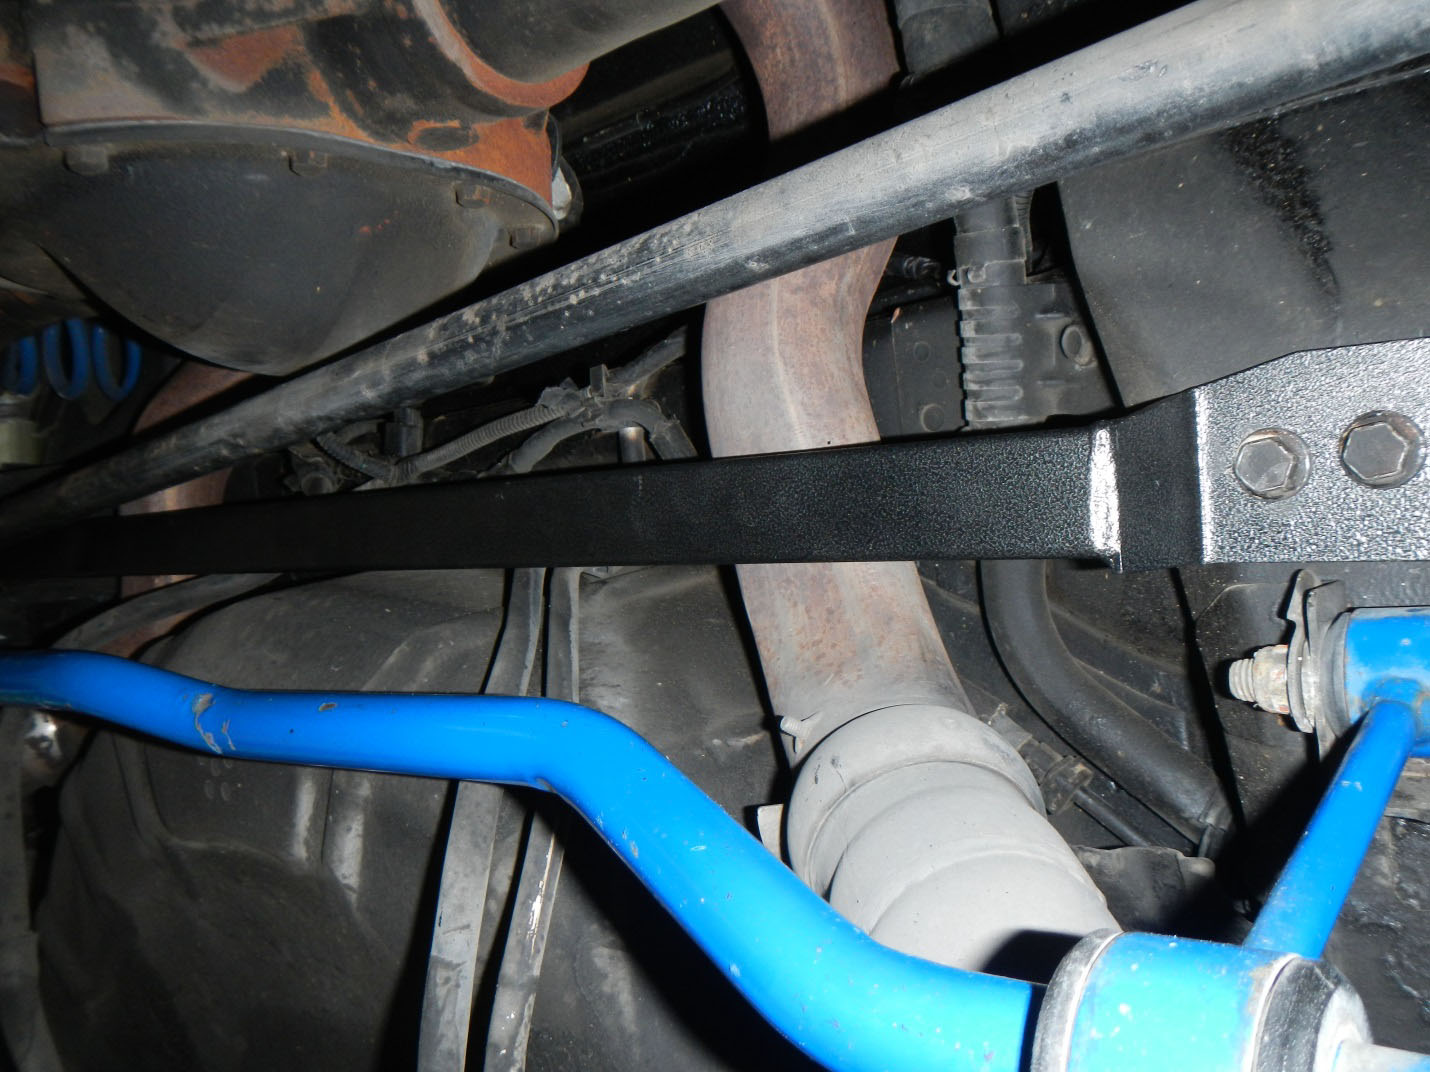
4. Back on the passenger side tighten both the pandhard bar and brace 18mm bolts.
5. You can now remove the jack stands and lower/remove the jack from the vehicle and the installation is complete.
Pictures comparing difference between the Stock and BMR Panhard Brace.


Installation Instructions written by AmericanMuscle Customer Kyle McDonald on 7.26.2014


