Best Sellers
How to Install Borla ATAK Catback Exhaust on Your (11-14 V6) Mustang Mustang
Installation Time
2 hours
Tools Required
- 3/8 Drive Ratchet
- 3/8 Drive 3” Extension
- 3/8 Drive Torque Wrench
- 15mm socket
- 13mm socket
- Screw driver
- Exhaust hanger tool (optional)
- Cutting tool (cutting wheel or hacksaw)
Note: Do not perform any exhaust modification when exhaust is hot. Use all under car safety and precautions.
Factory Exhaust
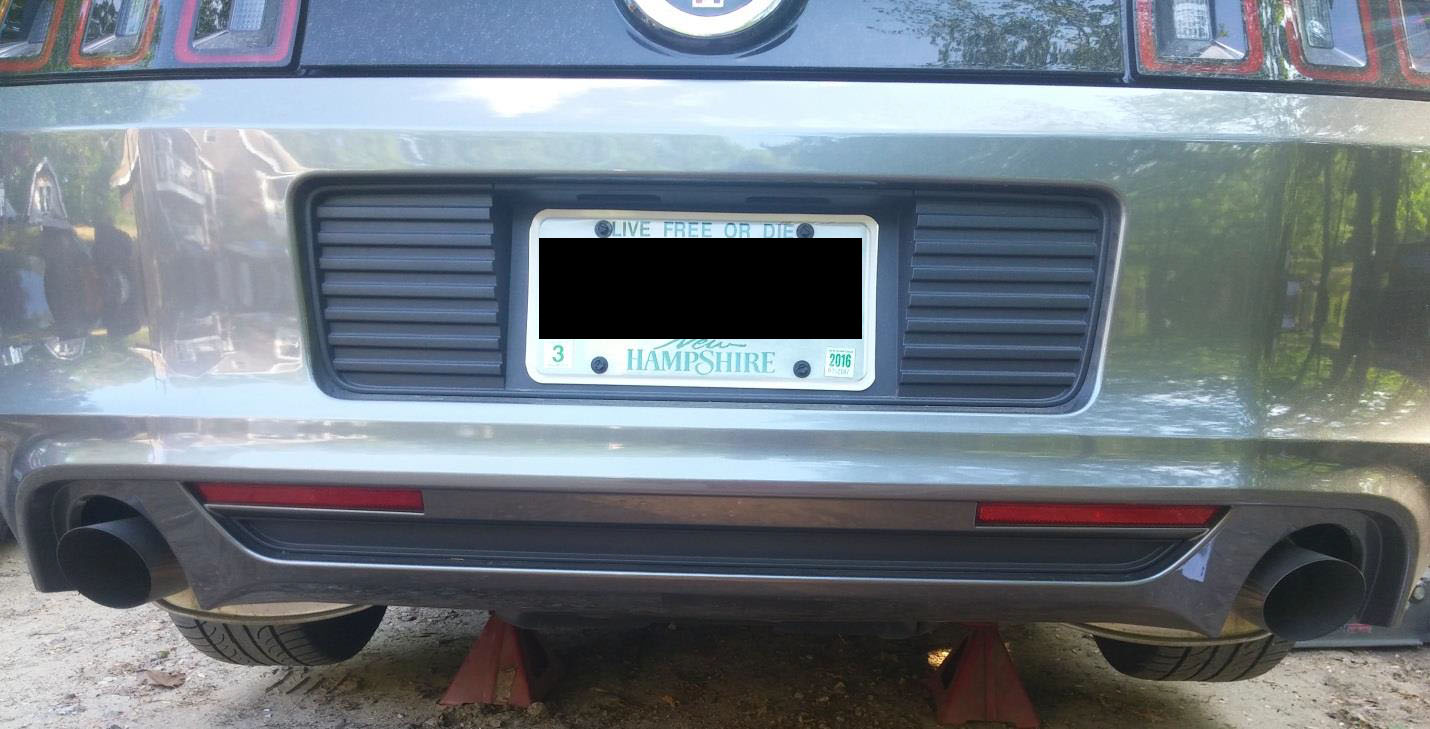
Uninstall cat-back system
1. Engage the parking brake. For standard, put the transmission in gear. For automatics put it in park.
2. Place wheel chucks in front of and behind both front wheels.
3. Place jack under the front of the rear differential and slowly and carefully lift the rear of the vehicle.
4. Place jack stands under either side of the sub-frame.
5. Starting on the driver’s side, use the 13mm to socket loosen the ball and socket clamp connecting the muffler to the over axle pipe (Figure 1).
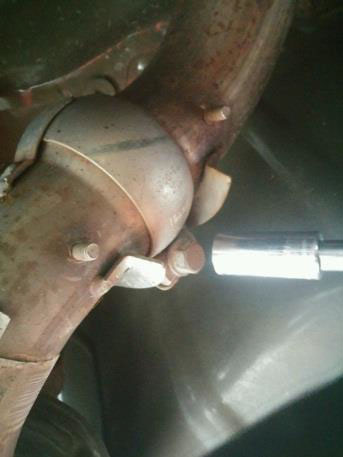
Figure 1 Ball and Socket Clamp Removal
6. Using the screw driver or exhaust hanger tool, remover the muffler from the hangers.
7. Using the 15mm socket loosen the clamps connecting the over axle pipe to the x-pipe (Figure 2).
?Pull out on tab to remove clamp.
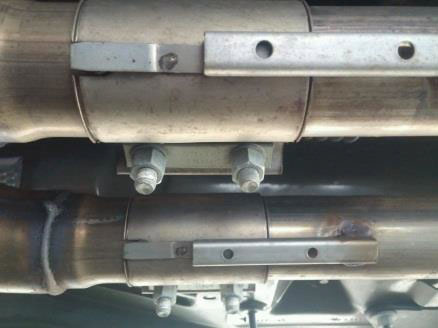
Figure 2 X-pipe Clamp Removal
8. Use the screw driver to pull out on the tab to disconnect the clamp and over axle pipe from the x-pipe.
9. Remove the over axle pipe from the vehicle by angling the pipe downward and pulling towards the front of the vehicle.
10. Repeat steps 5-9 for the passenger side.
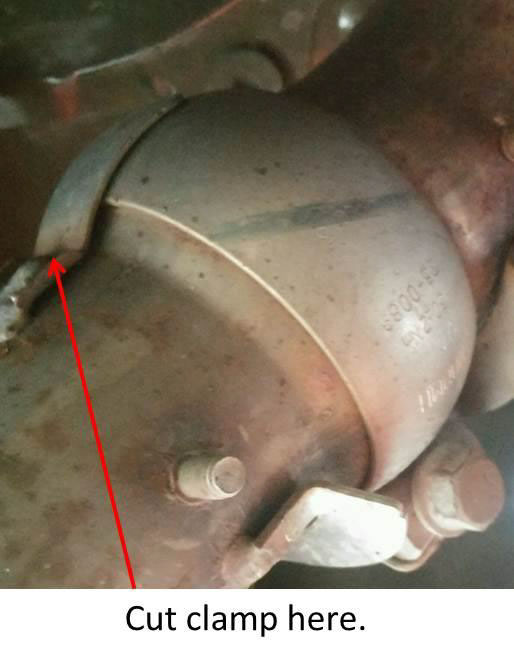
11. Use a cutting tool to remove the ball and socket clamps from the mufflers as these will be used to install the new mufflers.
Install new cat-back system
1. Starting on the driver’s side, install the new over axle pipe from front to rear over the rear axle (Figure 3).
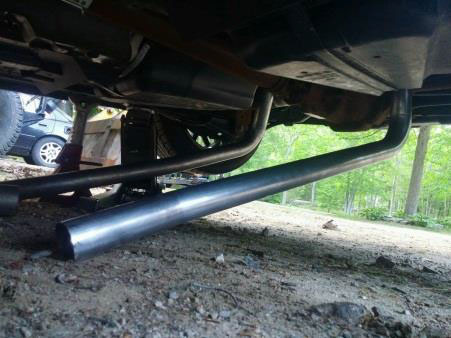
Figure 3 New Over-axle Pipes
2. Using the factory clamp, connect the over axle pipe to the x-pipe being sure the clamp tab is secured on the factory x-pipe.
3. Install the new muffler in the hangers.
4. Using the ball and socket clamp, connect the muffler to the over axle pipe.
5. Tighten the clamps when the desired alignment is met, checking for clearance of fuel
lines and wiring.
(Torque clamp bolts to 32-35 ft lbs.)
6. Repeat steps 1-5 for passenger side.
7. Be sure to check for leaks.
8. Remove jack stands and lower the vehicle.
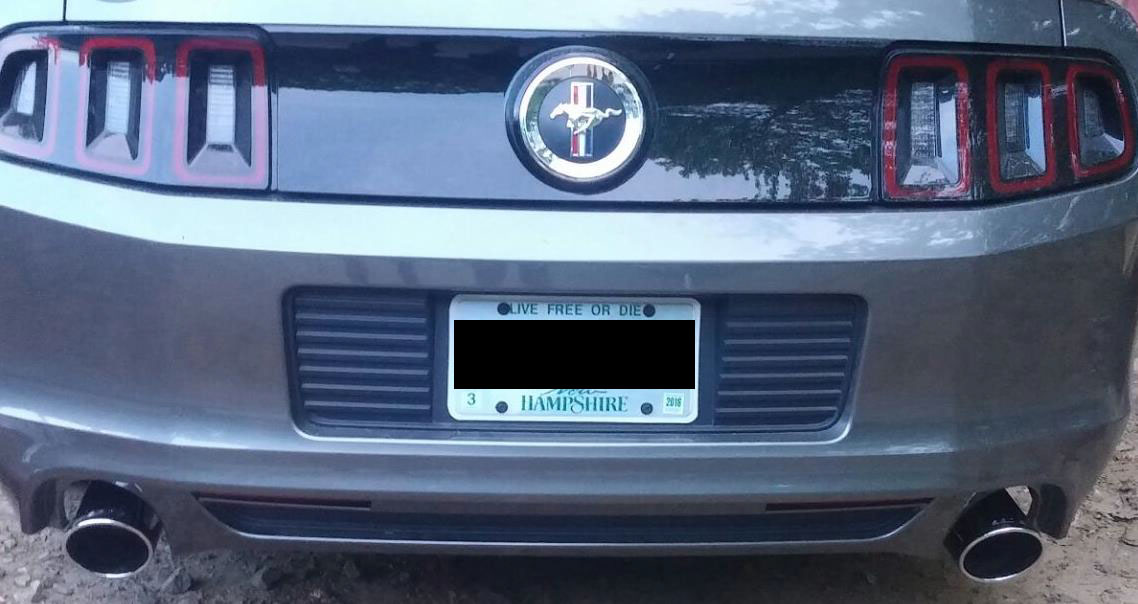
New Cat-back System
Installation Instructions written by AmericanMuscle customer Johnathan Slowe 6.10.15


