Top Sellers in Charger
How to Install Borla Stinger S-Type 2.5 in. Axle-back Exhaust (15-17 GT) on your Ford Mustang
Installation Time
1 hours
Tools Required
- 3/8” Drive Ratchet
- 3/8” Drive Extension 3”
- 15mm Socket
- Metal cutting saw
- Pry Bar
- Spray Lubricant
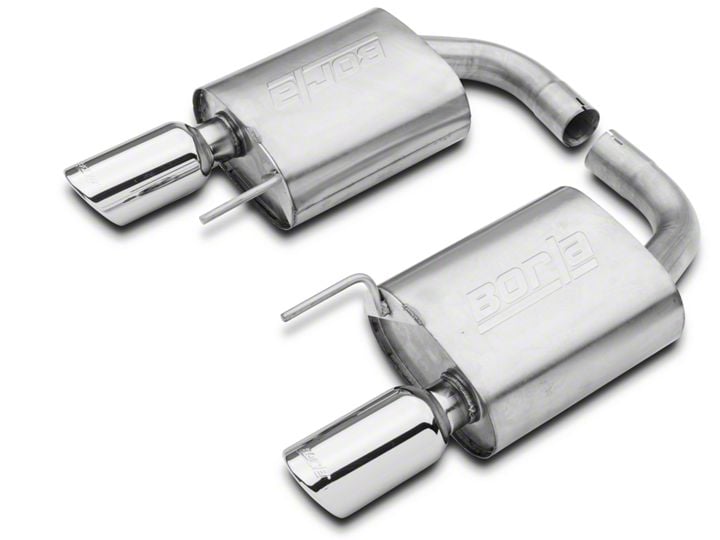
Shop Parts in this Guide
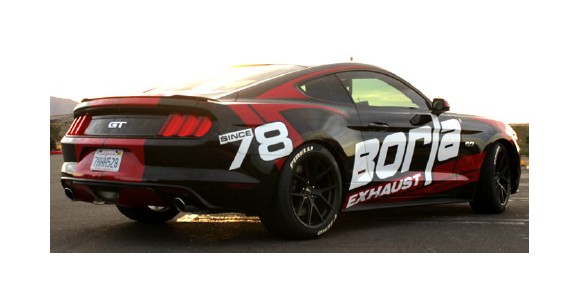
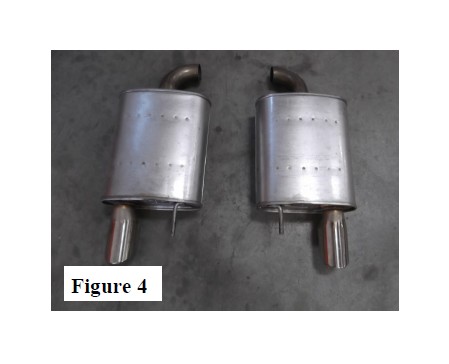
Borla Performance Rear Section - Bill of Materials
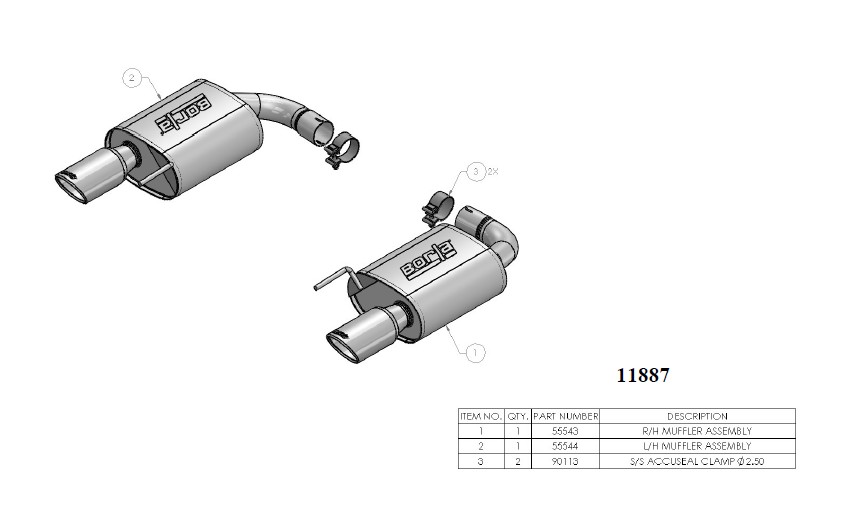
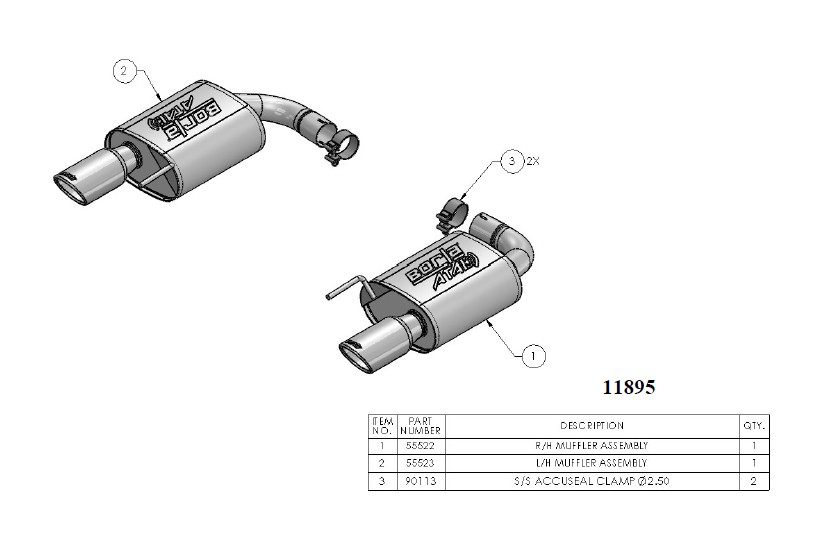
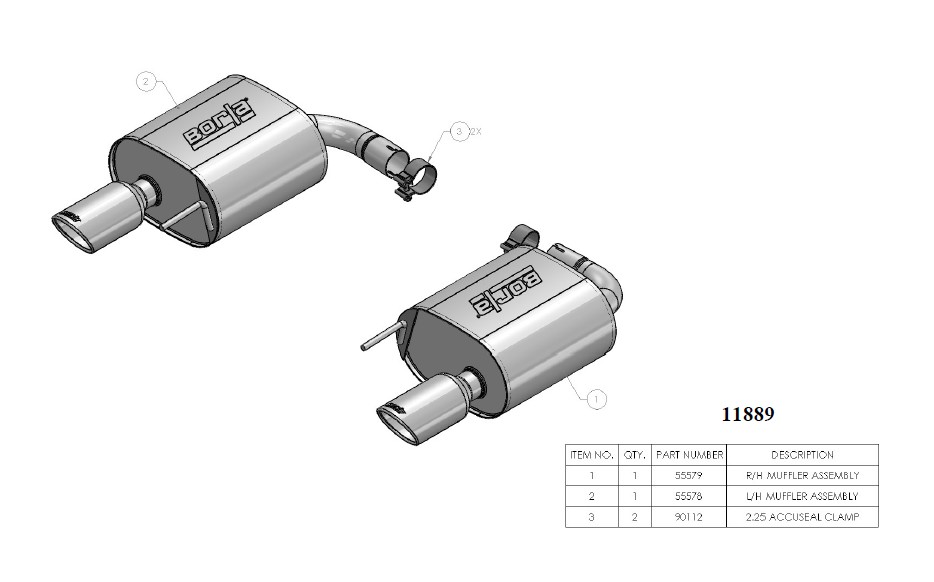
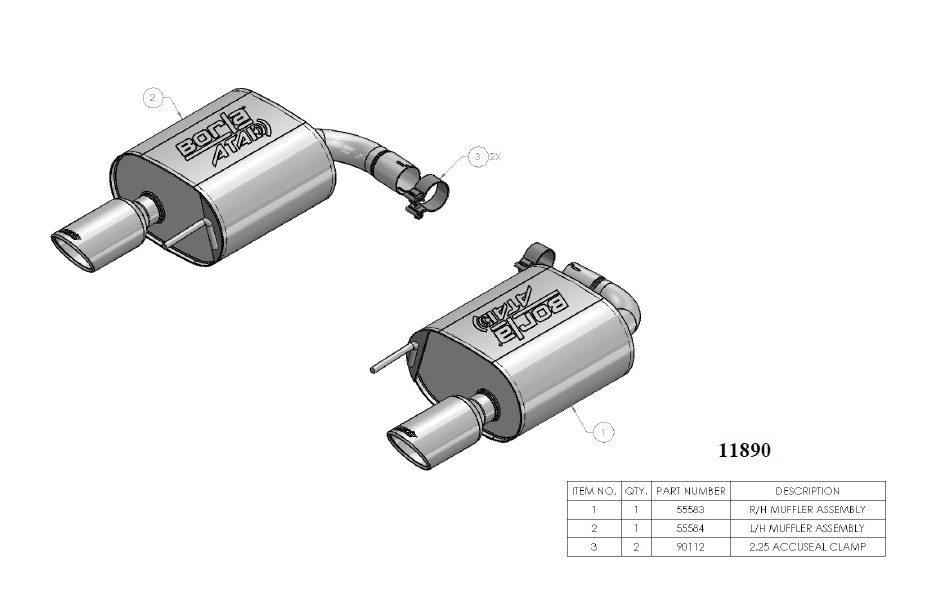
Caution!!! Never work on a hot exhaust system. Serious injury in the form of burns can result If the vehicle has been in use and the exhaust system is hot, allow vehicle to cool for at least 1 hour. Always wear eye protection when working under any vehicle.
Note: It is our recommendation that you use a hoist or hydraulic lift to facilitate the installation of your new Borla Performance Rear Section Ex-haust System.
Taking all under car safety precautions, lift the vehicle using a hoist or hydraulic lift. Once this has been done, you may b egin the removal of your old exhaust system from your vehicle.
Note: Before removing the original exhaust system from your vehicle, please compare the parts you have received with the bill of materials pro-vided on the previous page to assure that you have all the parts necessary for the installation of your new Borla Performance Rear Section Ex-haust System.
Original Exhaust System Removal
Note: With a used vehicle, we suggest a penetrating spray lubricant to be applied liberally to all exhaust fasteners and allowing a significant period of time for the chemical to lubricate the threads before attempting to disassem-ble.
1. The factory under-axle pipe must be cut and rear mufflers removed.
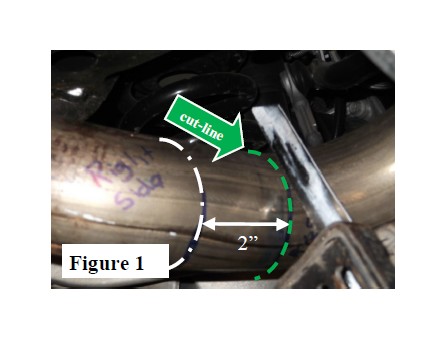
2. Starting on right-side under-axle pipe, measure and mark a perpendicular cut-line (indicated in green) 2” from pipe-bend (indicated in white). Use a metal cutting bladed saw, carefully cut this right-side pipe at the cut-line. (See Fig. 1)
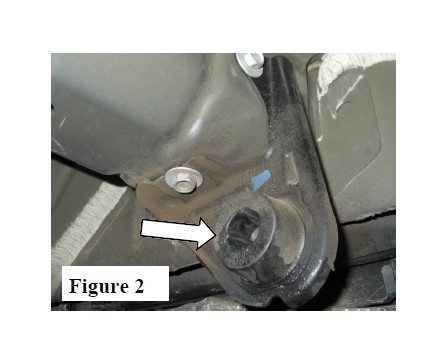
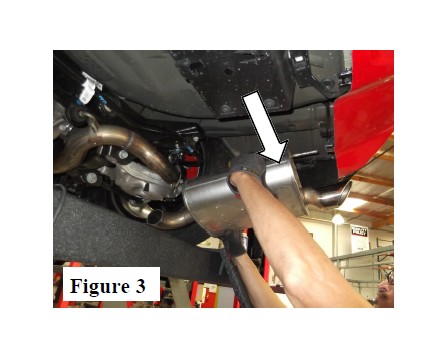
3. Remove hangars from rubber isolators and carefully remove the right-side muffler from the vehicle. (See Figs. 2 & 3)
4. Repeat Step 1 to mark left-side cut-line and cut the left-side pipe.
5. Clean the under-axle pipes and de-burr the edges using a file or rotary grinder.
Warning: Use extreme caution during installation. Torque all fasteners according to manufacturer’s torque values and tightening sequence. DO NOT use air impact tools to tighten fasteners on Borla Performance Exhaust Systems. Use of such tools may result in bent flanges or gasket contact areas leading to exhaust leaks.
Borla Performance Exhaust System Installation
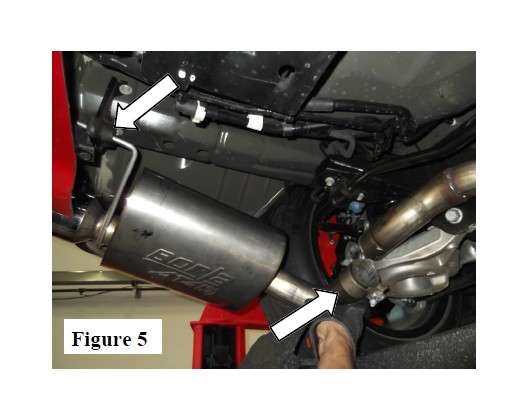
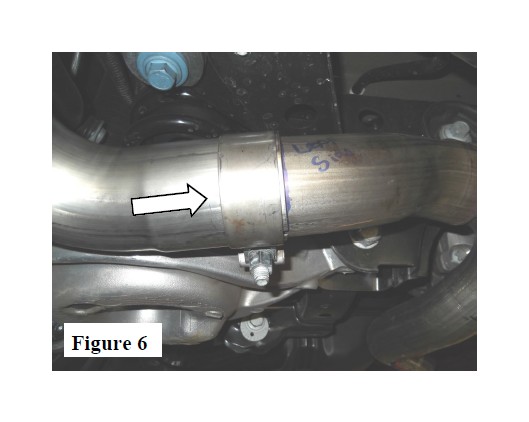
1. Beginning with the L/H Muffler Assembly, place a clamp over the inlet tube and insert (2) hangars into the rubber iso-lators. Insert the L/H Muffler Assembly inlet tube over the (cut) under-axle pipe. (See Fig. 5 & 6) DO NOT TIGHTEN CLAMP.
2. Repeat Step 1 for the installation of the R/H Muffler As-sembly.
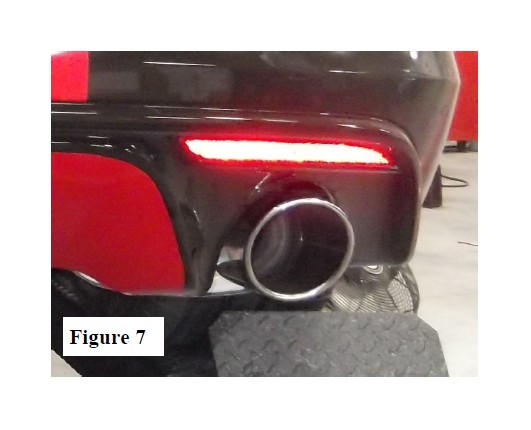
3. Check your exhaust system for proper clearance under the vehicle and also for tip position to the valence opening. (See Fig. 7)
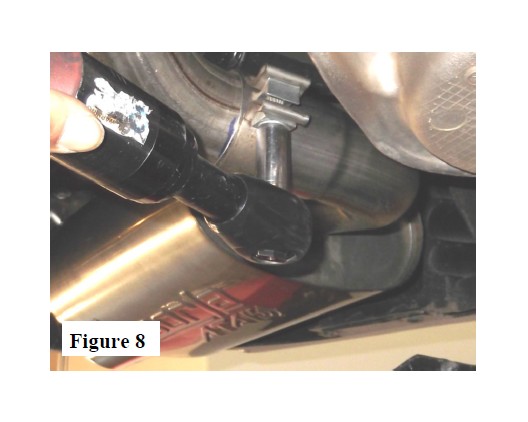
4. Once position has been determined to be correct, tighten the Accuseal™ clamps to 32-35 ft. lbs. (See Fig. 8)
5. Before starting your vehicle, make sure to check all wires, hoses, brake lines, body parts and tires for safe clearance from the exhaust system.
6. Start vehicle and check for any leaks. If any leaks are found, determine cause (such as loose or incorrectly positioned clamp) and repair as necessary.
Note: When you first start your vehicle after the installation of your new Borla Performance Exhaust System, there may be some smoke and fumes coming from the system. This is a protective oil based coating used in the manufacturing of mandrel bent performance exhaust tubing. This is not a problem and will disappear within a very short period of time after the exhaust has reached normal operating temperatures.
Congratulations!!! You have completed the installation of the world famous Borla Performance Stainless Steel Exhaust System.
