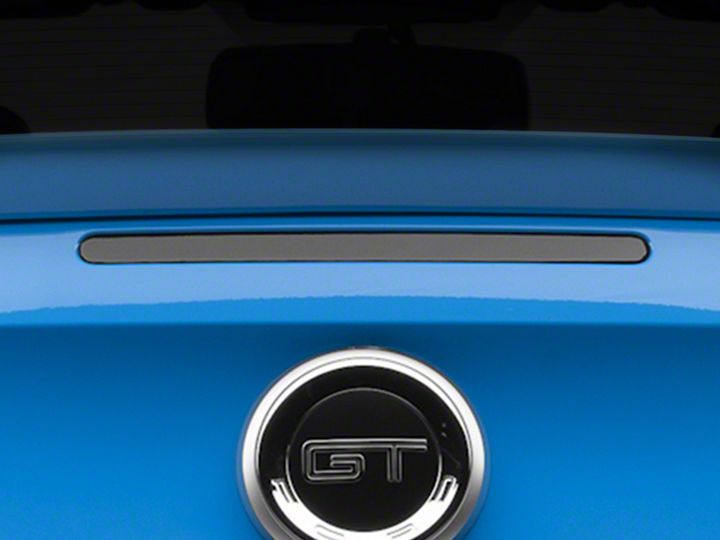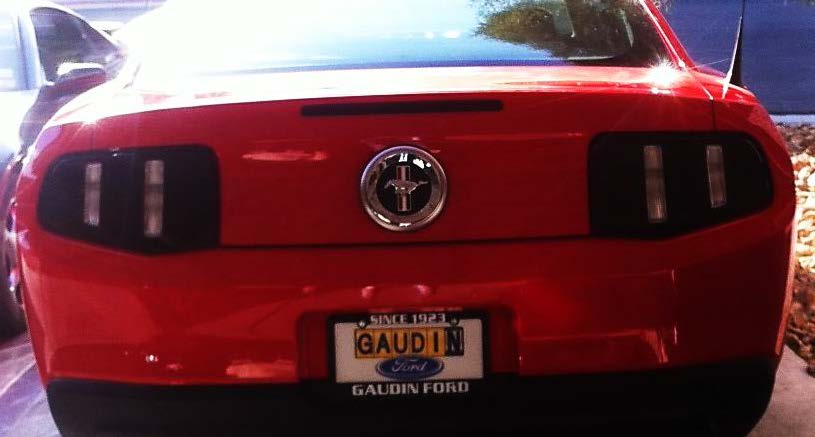
How to Install a Third Brake Light Decal on you 2010-2013 Mustang
Installation Time
15 minutes
Tools Required
- 3rd Brake Light tint
- Soap and water mixture
- Heat gun (Optional)
- American Muscle Squeegee
- Small Razor (in case)

Shop Parts in this Guide
Installation
Please Note: Installation was completed on a 10-12 model; however, the process remains the same for all year/models.
Installation Instructions:
1. Prepare the surface of the light by wiping it down thoroughly with water to remove all the dust and dirt. Then spray a good amount of soap and water mixture onto the brake light; this allows the film will slide around.
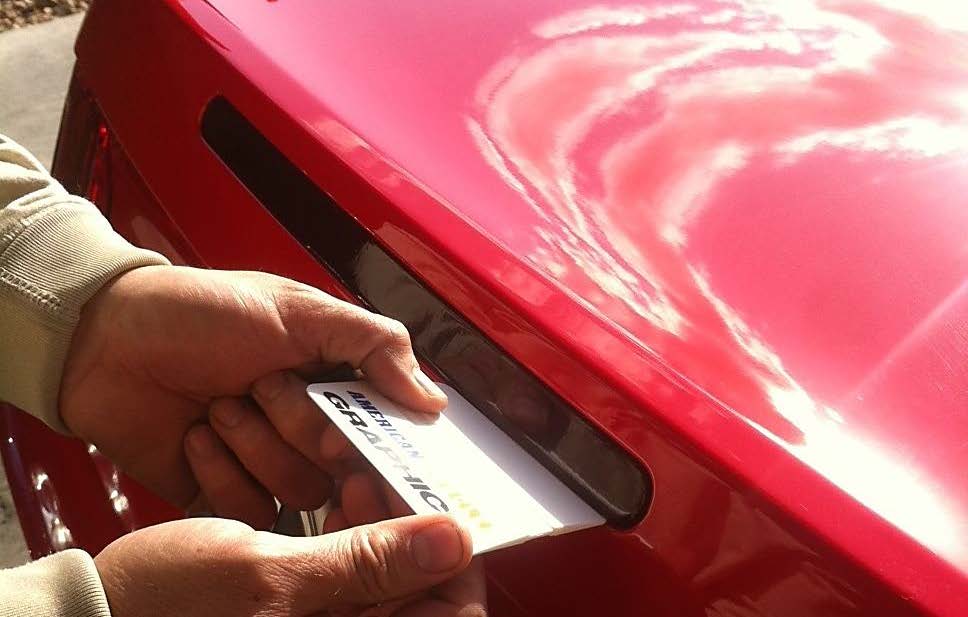
2. Peel the tint off the paper and carefully apply it one side at a time, either left to right or vice versa. Align the decal so it’s centered on the brake light. Once the tint is placed where you want, carefully use the squeegee provided to smooth out the air bubbles. Do not worry if you have a few small air bubbles; it’s perfectly normal.

3. Once the film is completely on, go ahead and take your squeegee and push in any excess film around the tail light. If necessary, take your razor and carefully cut out any excess film from the edges.
4. Take your squeegee and smooth out any remaining bubbles you may have. For better results, use a heat gun in unison with your squeegee.
5. Let the tint fully dry for a few hours.

Installation Instructions written by AmericanMuscle customer Gerardo Rivera 4.17.12

