
How to Install Bullitt Style Pedal Covers on your 1994-2004 Mustang
Installation Time
1 hours
Tools Required
- Channel Lock Pliers
- Socket Wrench
- 13mm Deep Socket
- 10mm Socket (deep or shallow)
- Small Flathead Screwdriver
- Phillips Screwdriver
- Penetrating Oil (helpful, but not necessary)
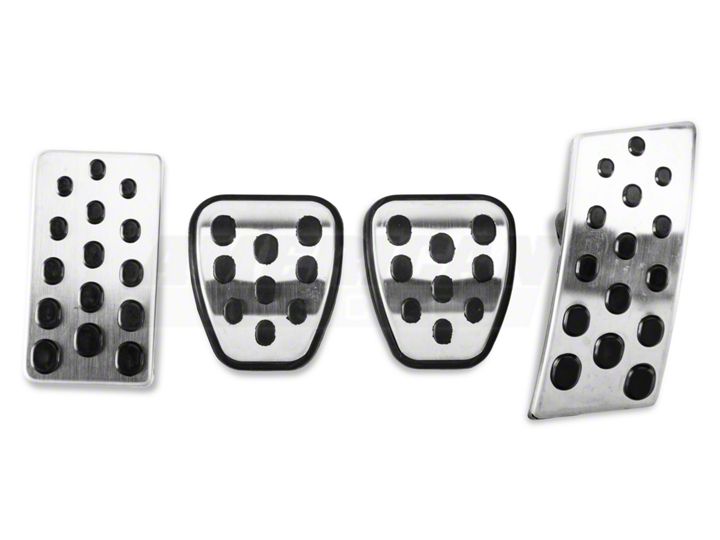
Shop Parts in this Guide
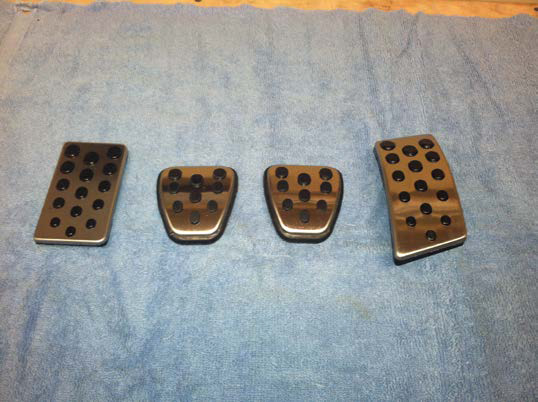
Installation Instructions:
1: Remove the two 13mm nuts holding the accelerator pedal assembly to the firewall.
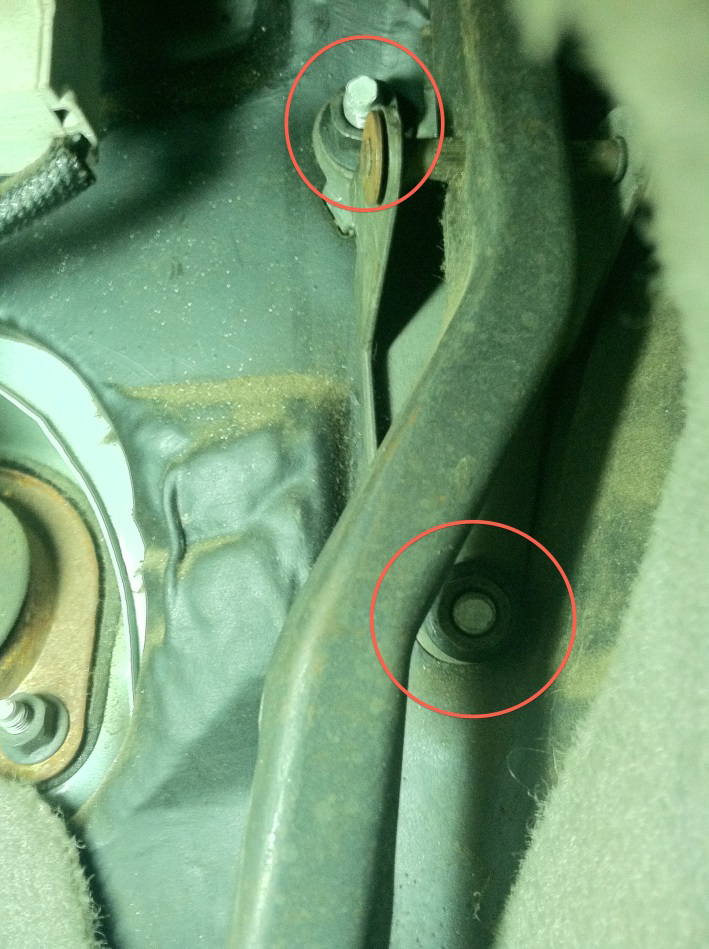
Step 2: Remove the accelerator pedal from the pedal arm by removing the pin, using channel locks.
Note: On mine, the pin was quite difficult to remove. A little penetrating fluid may be needed to ease the process.
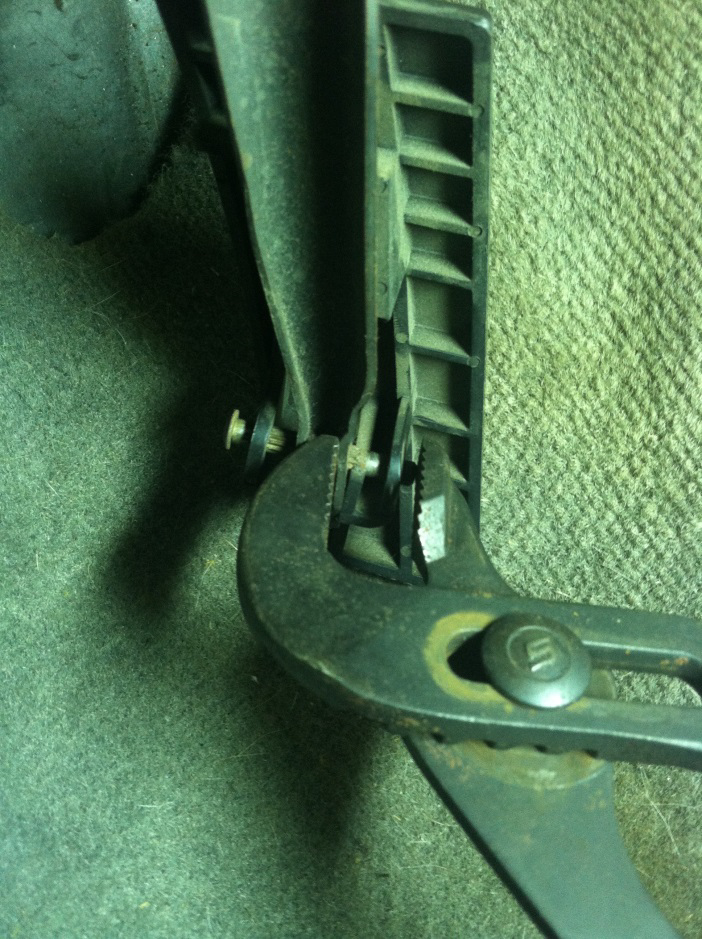
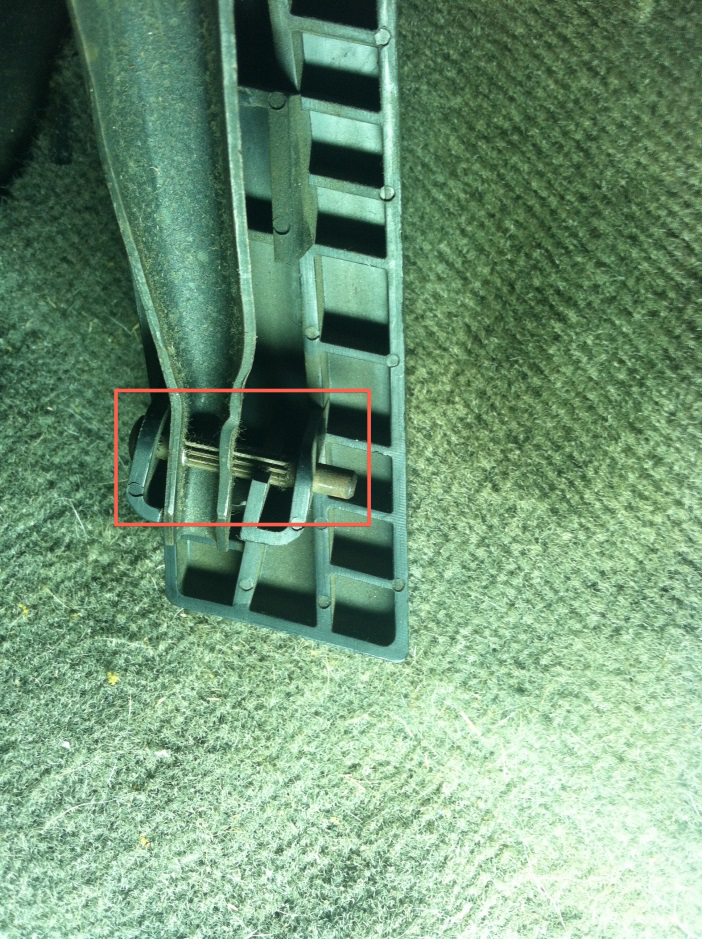
Step 3: Reinstall the pin with the new Bullitt Style Pedal and remount to firewall.
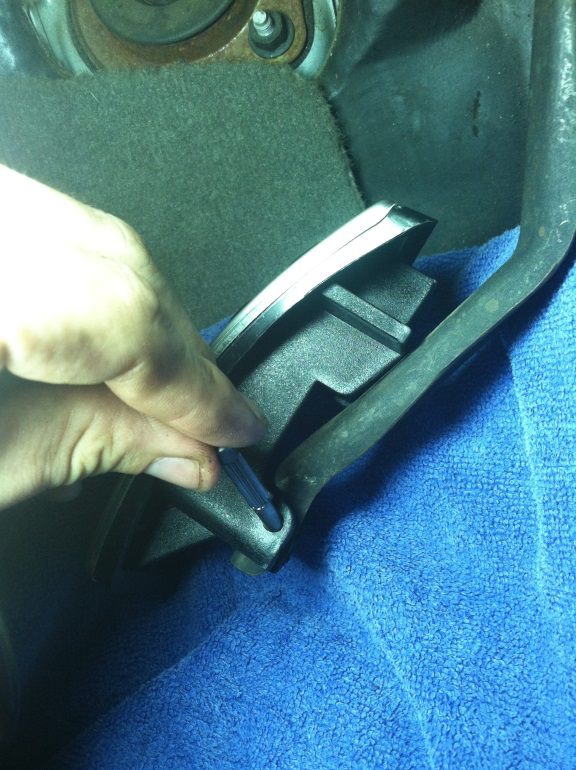
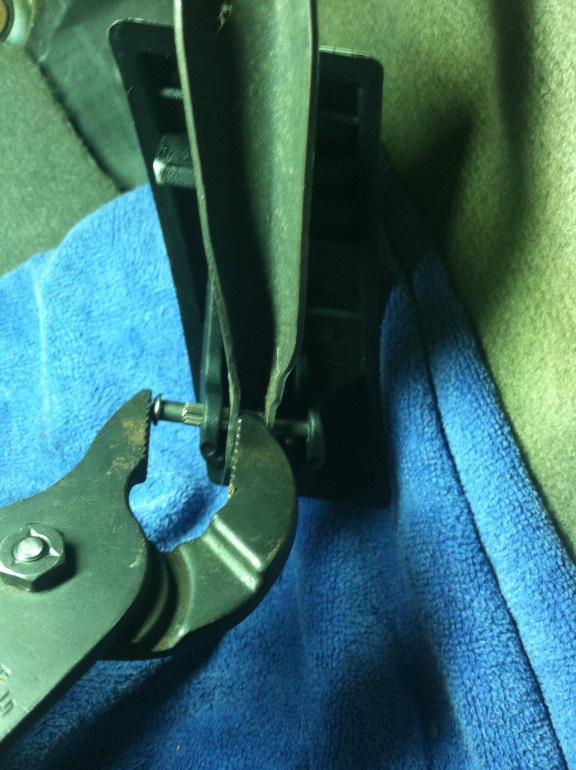
Step 4: Using a small screwdriver, pry off the old brake and clutch pedal covers.
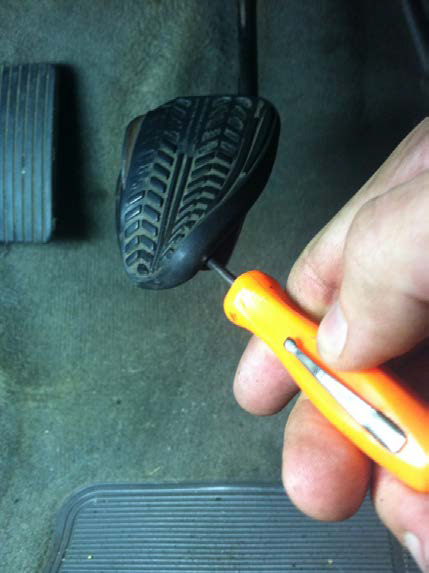
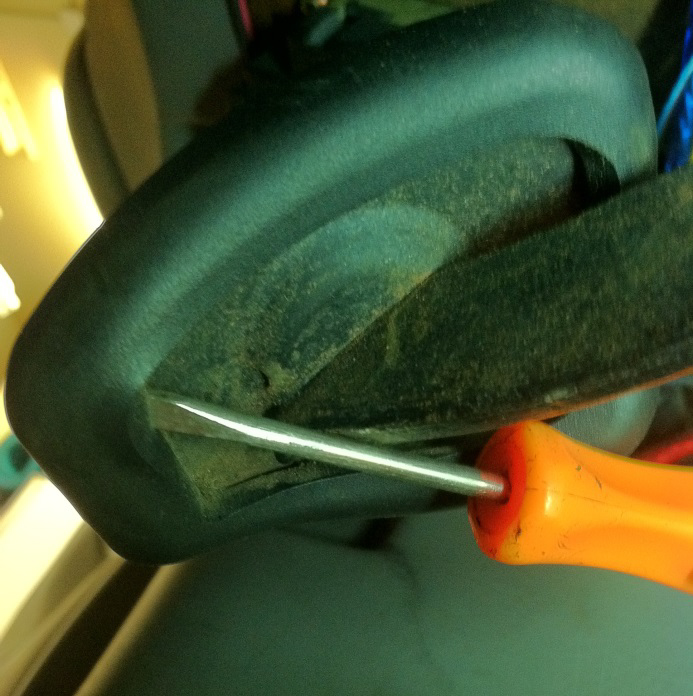
Step 5: Reverse this procedure to install the new covers. Get one side started and use a small screwdriver to pry the edges of the cover around the pedal plate.
Step 6: Remove old dead pedal.
Note: It is not necessary to remove the deal pedal bracket in order to replace the pedal, but it may be easier to do so.
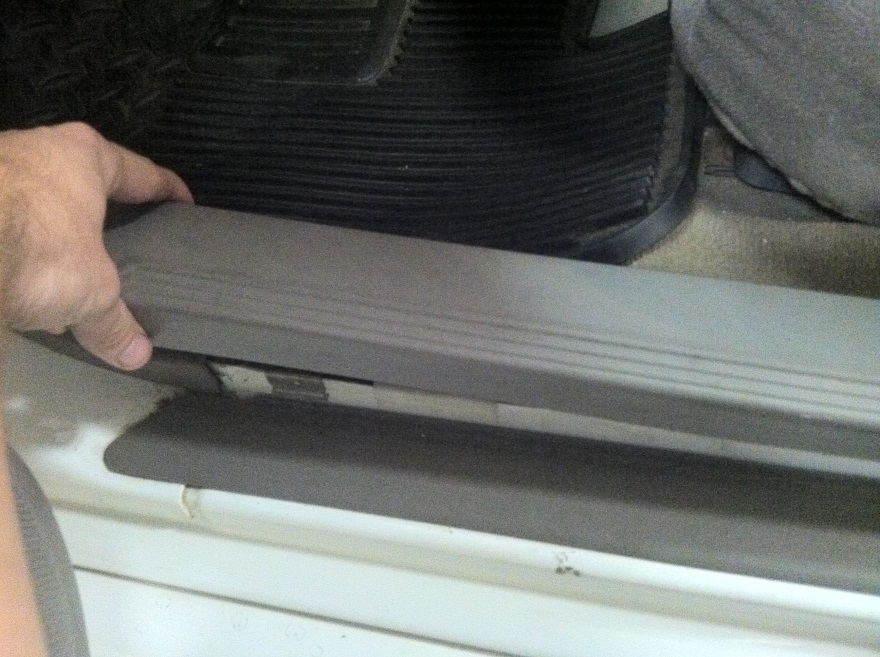
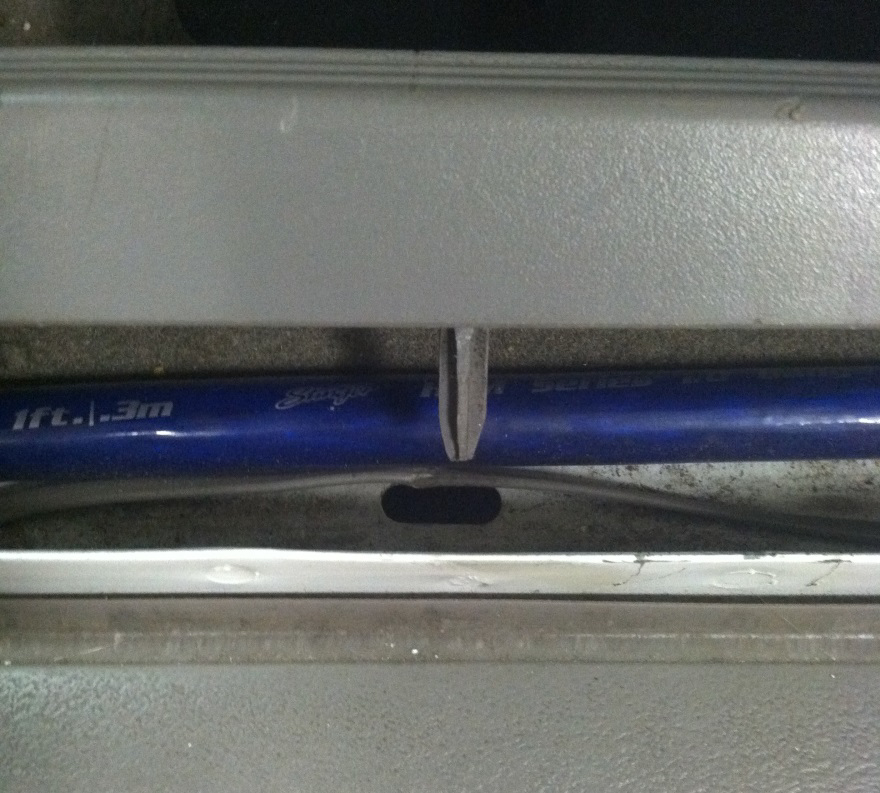
To remove the dead pedal and bracket assembly, start by removing the doorsill trim by pulling it straight up.
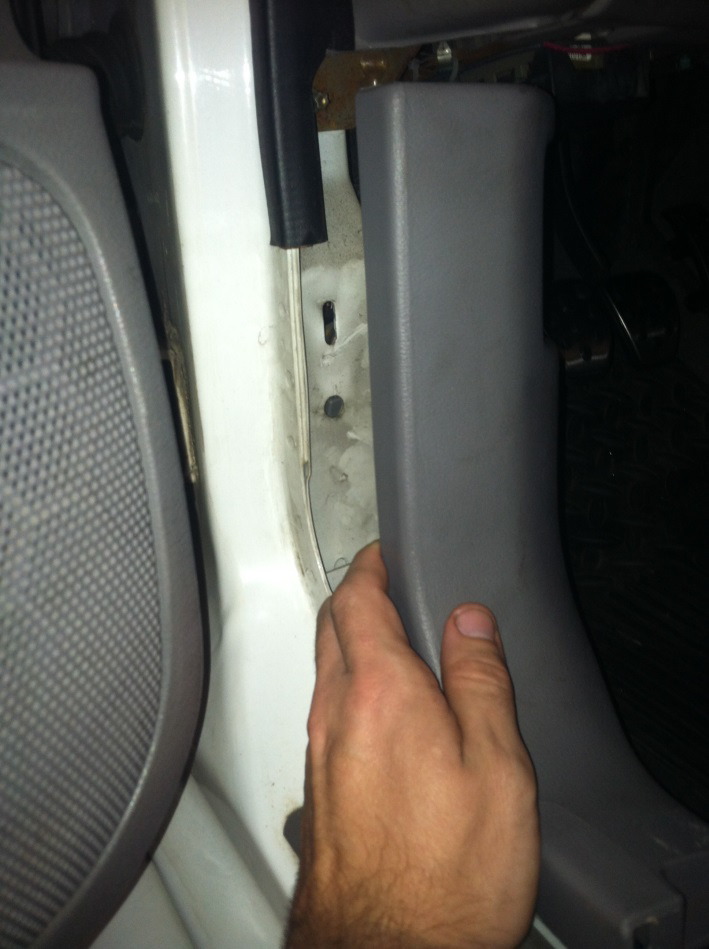
Next, pull the kick panel straight back and remove it.
Next, remove the two Philips head screws (can also use an 8mm socket) holding down the wiring harness and pull it out of the way.
Note: I forgot to take this picture during removal, so I took it during installation, which is why you see the new pedal already in place.
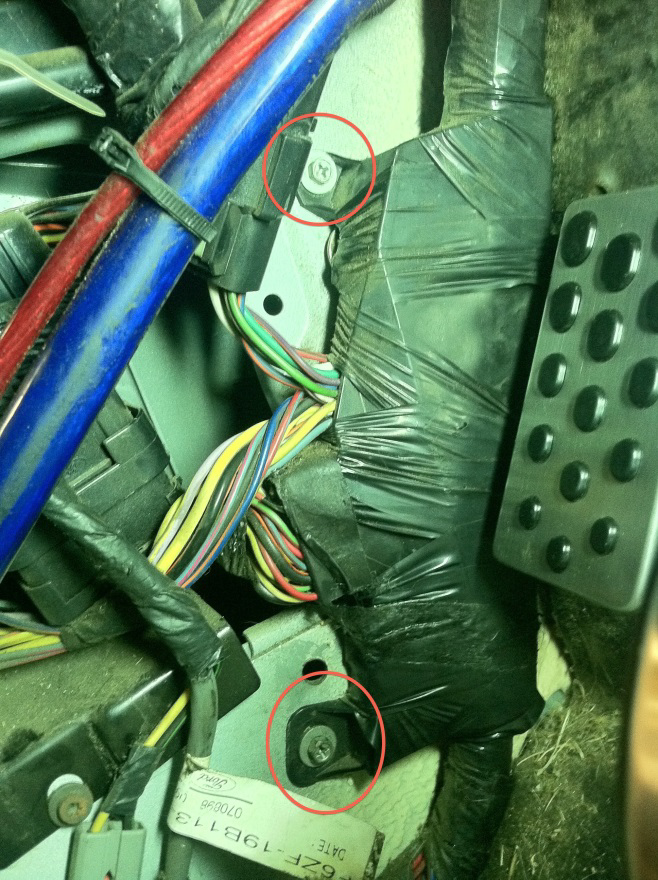
Once you’ve pulled the wiring harness out of the way, you’ll find the two 10mm bolts holding the dead pedal bracket in place.
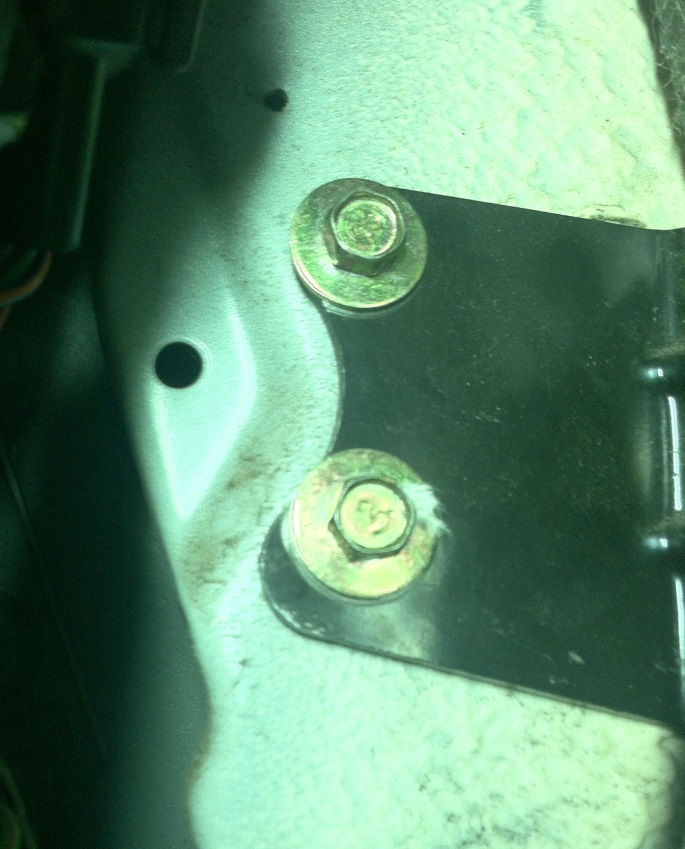
Once the bracket is removed, use either your channel locks or another type of pliers to squeeze the clips that hold the pedal onto the bracket and then remove it.
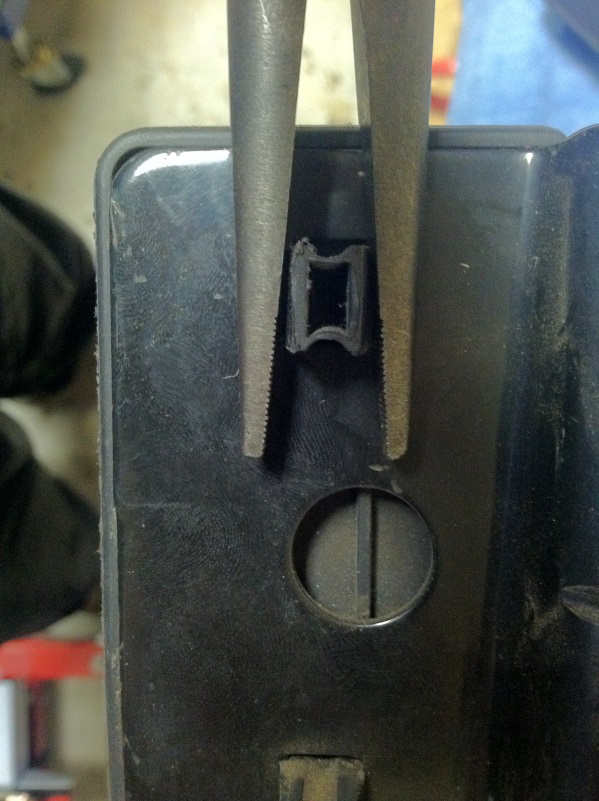
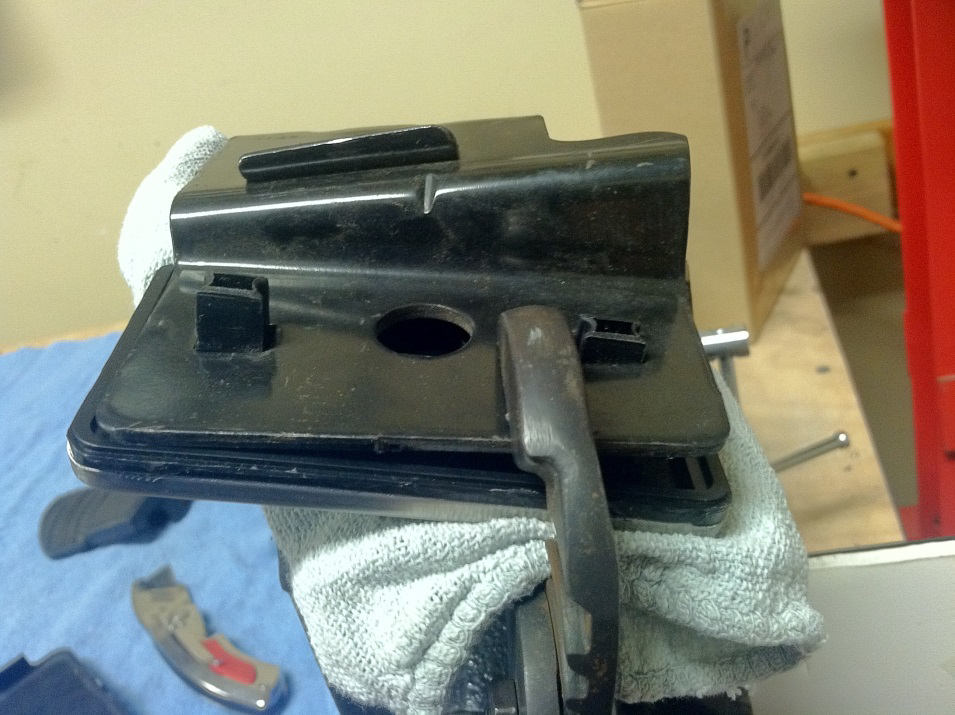
Step 7: Install the new dead pedal by simply clipping it into place. Use channel locks or pliers, if necessary, to make it easier.
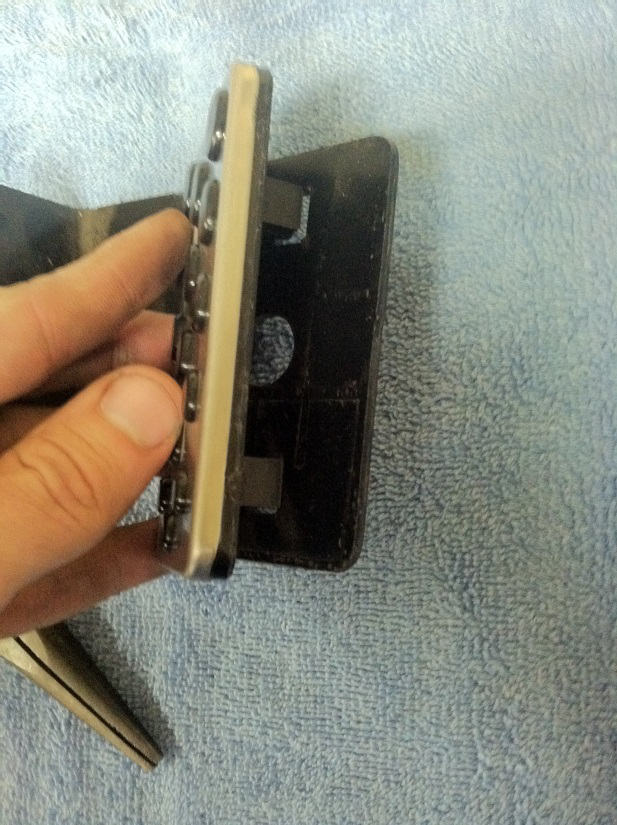
Reinstall the dead pedal and bracket assembly using the reverse procedure of removal. When reinstalling the doorsill trim, take note of the alignment holes and pins.
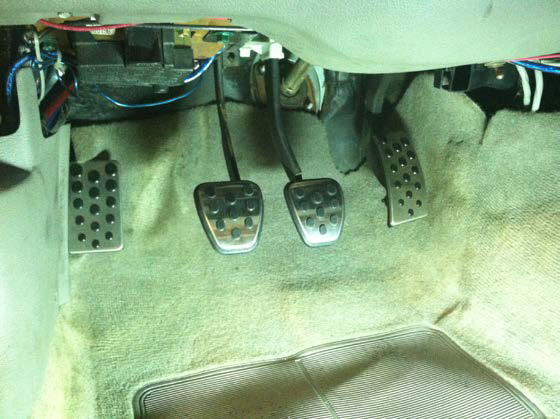
Congratulations! You now have awesome looking pedals!
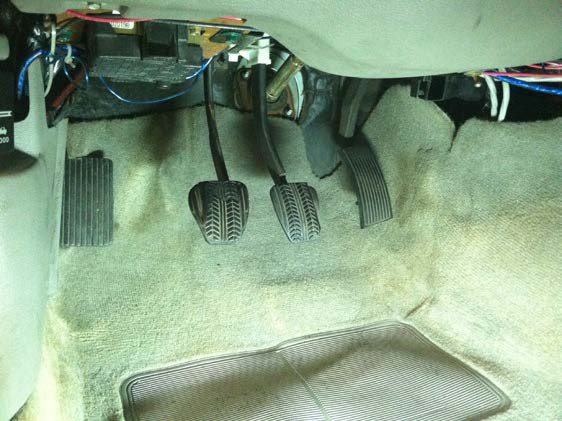
Before
After
Installation Instructions Written by AmericanMuscle Customer Kevin Cross 11.15.2013

