Best Sellers
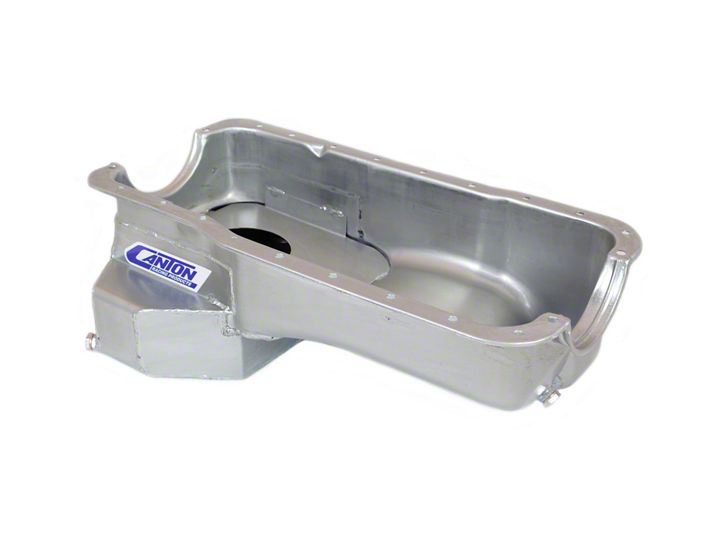
How to Install a Canton Rear Sump T-Pan - Street on your 1986-1995 Mustang 5.0L

Shop Parts in this Guide
Installation
Oil Pan Installation
We would like to thank you for your purchase. To Insure the best results, we recommend the following:
1. Please read the limited warranty on the reverse side.
2. Because of many different engine chassis combinations and the variety of aftermarket products available, It Is always a good Idea to check for Interference and to make sure you have the right Oil pan for your application. Before Installing the Oil pan a check for Interference with the rods, frame members, headers, etc. should be done. If there Is a problem, we will be glad to work out a solution. However, pans that have been reworked or modified In any way, cut or notched to clear main caps, or pans that have been damaged will not be accepted for return. If you have a problem with the pan, call or write us. We have the equipment to straighten out or repair most problems.
3. Make sure that the Oil pan gasket that you use Is OEM or better In quality and Is the proper gasket for the application. Most of our 011 pans require the OEM gasket, the two exceptions are as follows; Our pre'80 Small Block Chevy Oil pans use the'75 and up thick front seal gasket and our Ford 302 and 351W 011 pans use the one or four piece gasket (pan specific). If you need assistance with your Oil pan gasket needs, please give us a call.
4. Clean your oil pan thoroughly before installation. If your pan has a bolt-in windage tray or slosh baffle, they should be removed during cleaning. all bolts, nuts and screws should be lock tightened when the windage tray or slosh baffle is replaced. Teflon tape should be used on all pipe thread connections. Make sure the drain plug is tight, 1/4 turn past finger tight is ideal.
5. On press fit oil pump pickups, we have swedge cut the first 1/4" of tubing to allow easier pickup installation into the oil pump. We recommend that you warm the pump and cool the pickup tube. This will make installation easier and will help hold the pickup in place when both reach the same temperature again. If force needs to be applied, use a plastic or rubber hammer on the built in hammer bracket to limit damage to the tube. The oil pump pickup to the oil pan clearance, should be checked. With the pickup and pump installed, measure the distance between the pickup screen and the block. Compare the dimension with the pan depth. We recommend 1/4" to 3/8" on small block Chevy motors and 3/8" to 1/2" on small block Fords which require a lot of oil. All oil pump pickups with a press in tube should be tack welded to the oil pump.
6. On long stroke motors or where aftermarket connecting rods are used, the internal clearance should be checked. With the pan in place, rotate the motor backward by hand. On some four bolt main motors, the scraper in some of our pro style power pans will need to be notched.


