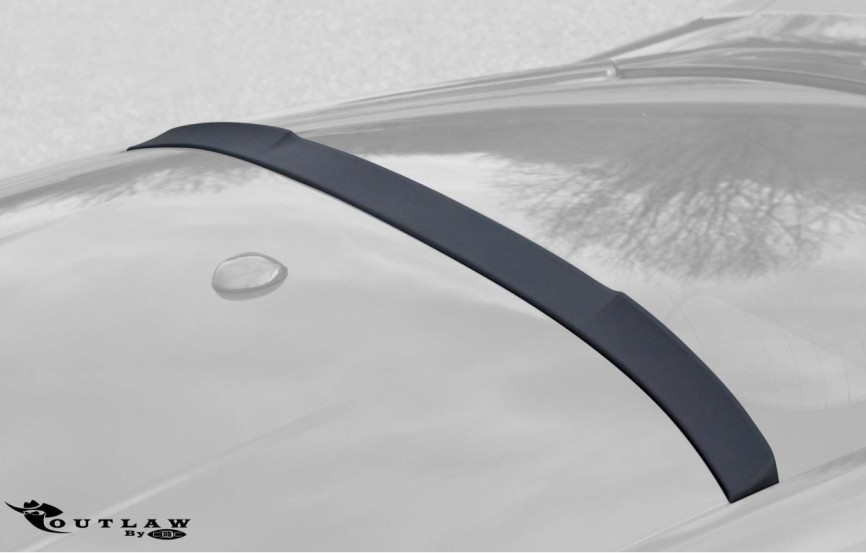
How to Install CDC Outlaw Roof Spoiler - Unpainted (15-17 Fastback) on your Ford Mustang

Shop Parts in this Guide
TEST FIT BEFORE PAINTING!!!
NOTE: This product is Injection Molded TPO. We recommend taking to an Automotive Paint Facility to be painted however, it may be installed “as is”. Standard Fascia paint processes should be used, we recommend that a FLEX AGENT be added to the paint as well.

Note: READ instructions before starting installation!!!
Components: CDC Part#
• 1 - Outlaw High Mount Spoiler 1511-2310-01
• 1 - Alcohol Pack 950006
• 1 –GAP-1 Adhesion Promoter Pack 950008
Tools Required:
• Glass Cleaner
• Clean Rag
• Masking Tape
Installation Instructions
1. Clean the rear glass with Glass Cleaner and a clean rag or paper towel.
2. Clean the glass with the supplied Alcohol Pack, and allow to dry.
3. Place the High Mount Spoiler in location and apply some masking tape as reference as shown in picture below.
4. Remove High Mount Spoiler from car and apply the supplied GAP-1 Adhesion Promoter to glass and top of 3rd brake light.
VERY IMPORTANT!!! Failure to follow this step will result in improper adhesion of the High Mount Spoiler.
• Open packet and remove pad. Wipe on glass and covering vertically, then repeat in a
horizontal direction to ensure complete coverage. Be sure pad is wetting the glass
surface.
• While glass surface is wet, wipe dry with a clean, dry cloth or paper towel.
• Apply the High Mount Spoiler within 30 minutes.
NOTE: These instructions are also on the back of the GAP-1 Promoter pack.

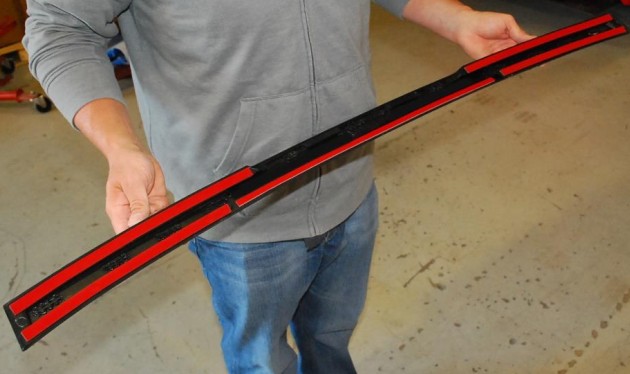
Note: The High Mount Spoiler is pre-taped as shown below.

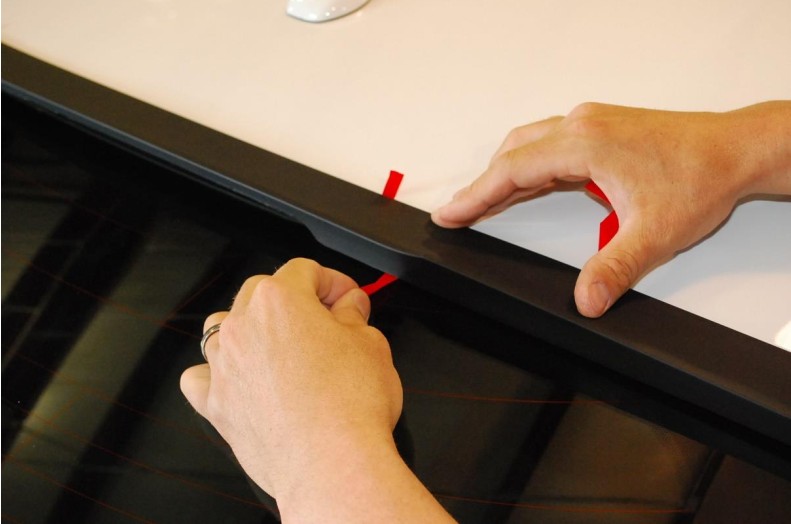
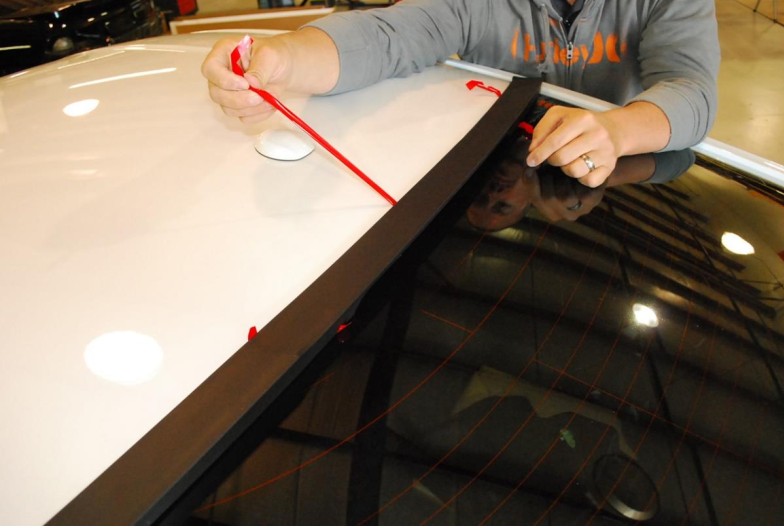
5. Install the High Mount Spoiler. HINT: The help of a friend will make this step much easier. While one person holds one side of the High Mount Spoiler down on the glass, the other person lifts their side and removes the red backing from the tape. After the backing is removed, press into position and repeat on the other side. Press firmly to activate adhesive of 3M Acrylic Foam Tape.


Thank you for choosing Classic Design Concepts for your restyling needs. If you have any questions or concerns regarding installation please contact [email protected]
or call 866-624-7997

