How to Install CDC Outlaw Rocker Side Skirts (15-17 GT, EcoBoost, V6) on your Ford Mustang
Installation Time
2 hours
Tools Required
- Razor Knife
- Side Cutters or similar
- Jig Saw or similar
- Drill Motor
- Scissors
- Clear Silicon
- Panel Tool
- T-27 Torx Bit and driver
- 3/16" Drill
- Rivet Gun
- Soldering Gun
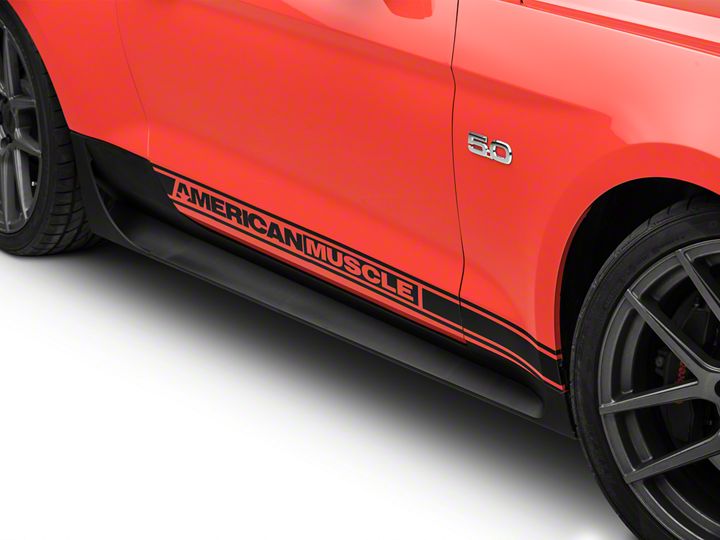
Shop Parts in this Guide
NOTE: This product is Injection Molded UV stable TPO. Rockers may be installed “as is” if you prefer, but we suggest painting them to match the car. We HIGHLY recommend a Professional Automotive Paint Facility. Standard Fascia paint processes should be used, we recommend that a FLEX AGENT be added to the paint as well. Read and follow the installation Instructions thoroughly, CDC will not warranty improperly installed parts.
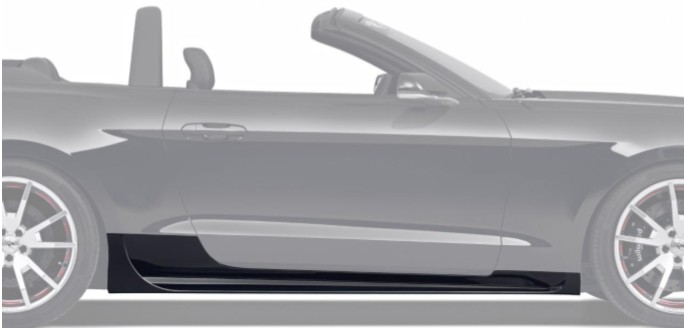
Components: CDC Part#
• 1 - Outlaw Driver Side Rocker 1511-2401-01
• 1 – Outlaw Passenger Side Rocker 1511-2402-01
• 1 – Driver Side Winglet 1511-2405-01
• 1 – Passenger Side Winglet 1511-2406-01
• 26 – 3/16 Aluminum Rivets 75001
• 26 – 3/16” Rivet Washers 55004
• 16 – Rocker Clips 85005
• 2 – Adhesion Promoter 950007
• 2 - Alcohol Pack 950006
Tools Required:
• Razor Knife
• Side Cutters or similar
• Jig saw or similar
• Drill Motor
• Scissors
• Clear Silicon
• Panel Tool
• T-27 Torx Bit and driver
• 3/16” Drill
• Rivet Gun
• Soldering Gun
Installation Procedure:
1. If you choose to paint your Outlaw Rockers, apply masking tape to the back side of the Winglets to avoid overspray. The 3M VHB tape that will hold the Winglets to the Rockers performs optimally to clean plastic. Refer to image below. If you choose not to paint, continue to step #2.
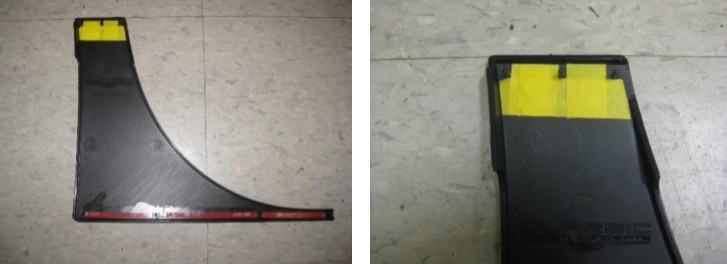
2. Assemble the Winglets to the Outlaw Rockers. Note: The Winglets are separate to make the painting process easier. The parts are pre-taped with 3M VHB tape. Remove the Masking tape from the back side of the Winglets, clean with the area with the supplied Alcohol Pack, and allow to dry. Apply the supplied Adhesion Promoter and allow to dry. Peel the red backing from the tape, use the alignment pins to locate the parts, and press the parts together firmly.
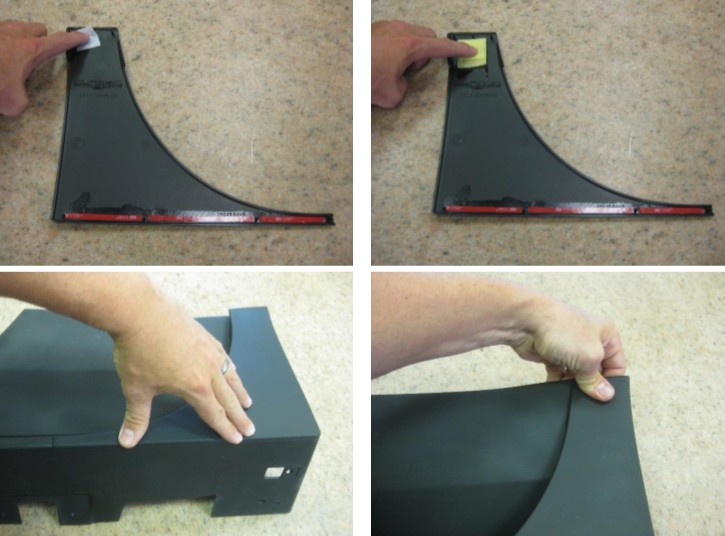
3. Melt the 3 locator pins at the top of the Rockers with a soldering iron or similar as shown below.
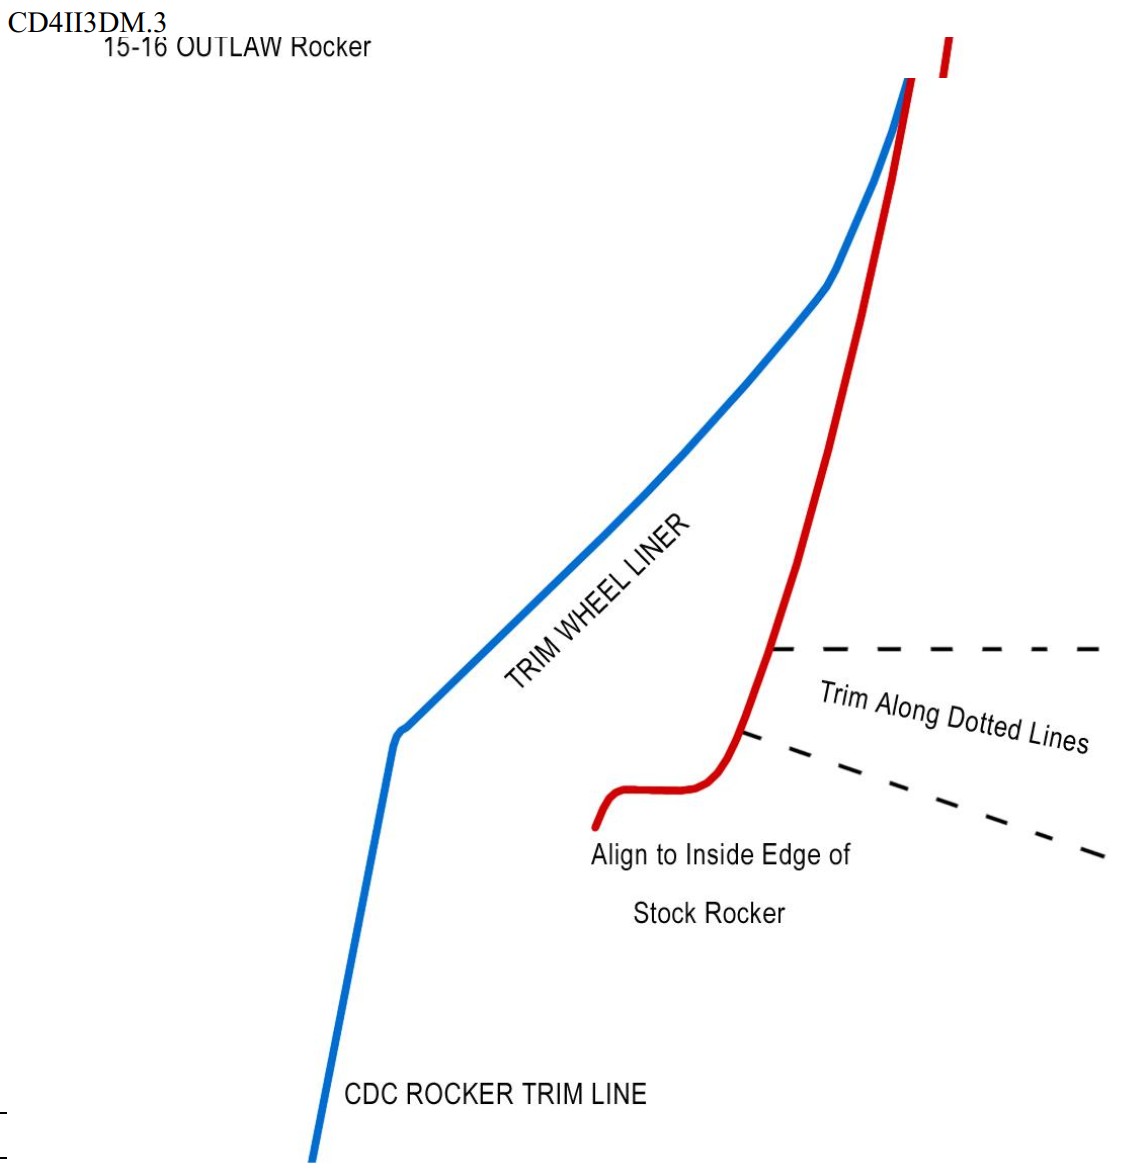
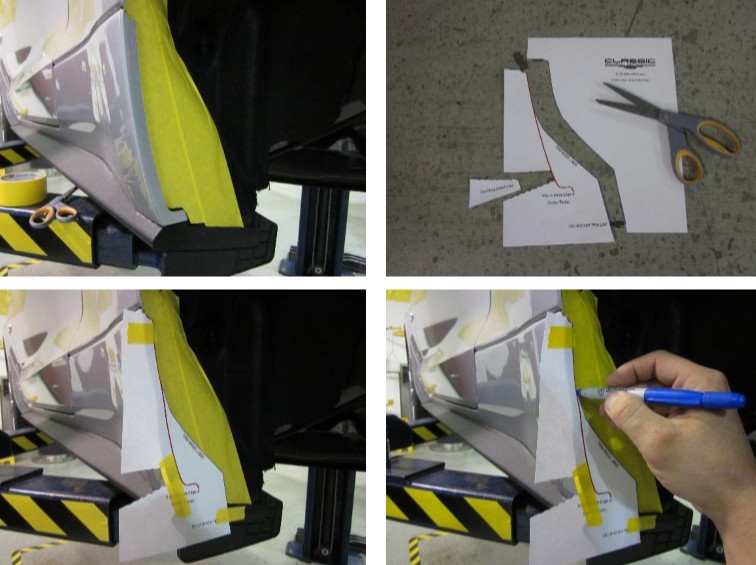
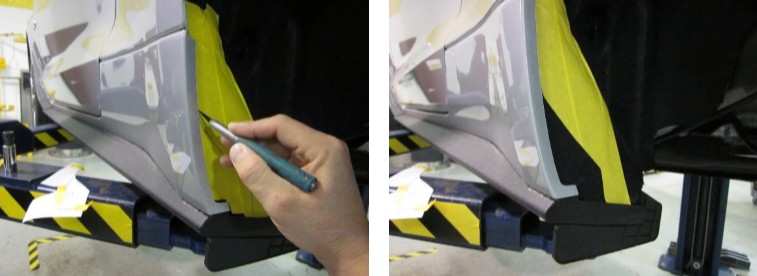
4. Trim Rear Wheel Liners. Place masking tape on the Wheel Liner as shown. Locate the paper templates at the back of the instruction manual, and cut out as shown. Place the templates on the respective sides (they are labeled “driver”, and “passenger”). Align the templates to the inside edge of the factory rocker and hold in place with masking tape. Trace the cut line to the masking tape. Remove paper template. Cut Liner with Razor Knife. Remove masking tape.
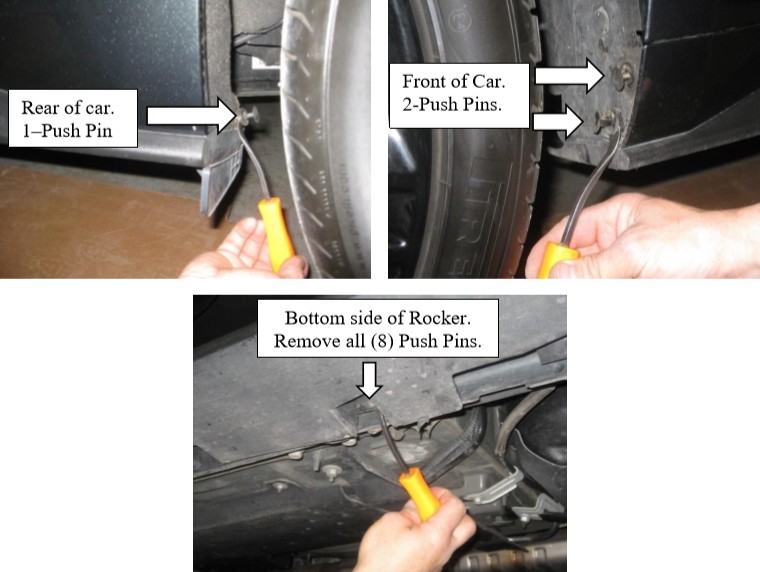
5. Remove the push pin retainer located at the rear of the Rocker. Remove (2) push pin retainers located at the front of the Rocker. Remove the (8) push pin retainers from the bottom of the Rocker. NOTE: Keep the factory retainers as they will be reused. Use a Panel Tool similar to picture below.
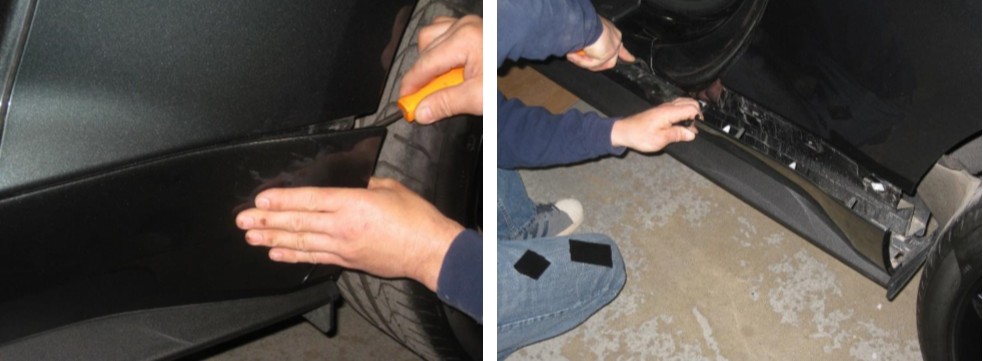
6. Starting at the rear, pull the Rocker away from the vehicle to gain access to the Rocker Clips that secure the top edge of the rocker to the body. Use a Panel Tool to help disengage the clips. You will inevitably break some clips, but don’t worry we have included new clips to install your CDC Outlaw Rockers. Remove the remains of any broken clips, and discard. CAUTION: Careful not to damage painted surfaces while prying with Panel Tool, apply masking tape to the areas if necessary.
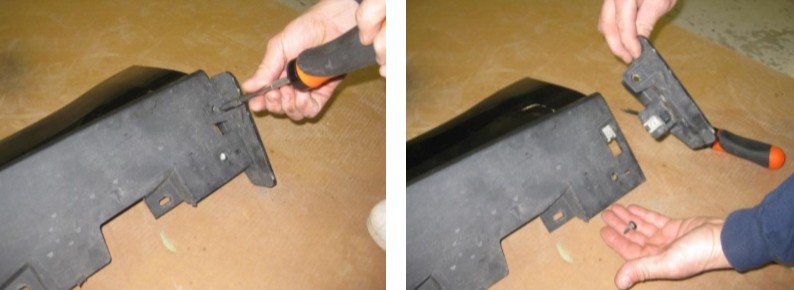
7. Remove Aero Deflector from stock Rocker. Remove the T-27 screws and “J” Clips (will be installed on your Outlaw Rocker).
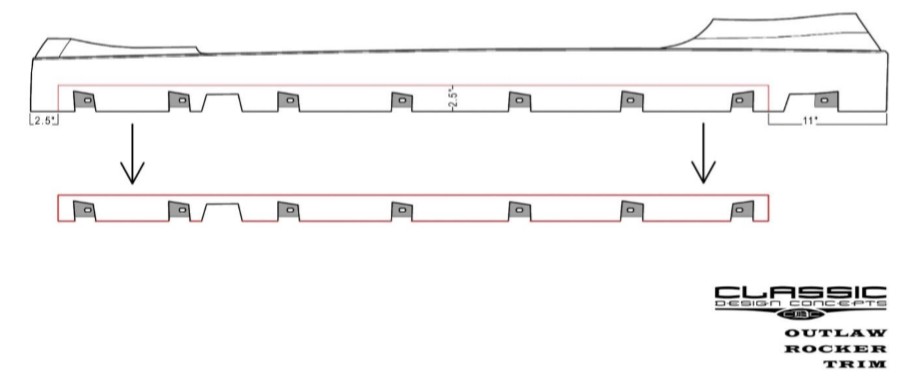
8. Measure and cut the bottom section of the factory Rockers. From the rear of the Rocker measure 11” and mark a line. From the front, measure 2-1/2” and mark a line. From the inside edge, measure 2.5” and mark a line. Cut the part out using a jigsaw or similar.
9. Attach lower portion of stock Rocker to your CDC Outlaw Rocker. Align the part with the openings on the Outlaw Rocker and hold to the edge of the Rocker. Use spring clamps or similar to temporarily hold in place.
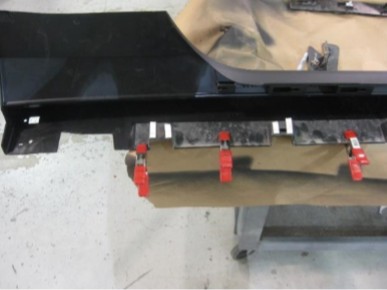
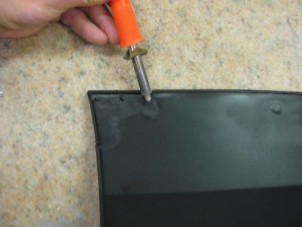
10. Using the holes in the Outlaw Rockers as drill guides, drill 3/16” holes as shown and install the supplied 3/16” rivets, and rivet washers.

11. Trim the Deflector to fit the Outlaw Rocker, refer to picture below.
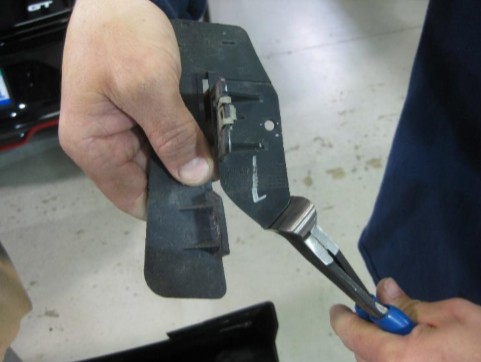
12. Install the Aero Deflector (removed from stock Rockers in step # 3) on the Outlaw Rockers. Install the “J” clips, and the T-27 screws.

13. Install the replacement Rocker Clips in all locations.
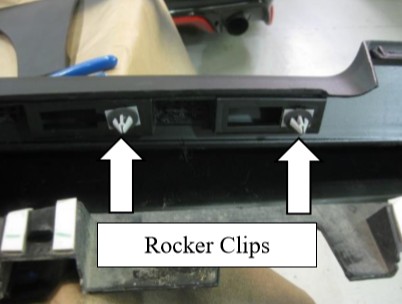
14. Install the Outlaw Rockers. Starting at the front, align the Rocker Clips and snap into place. Reinstall the Push Pin fasteners in the wheel openings and the underside.
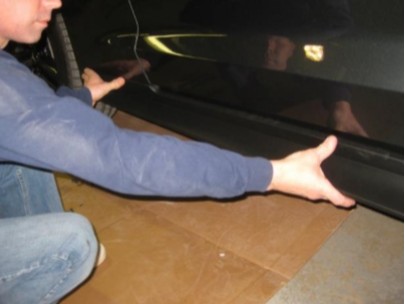
15. OPTIONAL, BUT HIGHLY RECOMMENDED: Apply a bead of silicon where Winglets meet the Rocker, to avoid debris and water from collecting. Apply masking tape as shown, apply a small bead, and wipe in a nice fillet with fingertip. Peel masking tape.

Thank you for choosing Classic Design Concepts for your restyling needs. If you have any questions or concerns regarding installation, please contact [email protected] or call 866-624-7997.

