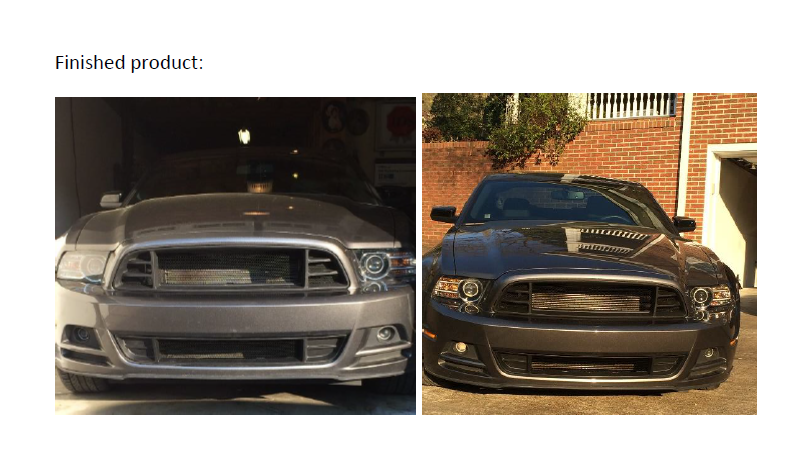
How to Install Cervini's GT500 Style Lower Grille on your Mustang
Installation Time
1 hours
Tools Required
- 8MM Wrench/Socket
- 7MM Wrench/Socket
- Philips Head Screwdriver
- Flathead screwdriver and pliars for removing plastic push pins
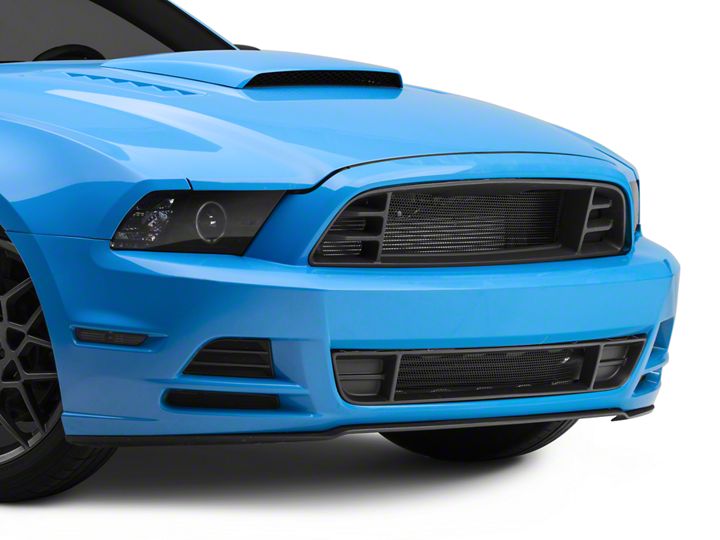
Shop Parts in this Guide
Included Parts:
(1) Lower Cervini ST500 Style Lower Grille
(1) Hexagon Screen
(8) Black Phillips Screws
This install will be easier if the car is on a lift or on jack stand since it will involve removing screws on the bottom of the bumper. If you put the car on jack stand to lift the front, be sure to engage the emergency brake.
(If you installing the upper grille along with the lower grille, steps 1-7 are going to be the same)
Step 1:
Remove the 8 plastic push pins from the radiator cover. Once the pins are removed, the radiator cover will come off easily.
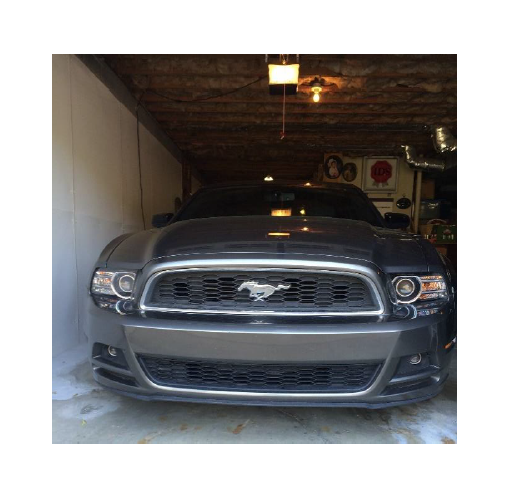
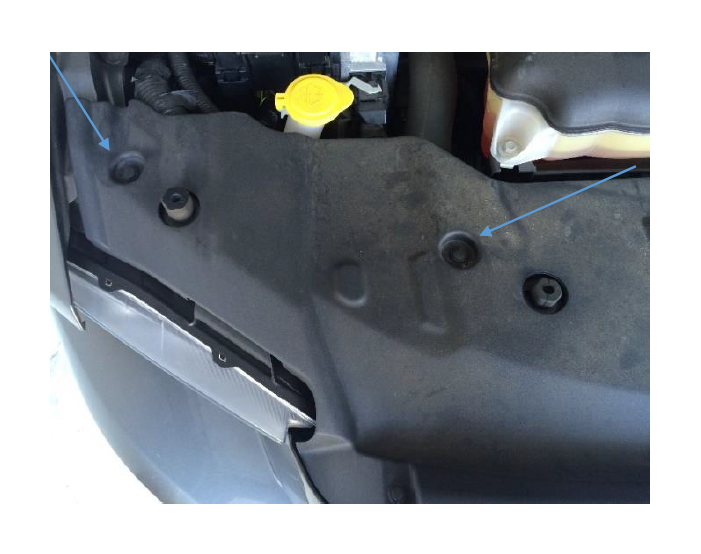
Step 2: Remove the 4 plastic push pins and 4 silver bolts from the top of the bumper.
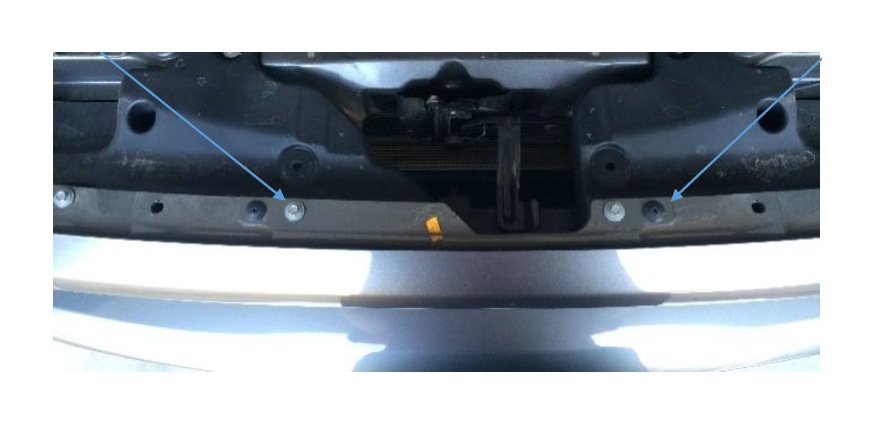
Step 3: Remove the 3 screws from each wheel well.
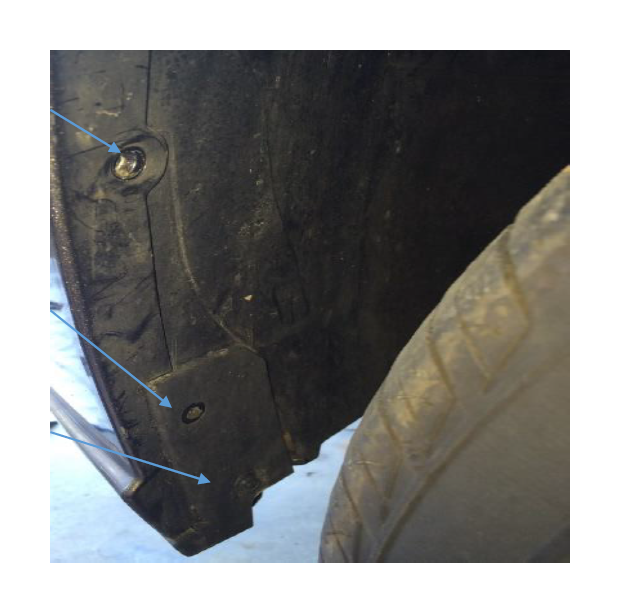
Step 4: Remove the 11 screws along the bottom of the grille. After this step the bumper is no longer attached with screws, it is held on only by clips.
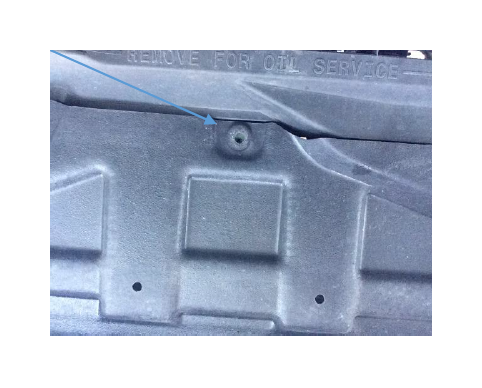
Step 5: Pull on the bumper near the wheel well to pop the bumper loose. Once loose, be sure to disconnect the turn signals and fog lights. Lastly, be sure to disconnect the temperature sensor at the bottom of the bumper.
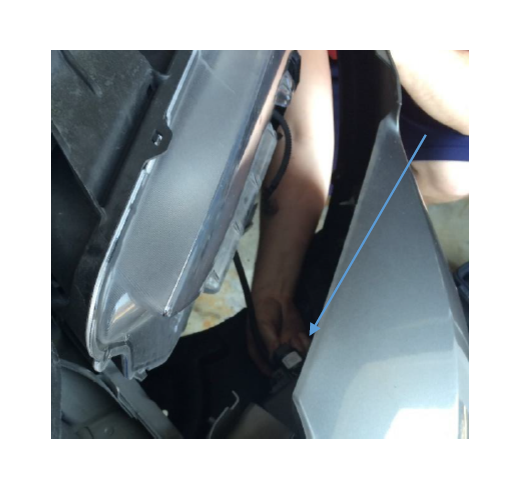
Step 6: Pull the bumper off of the car by removing the bumper at the wheel wells first, then by pulling the bumper away from the car.
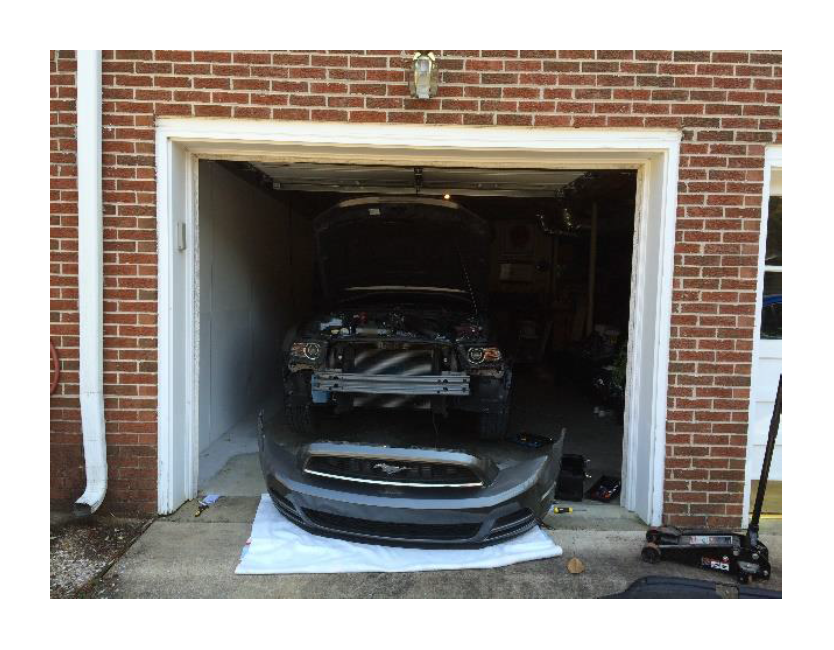
Step 7: Remove the stock grille from the bumper. To do so, push on the grille from the back of the bumper while simultaneously applying pressure to the locking pins
Note: The Cervini directions do a fantastic job of showing how to attach the screen to the grille if you need to reference it.
Step 8: Insert the lower grille through the front of the bumper, placing the hexagon screen between the grille and the bumper. The screen is going to be attached to the grille between the grille and bumper, not directly to the grille like the upper portion.
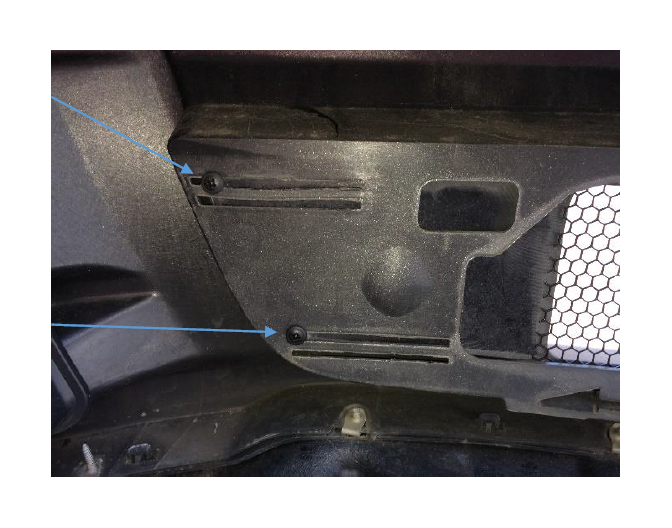
Step 9: Place 2 screws in either side of the grille in the slits on the bumper. Use the picture provided for reference. Do this on both sides of the grille.
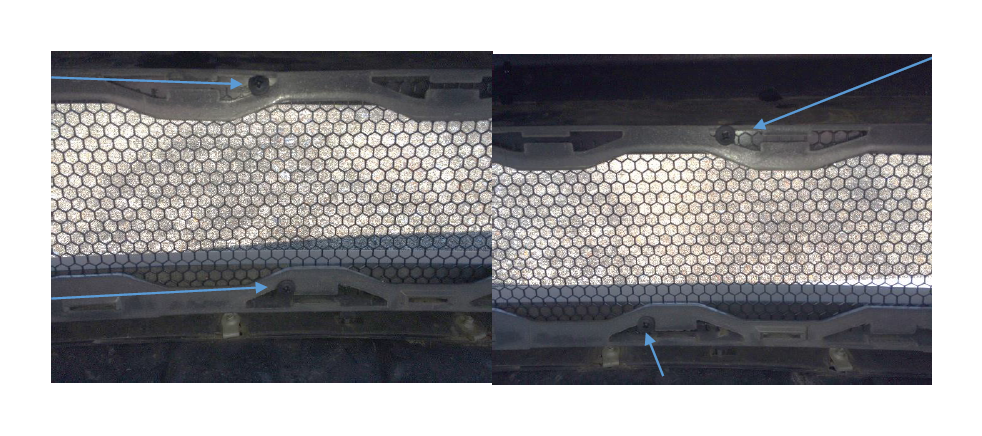
Step 10: Attach the screen to the grille. Use the pictures below as reference. You are going to place 2 screws on the top and two screws on the bottom in order to attach the screen.
Step 11: Reattach the factory bumper
