Top Sellers in Corvette
How to Install a Cervini's Ram Air Hood with Louvers on your 2005-2009 GT, V6 Mustang
Installation Time
1 hours
Tools Required
- 10MM- 1/4” DRIVE SOCKET
- 7/16”- 1/4” DRIVE SOCKET
- 1/4” DRIVE RATCHET
- PHILLIPS SCREW DRIVER
- MEDIUM STRENGTH LOCTITE
- RAZOR KNIFE OR WIRE CUTTERS
Shop Parts in this Guide
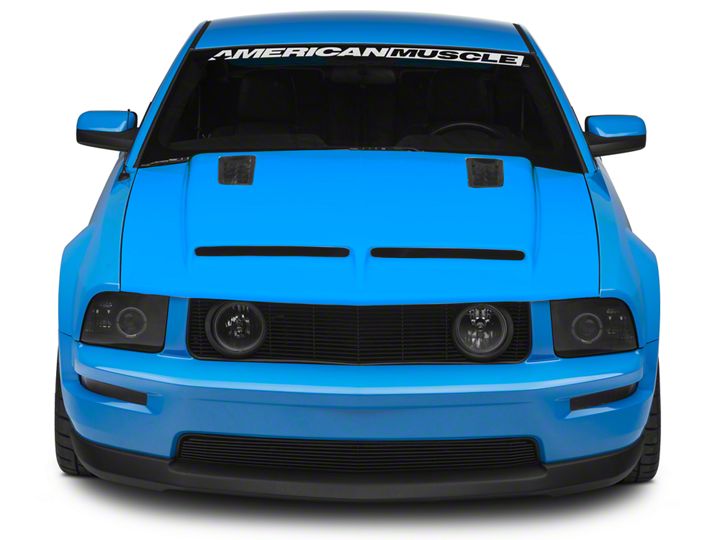
Part #1220 & #1225
2005-2009 Ford Mustang Hoods
Notice: Install new, unpainted parts according to these instructions! Then remove parts, paint them and re-install.
Painted or Altered Parts are Non-Refundable!
(Excludes Cervini Pre-painted Parts)
Step 1
Remove the factory hood from the car, then remove the striker bar from the factory hood.
Tool: 10mm - 1/4" Drive Socket
Step 2
Bolt the new hood to the factory hinges using the Cervini’s pre-installed hardware provided with your new hood. DO NOT use factory bolts & washers. Adjust hood until proper alignment with fenders & rear cowl panel is achieved.
Tool: 7/16" - 1/4" Drive Socket
Step 3
Install factory striker bar using two 1/4” x 20 1” bolts & lock washers. Use a small amount of medium strength Loctite®. Adjust primary latch if needed until striker bar aligns with the latch. Make sure when the hood is closed you can hear the striker bar “click” into the latch. The latch adjusts Up/Down/Left/Right.
Tool: 7/16" - 1/4" Drive Socket
Step 4
After you hear it “click”, test it to be sure it is working properly by grabbing the front edge of the hood and slowly pulling upward with steady even pressure. If the hood opens, it’s not adjusted properly; Repeat Step 3 until hood cannot be pulled open after it’s closed.
Step 5
WARNING: MAKE SURE THE SAFETY CATCH IS WORKING PROPERLY!
To ensure the safety catch is working properly, close the hood, pull the hood release from inside the car and the hood will partially open. Slowly pull up on the hood while rmly shaking the hood up and down. If the hood opens without pulling the safety catch lever then the latch needs to be re-adjusted. The safety catch prevents the hood from opening in the event that the primary latch fails.
Step 6
Locate the rubber hood stoppers found on the radiator support. Adjust upward until they apply a small amount of pressure to the underside of the hood when it is closed. This will prevent the hood from shaking or rocking.
Step 7
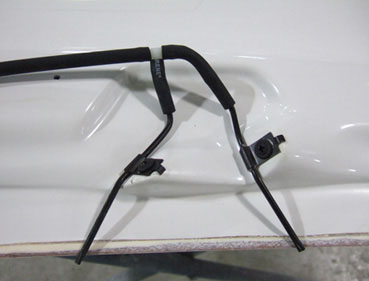
Reinstall the weather stripping to the hood, starting with the passenger side. Cut and remove the weather stripping so it does not crossover the area where the new squirters are to be installed. Feed the windshield washer squirter hose through the weather stripping on the passenger side. Install the squirter supplied in the hardware packet to the hood using the short black phillips screws. Make all nal connections to the squirters as shown in g A. (You may need to adjust the squirters by lightly bending them for proper spray direction to the center of your windshield.)
Tool: Razor Knife or Wire Cutters
Fig. A
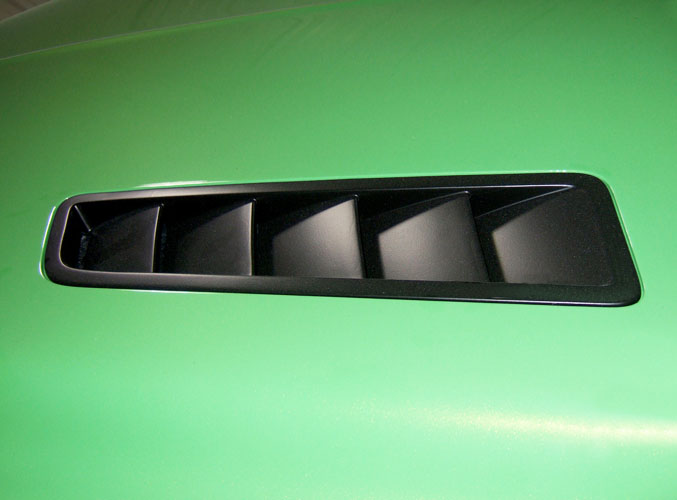
Installation of Vent Inserts for Hood #1220 and #1225
Step 8
Installing the Vent Inserts: Included in the hardware packet is a roll of 3M double sided tape. After the
vent inserts have been painted, install the 3M double sided tape along the inside edge of the inserts as shown in g.B. After the hood has been painted remove the double sided tape backing from the vent inserts and place them in the openings located in the rear of the hood as shown in g C. Be sure to center the inserts in the opening. Firmly press on the edges of the trim ring to secure it to the hood.
Fig. B
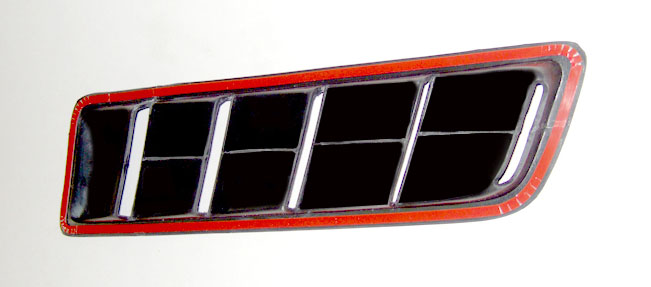
Fig. C
URETHANE PAINTING INSTRUCTIONS
VERY IMPORTANT: The following painting procedures MUST be followed EXACTLY for PROPER ADHESION and to prevent fish eyes.
1. To remove any mold release contaminants, clean the back of the part rst. Using 2 new clean rags, saturate the rst rag with plastic prep cleaner* and begin cleaning. Then use the second rag to remove the prep cleaner.
Continuously fold both rags to their clean sides during the process. Use 3 sets of new rags throughout the process. This prevents mold release contaminants from transferring to the painted surface.
2. Repeat step one on the front of the part.
3. Rinse the part with water. Apply a generous amount of Ajax® or sand x* to a red scuff pad* (3M Scotch Brite Brand) and scrub the surface to be painted THOROUGHLY (especially where the 2-sided tape is installed, on the back side of the part, and all the hard to reach areas). Then rinse with water and dry. The scrubbed surface should be dull. If any shiny spots show, repeat the process on those areas.
4. Using another set of clean new rags, again clean the surface to be painted with plastic prep cleaner.
5. Spray the surface to be painted with adhesion promoter* including the areas where the 2-sided tape is installed (follow the instructions on the can for application and drying time).
6. Apply 3 to 4 coats of urethane primer* with ex additive* (follow the instructions on the can for application and drying time). 7. Wet sand primer with 600 grit sandpaper. Be careful not to sand through the primer. If you do, you MUST clean those areas with plastic prep cleaner, apply adhesion promoter and prime. Once the primer has dried, wet sand the areas that were touched up. Your surface is now ready for paint.
* These items can be purchased at any auto body supply store.
Note: Make sure you PRIME and PAINT the areas where the 2-sided tape is used as you would
if it was the outside of the part. The tape adheres best when it is applied to a painted surface.


