FREE 1 to 3-Day Delivery on Orders $149+ Details
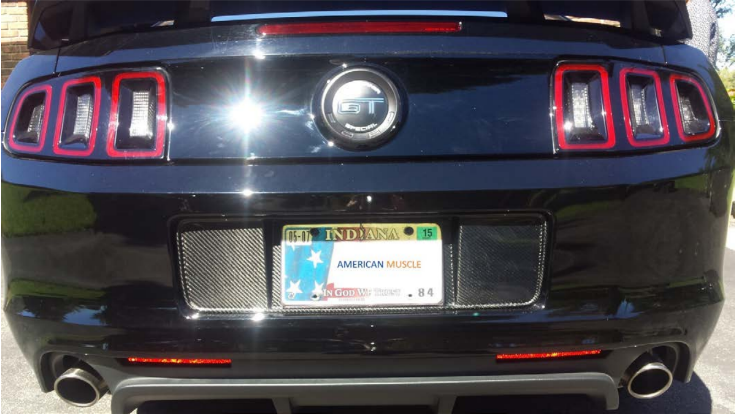
How to Install SpeedForm Carbon Fiber License Plate Panel (13-14 All) on your Ford Mustang
Removal Steps
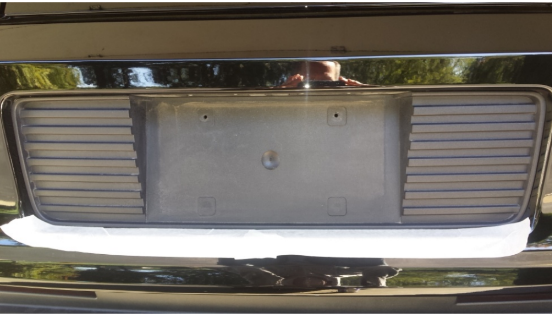
1. Remove license plate and tape the bumper cover around license plate panel to protect the paint.
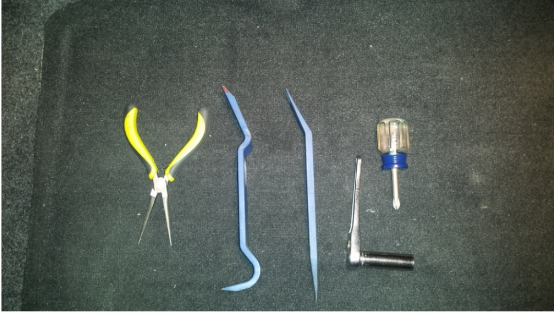
2. Remove license plate trim light using the trim removal tool.
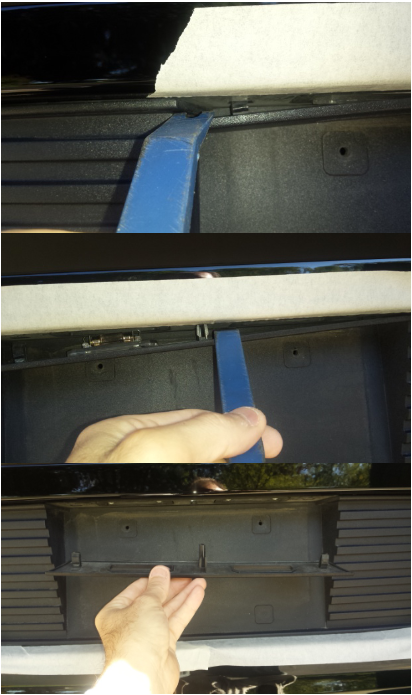
3. Remove the trunk liner trims 4 retainers with the fastener tool.
4. 2 on the left and 2 on the right to gain access to the tail lenses fasteners.
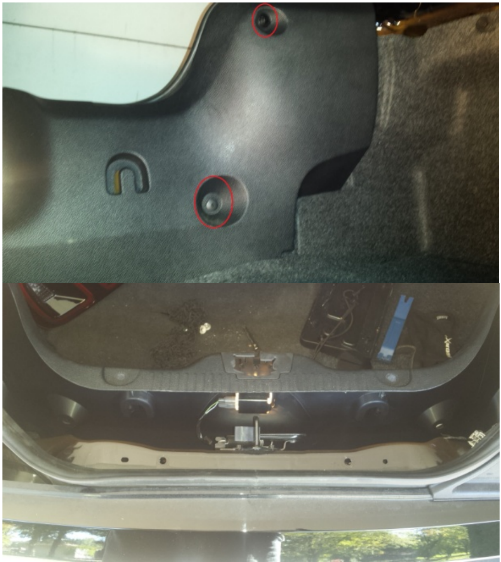
5. Remove the tail light lenses by removing the 3 11mm nuts from the tail lenses studs.
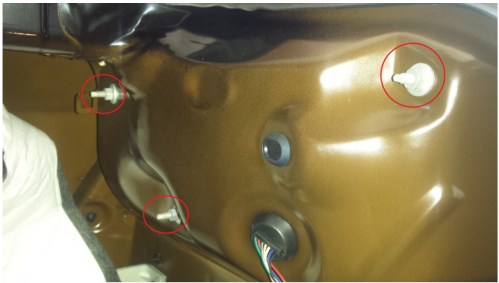
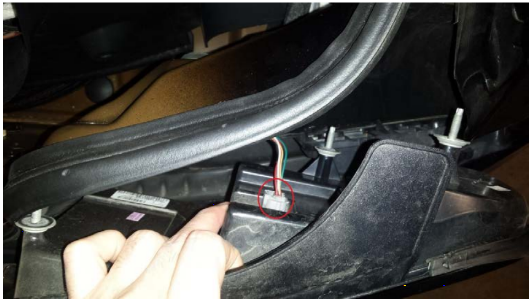
6. After the nuts are removed, hold the tail lens with one hand as the other hand pushes on the studs to un-mount the tail lens housing. Once the housing is a few inches away from the body reach behind the lens and disconnect the wiring harness by pressing on the gray tab on the side of the harness.
7. With the tail lenses removed you now have access to the license plate panel tabs by reaching into the tail lens opening. Use the needle nose pliers to squeeze the panel’s tabs as you use the pliers to push the panel out. Start with upper tab as you work towards the center of the panel.
8. After the first 2 tabs are pushed through the bumper cover, you now will be able to reach behind license plate panel and remove the license plate wire that is connect to the back of the license plate panel.
9. After you have disconnected the wire, gently pull the license plate panel away
from the bumper cover.

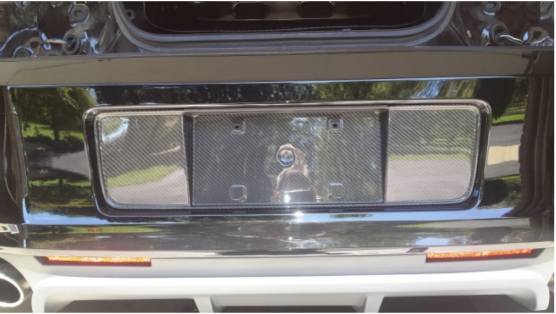
View from the tail lens opening
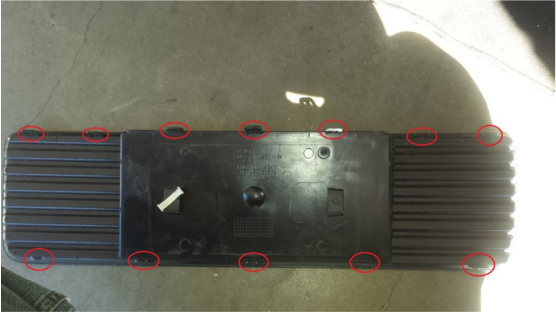
Tab locations on the license plate panel
10. Install the carbon fiber license plate panel by inserting the tabs into the tab holes in the bumper cover. Then re-install the license plate light trim.
11. Reinstall the tail light lenses and the trunk trim panel and enjoy the new look.
Installation Instructions written by AmericanMuscle Customer Chris Ginoplos 12/09/2014