Best Sellers
How to Install C&L Short Ram Air Intake w/ 82mm MAF on your Mustang

Shop Parts in this Guide
Installation of this kit is quite simple, and should take no more than 20 minutes to complete. For installation, you will need: a flat head screwdriver, a 1/4” drive socket wrench with 1/4” socket to drive the torx screws (tool provided) and a small adjustable wrench.
1. Remove the factory MAF assembly. First, loosen the clamp on the back of the factory Mass Airflow unit. Next, disconnect the MAF harness from the factory electronics module located on the top of the stock MAF unit. If you squeeze the underside of the connector, then the harness connector will slip off towards the passenger side fender. Then, loosen the bolt that holds the stock air filter assembly to the fender, and remove the entire assembly (MAF and filter box) by lifting up on the filter end and slipping the back of the MAF unit out of the factor rubber ductwork. You will need to move the filter box assembly towards the engine before lifting up, so that you will clear the air horn that protrudes into the fender well.
2. Transfer your factory electronics from your stock MAF unit to the new supplied 85mm housing. There are two tamper resistant Torx style screws that hold the electronics to the top of the factory MAF. Use the supplied Torx bit by placing it into the 1/4” socket wrench and loosen the screws with it. Once the screws are loose, carefully lift the factory sensor electronics out of the stock housing and transfer them over to the new MaxFlow MAF housing. Note that the rubber o-ring transfers with the electronics module. If this o-ring is not transferred and does not seal properly, it will throw off the MAF signal at idle and under low RPM conditions. Once the electronics are set upon the new housing, be careful to ensure that the o-ring is seated properly and tighten the torx screws in an alternating fashion, being sure not to over-tighten.
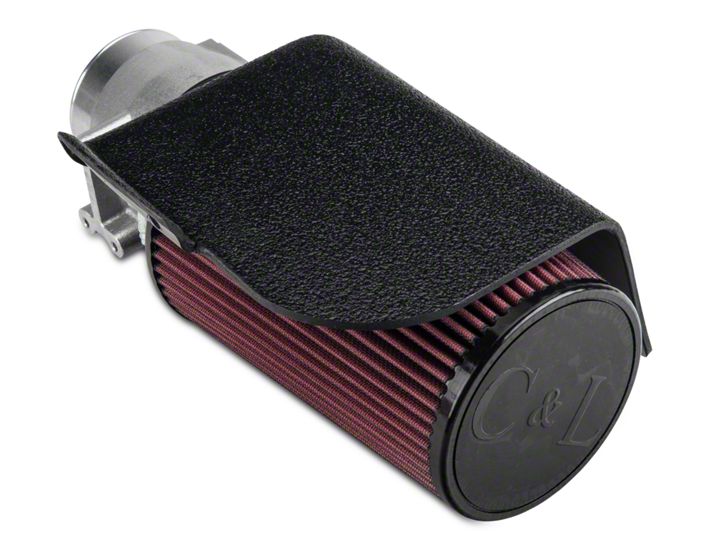
3. Mount the supplied Filter on to the front of the 85mm unit. Use the screwdriver to secure the clamp after you have placed the filter all the way up the neck of the 85mm housing.
4. Re-install the new MAF and filter into the stock location by sliding the rubber inlet hose over the new MAF unit and securing with the factory hose clamp. Clip the MAF harness connector back onto the MAF electronics. To finish installation, take the new plastic filter shield supplied with the kit and secure it to the fender using the original bolt that held the factory air filter assembly in its original hole. The shield will cover the filter as well as hold the MAF unit securely in place. Installation is now complete!
We do not recommend the use of “ram air” kits or “cold air induction” kits, as they offer absolutely no benefit over this package. In fact, the use of a ram air system can throw off the signal of the MAF unit at speeds above 70 MPH, which results in a rich air/fuel mixture and a horsepower LOSS. “Cold Air Induction” kits offer absolutely NO benefit over our arrangement, as the air is coming from the exact same location. Besides, these kits are designed specifically for the stock MAF, and can not be bolted to our unit without cutting the pipe. The sharp 90 degree bend that is placed in front of the air meter when using a “cold air” tube concentrates the airflow to one side of the air meter resulting in an incorrect amount of air being read by the sensor. Remember, all MAF units are calibrated with an air filter located directly in front of them. If you move the filter away from the MAF and make the airflow turn before entering the meter, it may throw off the MAF signal. This package was dyno developed to give you the most horsepower as you received it. As with ALL high performance modifications, it is recommended to run 92 or better octane gasoline to prevent any potential pre-ignition at light to moderate loads.


