
How to Install Coil Packs & Coil-on Plug Kits on Your 2005-2010 Mustang GT
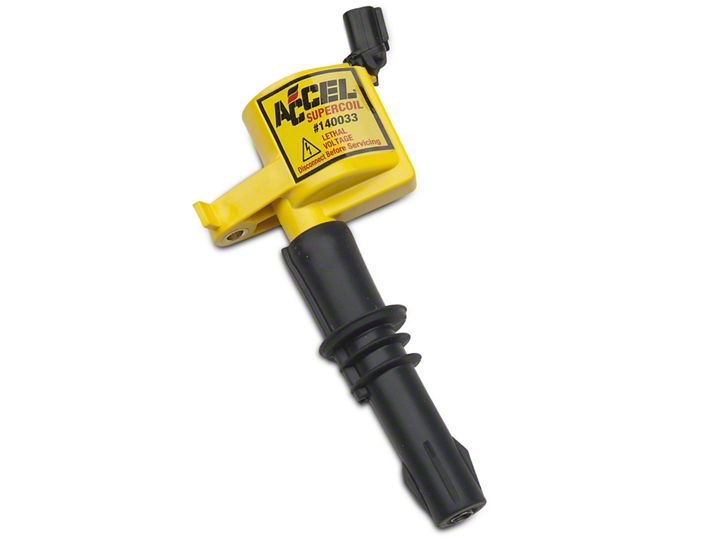
Shop Parts in this Guide
Installation
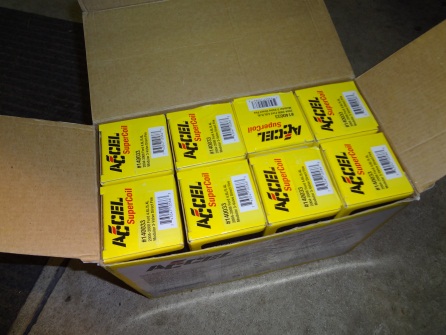
Please Note: This installation was completed with the Accel Super Coil on Plug Kit, but could be used as a reference for any brand plug kit installation.
Installation:
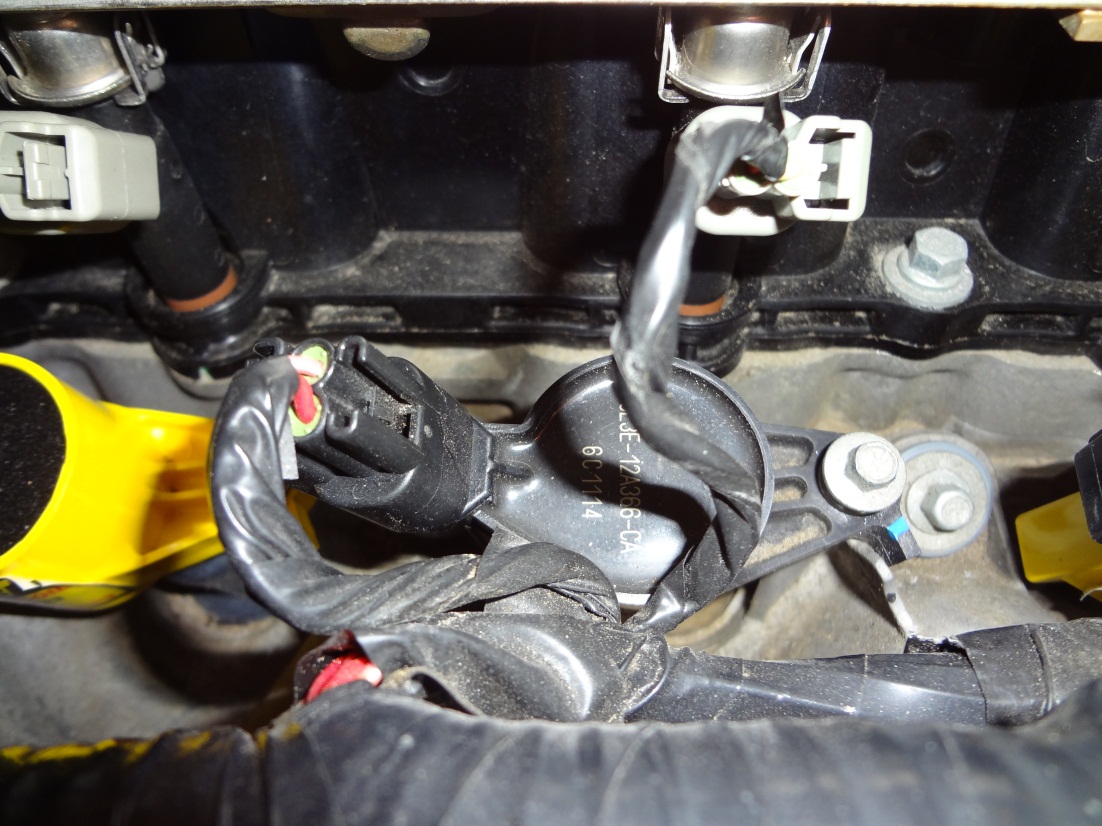
1. Open your hood and make sure you have adequate light to see around the ignition coils.
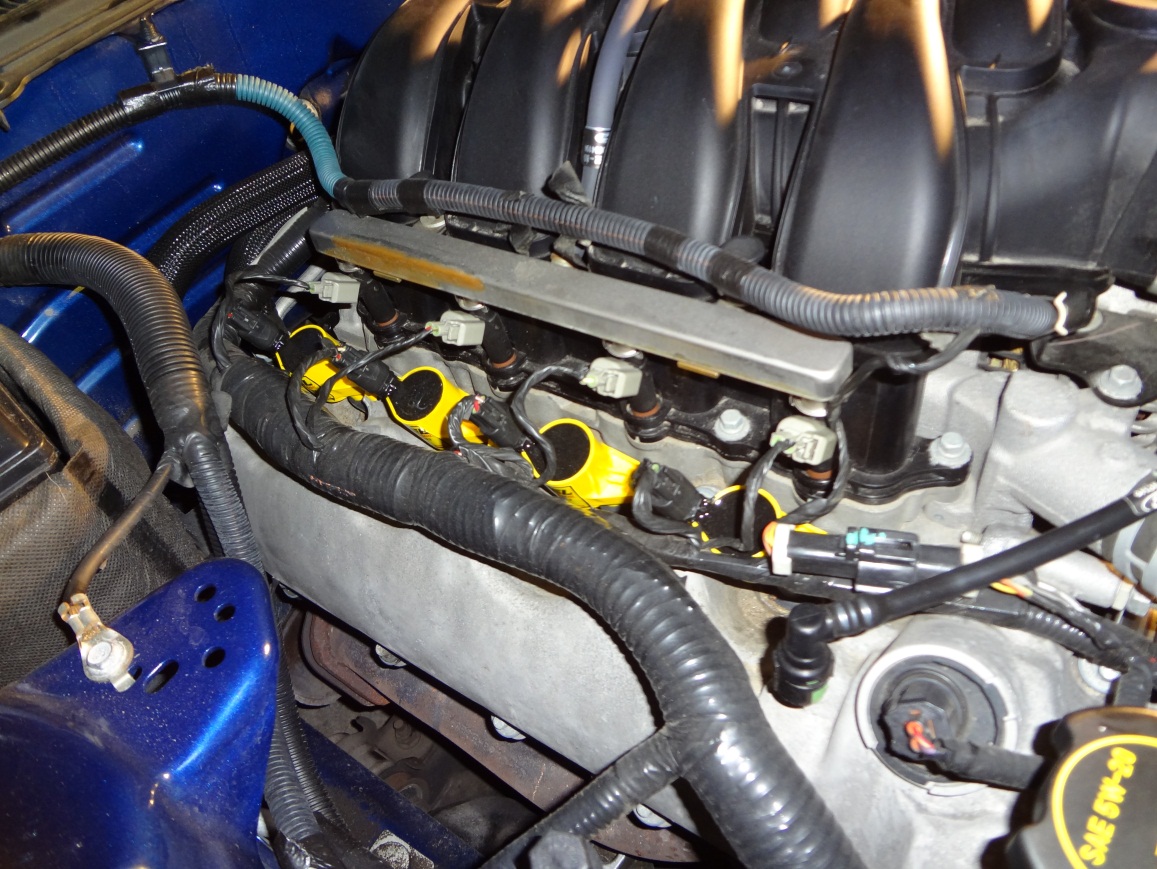
2. There are (4) ignition coils on each side of the engine (8 total) - one per cylinder; they are easy to see and access. You won’t need to remove anything to get at them.
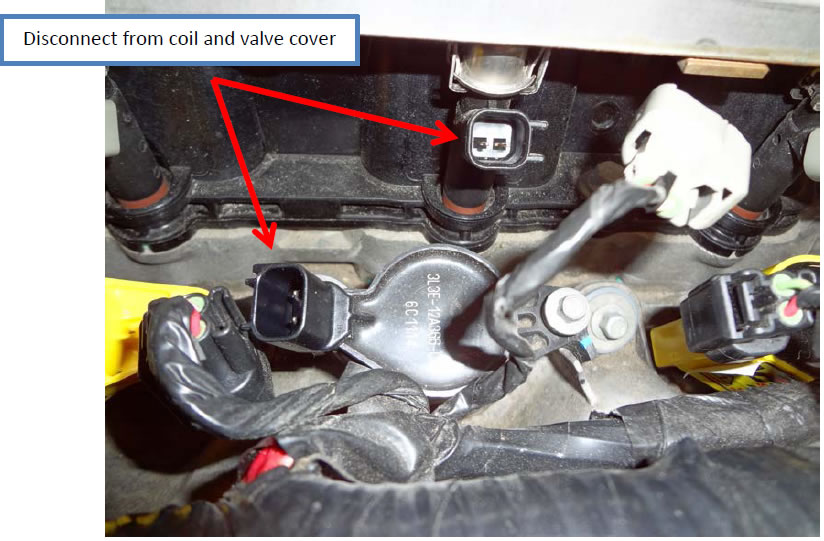
3. Start by removing the electrical connectors from coil and the valve cover. You only need to remove the connector from the coil, but removing both gives you more room to work.
NOTE: The following instructions are for the replacement of one coil. The process is the same for all (8); simply repeat the steps for each ignition coil. You may find it easier to carry out each step on all the coils before moving on to the next step.
4. Using a 5/32” socket with extension bar and socket wrench, remove the hold down bolt from the ignition coil. Set the bolt aside for installing the new coil.
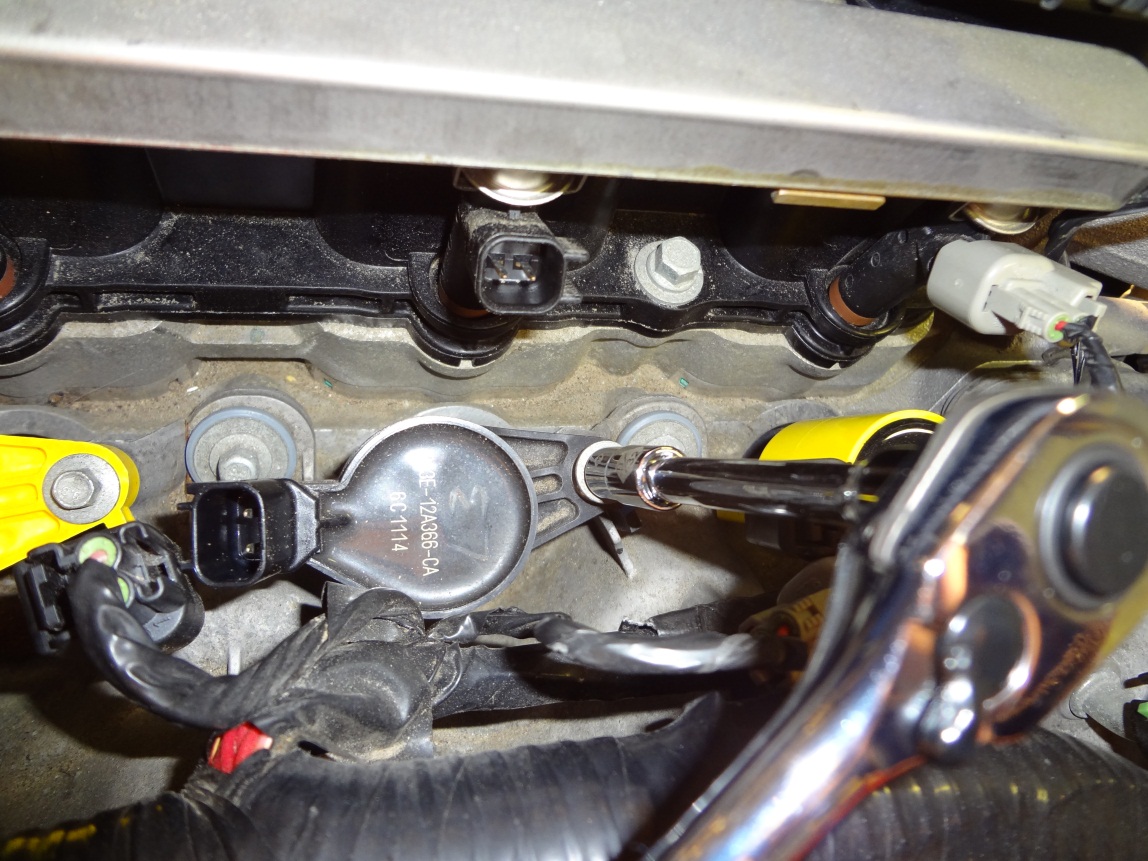
5. Before removing the old ignition coil, use a shop-vac with a fine nozzle on it to suck out any dirt around the coil to prevent it from falling down into the spark plug hole. Alternatively, use some compressed air to blow out any dirt or debris.
6. Now you’re ready to remove the ignition coil! Grasp the ignition coil firmly and pull straight up. The coil should come out with a firm tug.
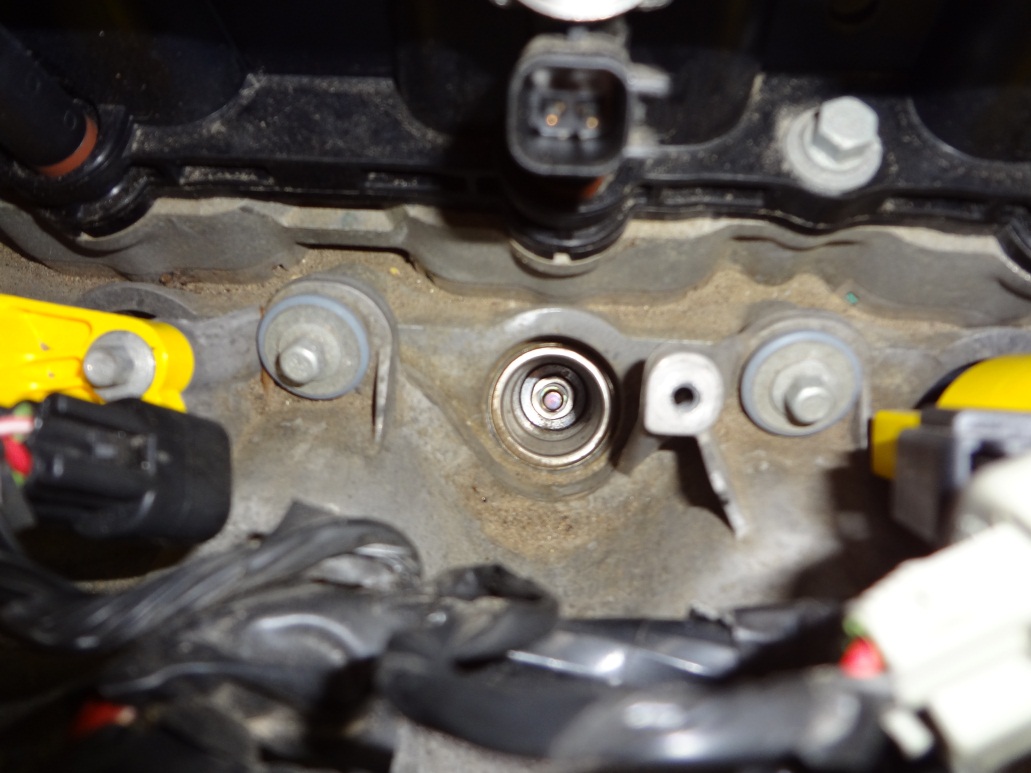
7. Get the new ignition coil out of its box.
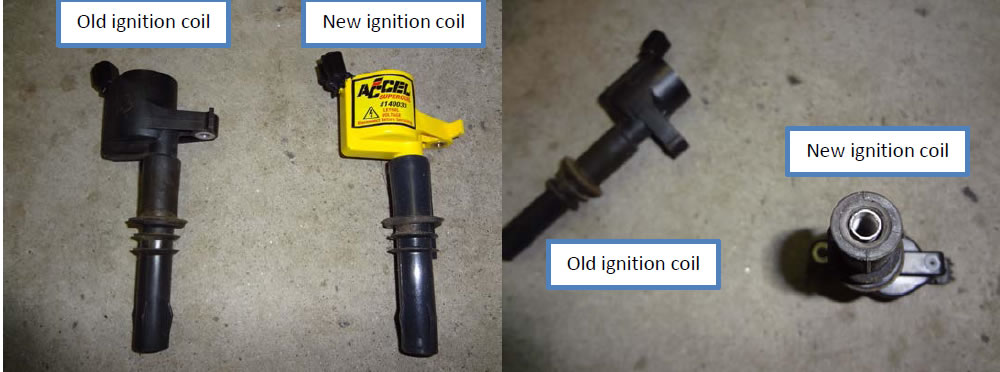
NOTE: When you remove the old coils, check the bottom for any scarring or arcing as this could indicate issues with your spark plugs!
8. Grasp the new coil firmly and push it down over the spark plug into the hole. It may feel slightly loose, but once the bolt is fastened, it will be snug again.
9. Get the bolt that you previously set aside and reinstall with the 5/32” socket. The bolt just needs to be snug; don’t over tighten it.
10. Repeat steps 4-9 on all eight coils.
11. Reinstall all electrical connectors.
12. Now, you’re all done!
Installation Instructions written by AmericanMuscle custoer Michael Touw 1.25.12

