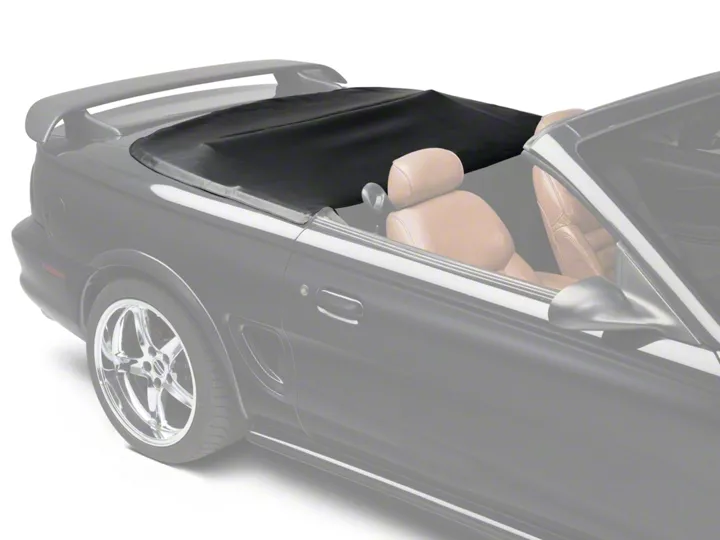
How to Install a Convertible Top Boot - Black on your 1994-1998 Mustang

Shop Parts in this Guide
Before Installation
Prior to beginning installation please check your order to be sure that everything is correct, i.e., year, make, model, color, material, etc. If we sent you the wrong item, we will gladly accept it back for credit and ship you the correct item, providing the incorrect item is returned in saleable condition. No credit will be issued for incorrect items if installation has been started.
The Boot should be laid out flat, outside in sunny weather, under the sun for a minimum of 2 hours, or in a heated room overnight. This allows the vinyl to loosen up and stretch properly during installation. The Boot should be installed at temperatures above 72 degrees Fahrenheit, Below this temperature, the Boot material may contract an inch or more making it very difficult to install and could even tear the seams and stitches.
These instructions are basic to all models of Boots, and are designed to be a guide only. They should allow you to generally find your way around an installation, but are not model specific. Your Boot may differ a little from these instructions. Our products are made similar to the original so, we cannot be responsible for damages due to incorrect installation of the Boot, hardware or any other related component.
For best results when installing Boots, it is suggested to start as follows:
First attach all inside fasteners and then start in the back and work forward. Begin in the center and work your way out to each side. For example, if a Boot has snaps or other types of fasteners, to attach the center fastener and then one toward the passenger side. Then go to the driver side and rotate back and forth until ail fasteners are attached.
Mustang Tonneau Boots - Part Numbers B-249,1994-98 and B-249A, 1999 to 2004
1. Lay Boot flat. Insert 2" wide "J" Plastic into the oblong slots where the seat belts come out. This will center the Boot.
2. There are flat, Black Plastic reinforcements sewn to the underside of the Boot on both sides. Slide the Black Plastic underneath the Black metal trim channel on the car.
3. In the front of the boot there are four (4) Black Stiffener Tabs approximately 2" and 4" in length. These will easily slide under the bottom of the rear seat.
4. The Boot has the snaps installed. Included in your Boot kit are (6) Black Screws and (6) Wagon Wheels (Male Studs). These need to be installed on to the Black metal channel.
5. Pull the center of the Boot back, then with one hand pull the portion of the Boot with the snap to either the right or left side, hold it in place and mark with a pencil where you will drill. Using a 3/32" drill bit, drill a hole into the Black channel around the well area. Be careful not to drill too deep so you don't damage the body of your car. You only need to drill through the metal channel.
6. Install the first Wa^on Wheel with Black Screw and snap the Boot into place to insure you like the way it looks. Qoce the first snap is instated, the rest should be easy. Work your way from side to side installing one on the driver side and then move to the passenger side and back again. This will help eliminate any wrinkles.
Mustang Boots • Part Numbers B-250,1994- 2004
1. Lay Boot flat on back of car and centerthe boot into position. Then, attach the adhesive back Velcro strip provided to the factory Black Plastic Awning channel already on the rear of back

