
Best Sellers
How To Install a Front Parking Sensor on Your 1979-2014 Mustang
Installation Time
1 hours
Tools Required
- 7mm Deep Socket
- 8mm Deep Socket
- Ratchet
- Soldering Iron (optional)
- Floor Jack
- (2) Jack Stands
- 4 Bricks or Wheel Chocks
- Needle Nose Pliers
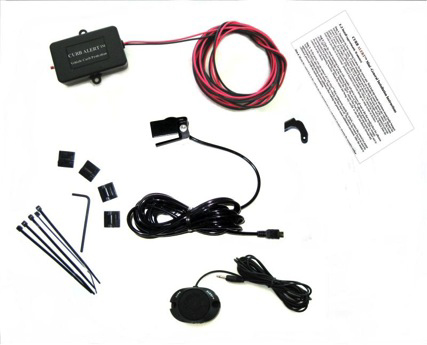
STEP 1:
Support the vehicle to gain access to the undercarriage.
STEP 2:
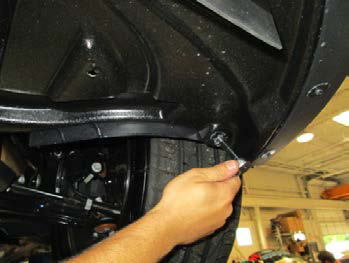
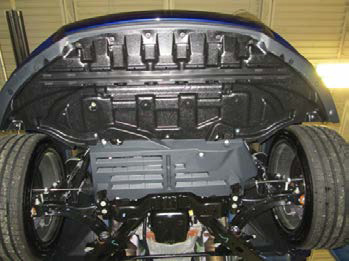
Remove the (2) outer and (3) center bolts holding the belly pan to the fascia.
Remove the (12) bolts holding the front edge of belly pan to the fascia.
STEP 3:
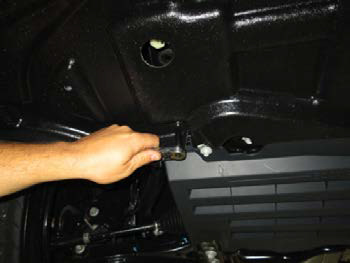
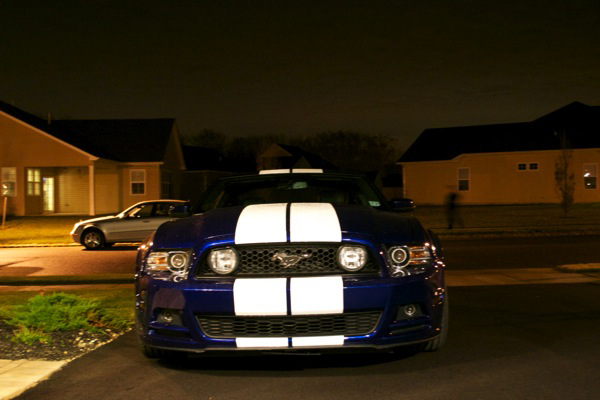
Choose a place to mount your front sensor I chose in my front grille as shown. After route the wire into the engine bay. Back toward the passenger side strut tower.
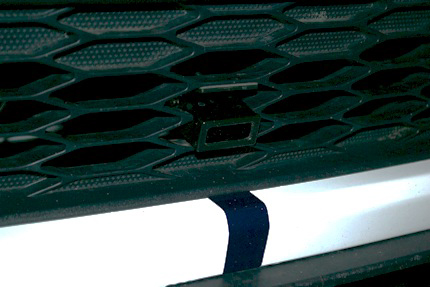
STEP 4:
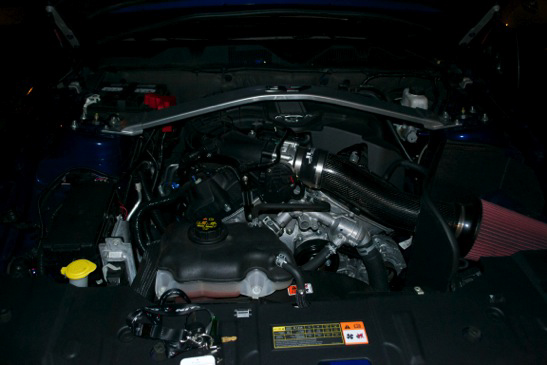
Route the speaker wire from the cabin into the engine bay, there is a grommet available that I had used, shown in the picture below. The grommet will be up on the firewall above the pedals. This will come out near the brake reservoir.
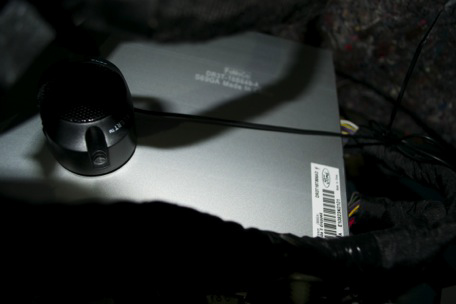
STEP 5:
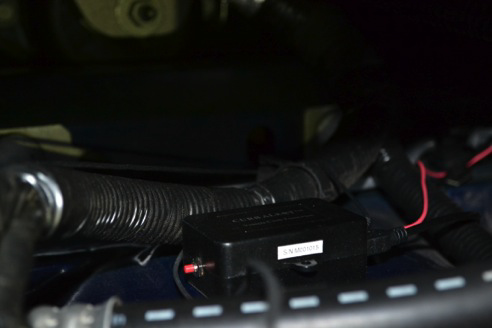
Choose a place to mount your main control box, I chose the front shock tower as shown. This should be near the battery. After that connect the speaker wire and main sensor wire.
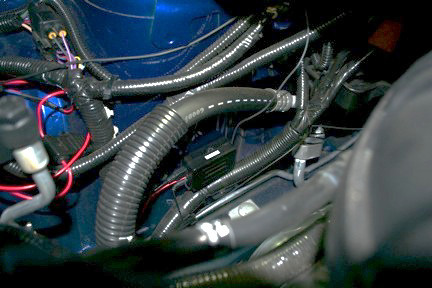
STEP 6:
Attach the power leads from main control box to the battery or solder connectors onto the leads.
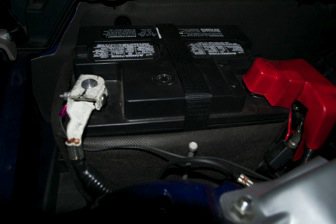
Routed Wires:
Speaker Main Sensor
Battery Positive Battery Negative
How to Calibrate
1. Place the box that you received the sensor in front of the car where you want the sensor activate
2. After that press the red button on the main control box you should see a sequence of beeps that should tell you that the distance has been set
After that you’re all done!
Installation Instructions Written by AmericanMuscle Customer Eric Rockwell 12.09.2013


