
How to Install a Screamin Demon Coil on your 1994-2000 Mustang V6
Installation Time
1 hours
Tools Required
- Socket wrench with 7mm and 5/16 sockets and extension if available, or screwdriver with socket capabilities
- Masking tape and permanent marker
- Flathead screwdriver (Not necessary, but it will help)
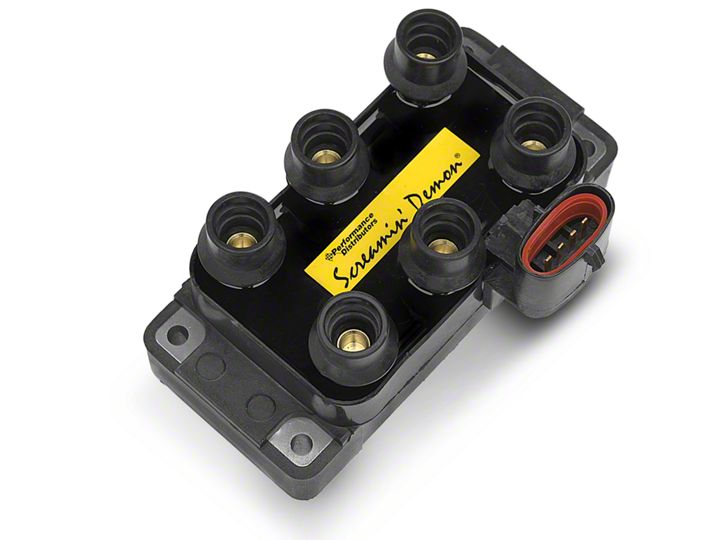
Shop Parts in this Guide
Installation
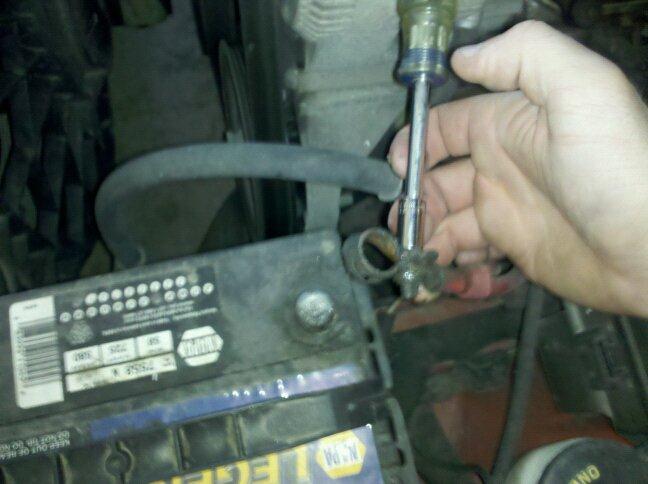
Step 1:Whenever working with the electrical system of a car, it is wise to play it safe and unhook the negative cable from the battery. Do so with the 5/16 socket as shown. Put the negative cable in a place where it won’t slip and hit the negative terminal such as bracing it against the windshield washer fluid container.
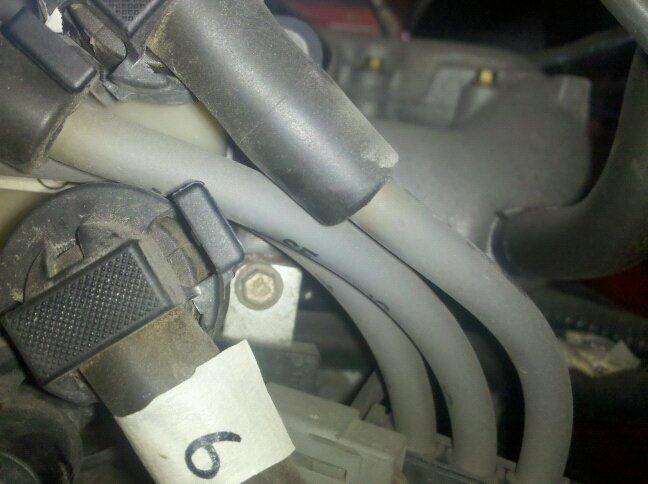
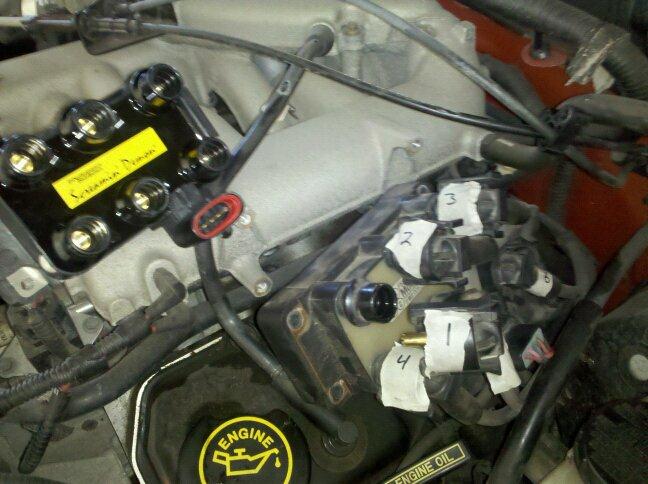
Step 2:There are many methods for transferring the spark plug wires from the old coil to the new Screamin Demon coil successfully without mixing up the order of the wires. The method I chose, which is a little slower but harder to mess up, is to take your masking tape and wrap a piece around the head of each spark plug wire when you remove them from the coil as shown.
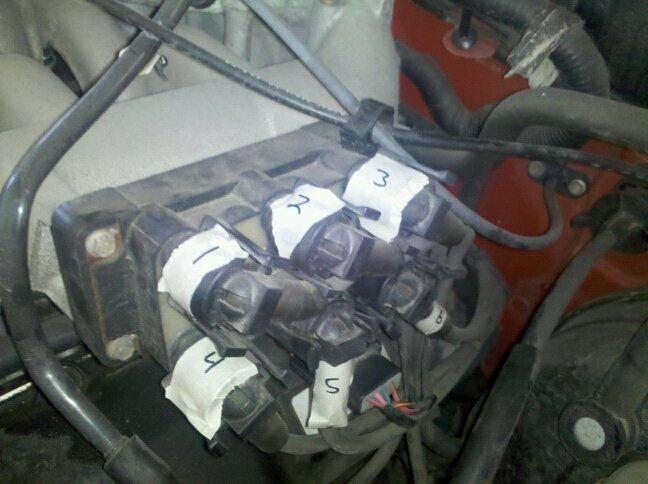
Mark them with permanent marker in any method you choose to remember the order they go on the new coil. The set up is the same for both the new coil and the stock coil. The spark plug wire going to the top left outlet of the stock coil goes to the top left outlet of the Screamin Demon, and so on. I chose to number them 1 through 6 in order from left to right and top to bottom as shown.
Step 3:Next, before removing the spark plug wires, you must remove the entire coil from the engine. Do so by unscrewing the four bolts on each corner of the coil with your 7mm socket with extension as needed.
< ‐‐ Note, to the right of the cable which is labeled
#3, the top right bolt is a 7mm bolt with a cover coupling, which dictates where the two cables that run to the throttle go. Remove the cover from the bolt by pulling straight off of the bolt. Set aside and place it back on the bolt at the end of installation.
< ‐‐ Note, behind the cable which is labeled #6 (the bottom right position) is the fourth bolt. It connects the bottom right corner of the coil to the engine, as well as a metal plate with connecters attached. Be aware of where this cable goes as you remove the bolt. Place the metal plate and connecters aside where they won’t slip deep into the engine bay.
Step 4:Once the stock coil is no longer held onto the engine by the bolts and is free from the engine, remove the labeled spark plug wires in any order until no wires are connected to the coil.
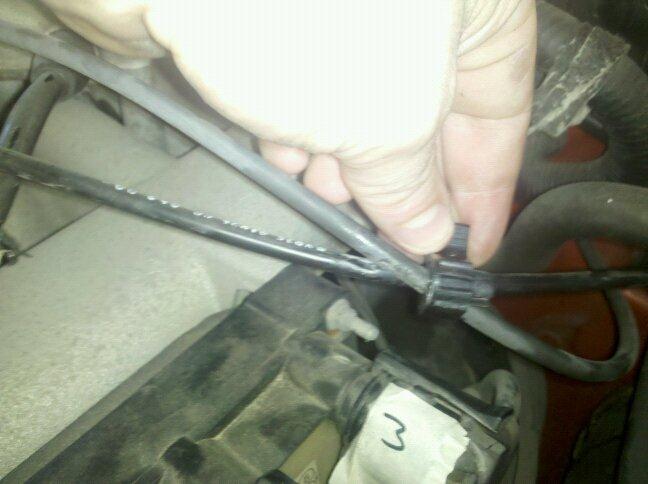
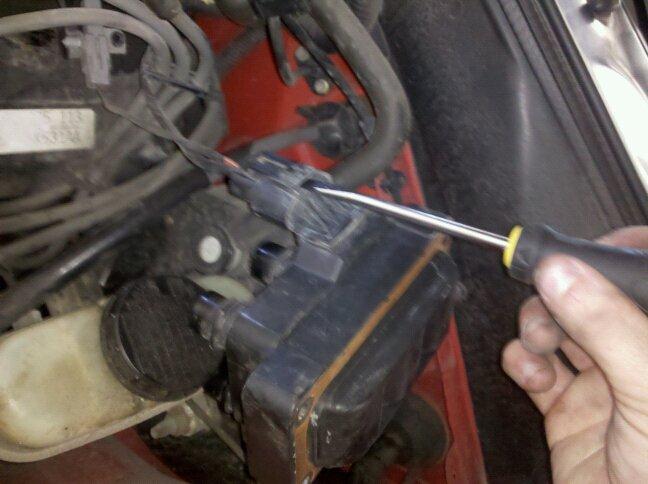
Step 5:Once all cables have been removed from the stock coil, you must remove the wiring harness from the stock cable. Use a flathead screwdriver to lift the tab off of the coil and pull out the wiring as shown. It is possible to do so without the screwdriver. Just push the cable deeper onto the stock coil to ease the tension on the retaining clip. Lift the clip with your finger as you remove the harness and remove the coil completely.
Step 6:Attach the wiring harness to the Screamin Demon coil and begin bolting the Screamin Demon coil to the engine in factory location. It is easier to do the two bolts on the left first; the two that did not have anything special to remove while uninstalling the stock coil like the two on the right did. Doing so will allow you to line up the other screws easier since they are in hard places to reach.
Step 7:Attach the wires to the Screamin Demon in the same terminal locations that they were in on the stock coil by relying on your labeling system. When plugging in each wire, insert the bottom part of each boot with the brass terminal first until you hear and feel the plug snap into place, then push down on
the cover of the boot until the clips snaps on properly. Once all wires are reattached, remove the tape
and reattached the negative cable to the battery. Ensure all bolts are tightened on the coil and battery.
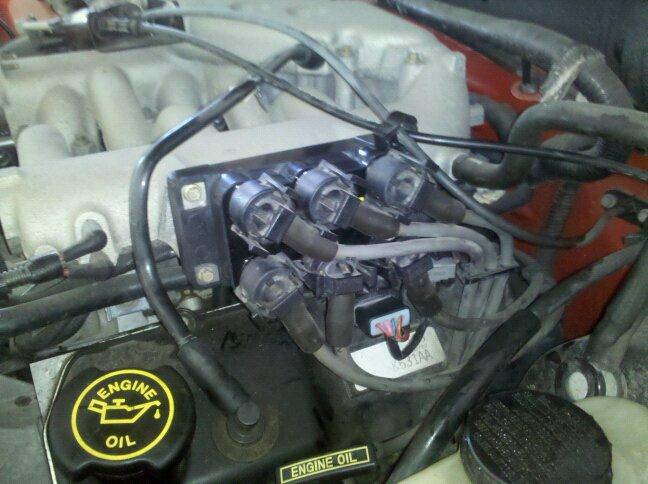
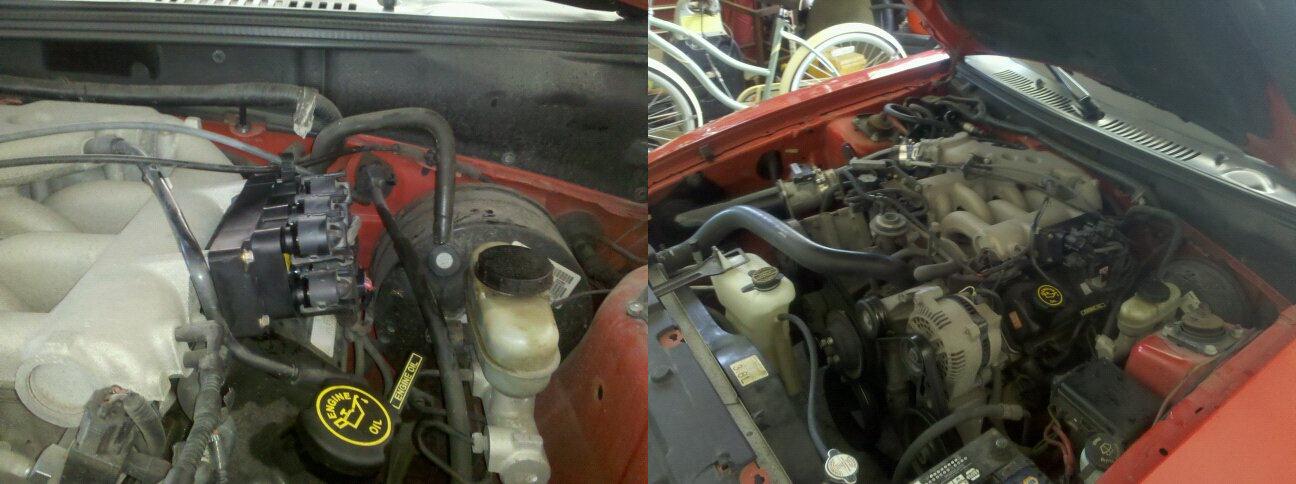
Finished photos:
Thomas R.StarnesJr.

