
How to Install a Door Pannel Insert in your 1999-2004 Mustang
Installation Time
2 hours
Tools Required
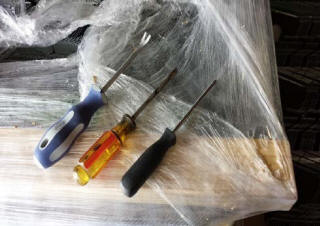
- Trim Upholstery Removal tool
- Medium size flat head screw driver
- Medium size Phillips screw driver
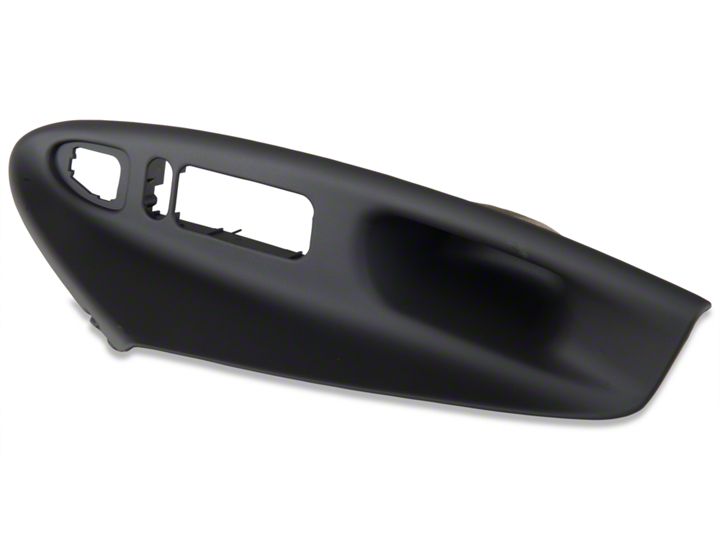
Shop Parts in this Guide
Installation
Tools
1. Take you upholstery tool and put the edge under the edge towards the rear of the car.
2. Push the tool towards the floor and pop the clip out end loose from the door.
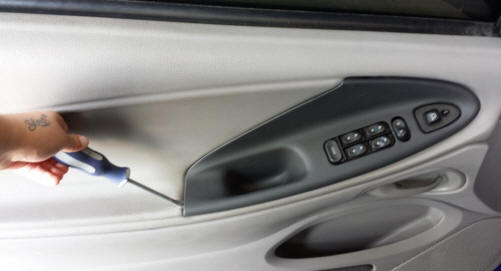
3. Once you have the far edge loose, move to the top attached part of the door insert.
4. Take your hands and pull it out from the door.
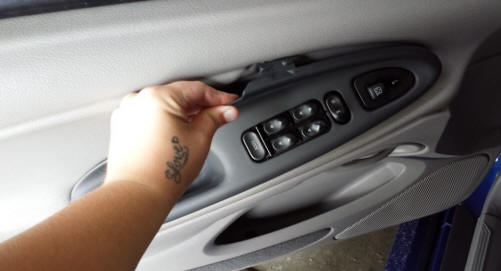
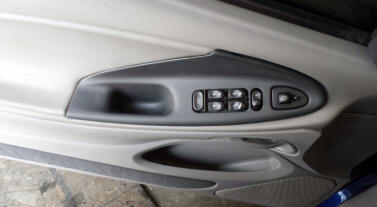
5. At this point, the panel should be fully loosened from the door panel with the buttons still attached.
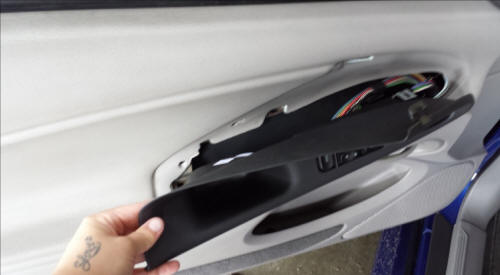
6. Now we will move on to loosening the buttons and mirror switch for removal to release the old broken insert. There will be (2) Phillips head screws that attach the buttons to the insert.
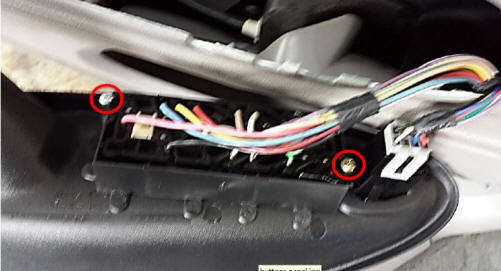
7. Those will need to be loosened and removed to set the button panel free.
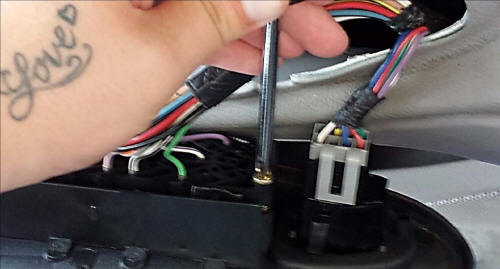
8. Next will be the mirror directional button clip, which will need to be released from the nipple holding it on with a flat head screwdriver
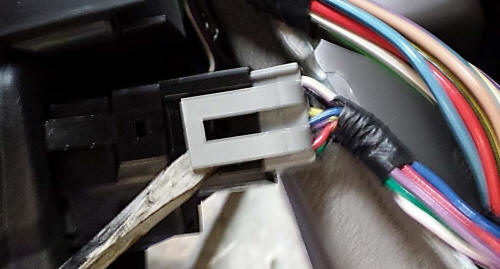
9. Once you have that removed, your old insert should be released from the vehicle.
10. Then the only part left to remove from the insert is the mirror button.
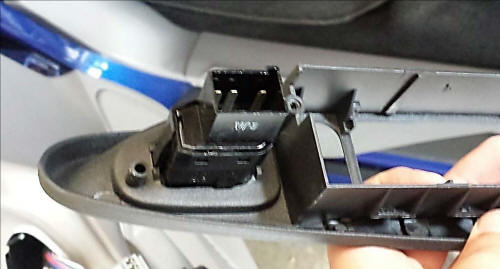
11. There will be (3) clips that need to be pressed in with a flathead screwdriver for the button to release.
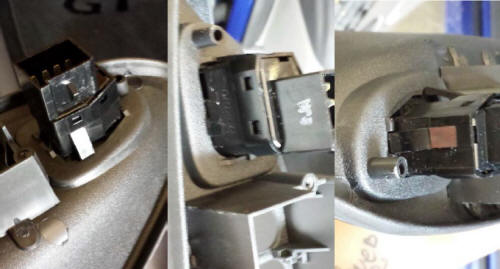
12. After that is released, your old door insert is finished and uninstalled.
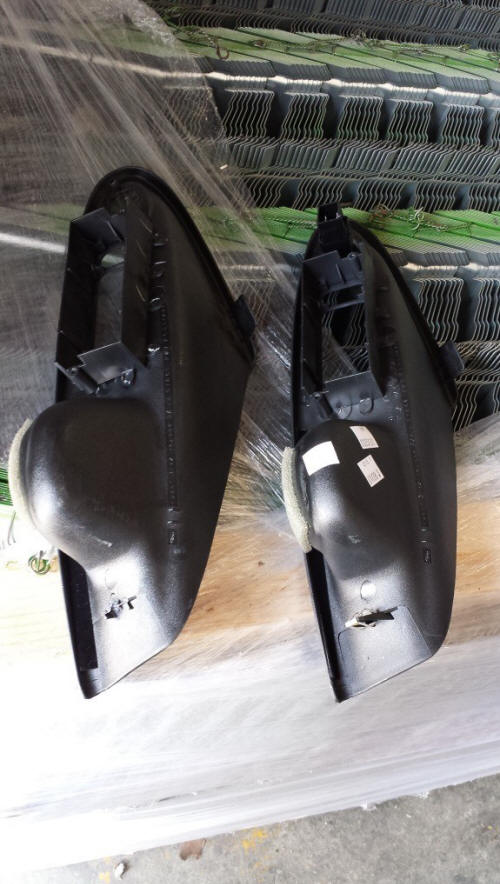
13. It is time for the new door insert to go in. Old insert is pictured at the bottom and new insert is pictured at the top ready to be installed.
Install Procedure:
1. We will be doing the reverse operation of the removal of the old insert.
2. First we will take the new panel and re-install the mirror button until it you hear it click in the locked position.
3. Then we will take the mirror button clip and re-install it by just putting it on with your hands.
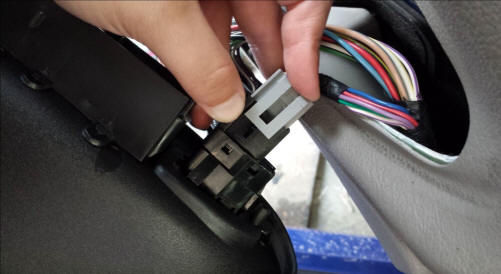
4. Then we are ready to reinstall the button panel, just as it was removed.
5. You will push the button panel back into its spot until you hear it click into the locked position.
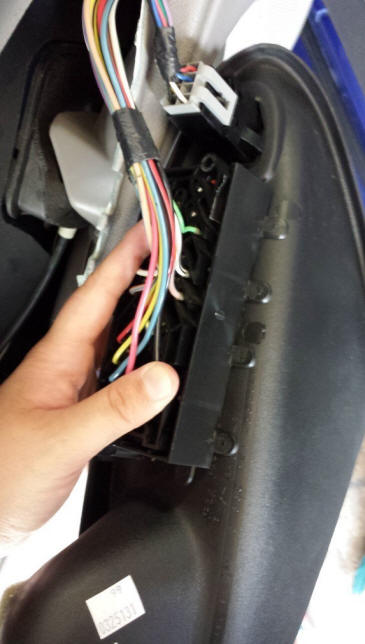
6. Then get your 2 Phillips head screws and put them in place. Screw them in, and everything is now connected to your new insert.
7. Now that the button panel is reconnected to the new insert as well as the mirror switch. It is time to install the insert.
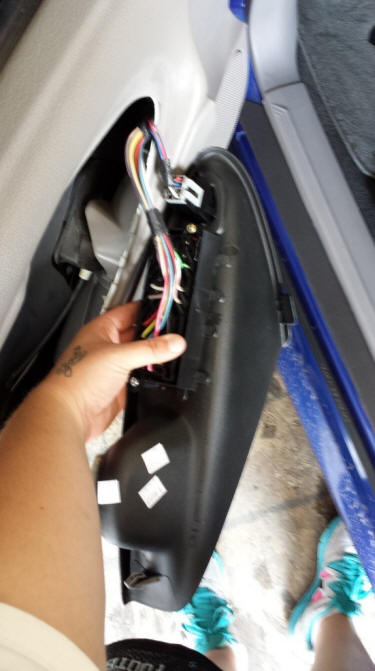
8. Put the insert into place on the door panel, then you will want to start with the rear side of the insert furthest to the rear of the car and push it into the locking position.
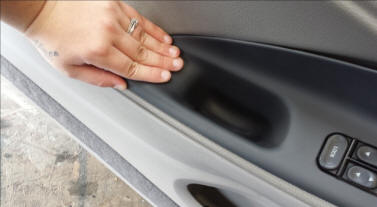
9. Then you will want to push the top of the insert into the panel into the locking position.
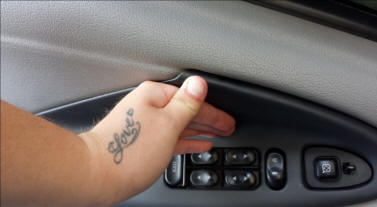
10. After you have the panel locked in place, the job is done. You now have your new door insert installed.
Installation Instructions Written By AmericanMuscle Customer Courtney Rahn 7/10/2013

