
How to Install an Eibach Front Anti-Roll Sway Bar Kit on your 1983-1993 Mustang
Installation Time
2 hours
Tools Required
- One Jack and Two Jack Stands, or Two Ramps (either will work)
- One 13mm Wrench and One 15mm Wrench
- One Socket Wrench with a 13mm and 15mm Socket
- Socket Extension
- Torque Wrench is advisable, but not necessary
- Pry Bar (you may or may not need this)
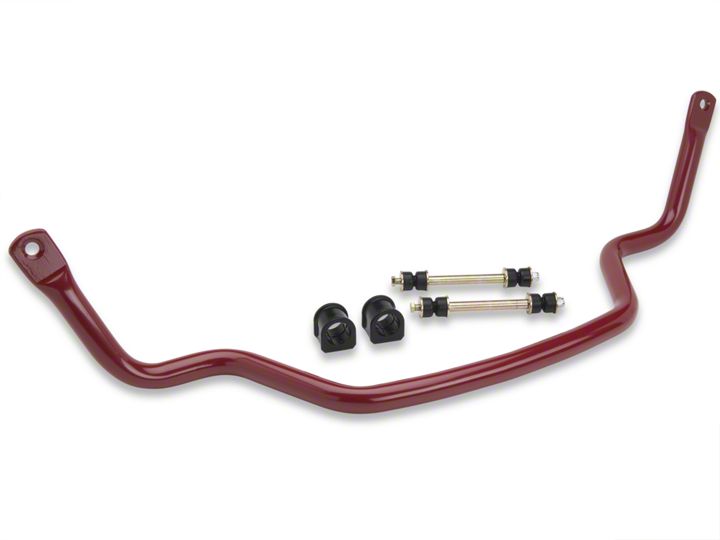
Shop Parts in this Guide
Materials in the box:
-One Eibach front sway bar
-Two end links
-Two bushings
-A small tube of grease
Tools Needed:
- One jack and two jack stands, or two ramps (either will work)
- One13mm wrench and one 15mm wrench.
- One socket wrench with a 13mm and 15mm socket
- Socket extension
- Torque wrench is advisable, but not necessary
- Pry bar (you may or may not need this)
Installation Instructions:
1. Jack up the car and safely put the car on jack stands, or you may roll the car up on ramps. Put the car in park (or 1st gear for manual transmission) and put the E-brake on to ensure the car does not roll. Double check and be sure the car is secure, and will not roll.
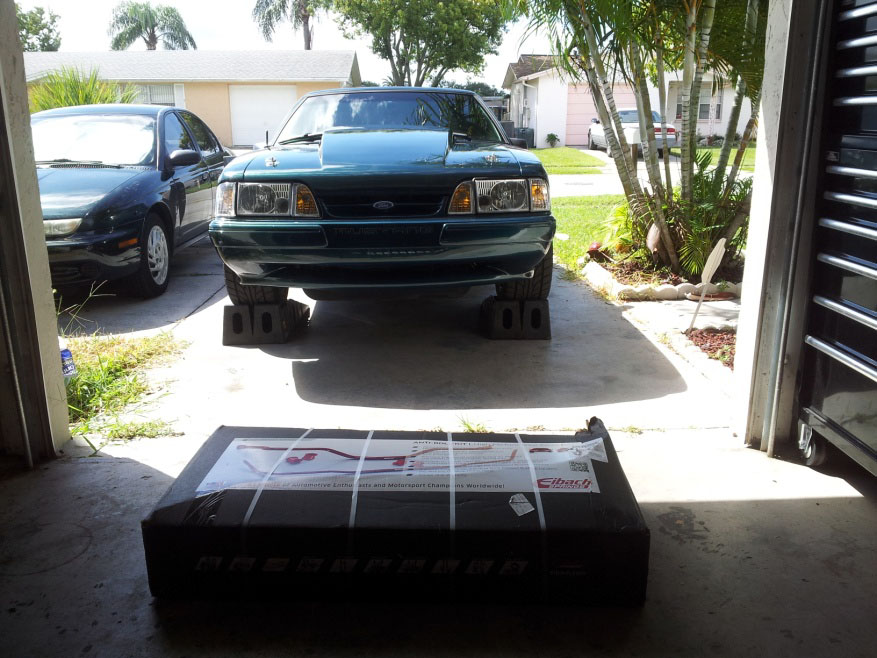
2. Locate the bolts that need to be taken off in order to drop the stock sway bar. The bolts for the end links are located in the middle of the control arms just behind the tire. The bolts for the bushings are located in the middle of the sway bar. You may remove the tires if you wish, but this is optional. Removing the tires will allow easy access to the bolts, but you may also go under the car to loosen them too. I personally did not remove the tires, because I did not feel it was necessary.
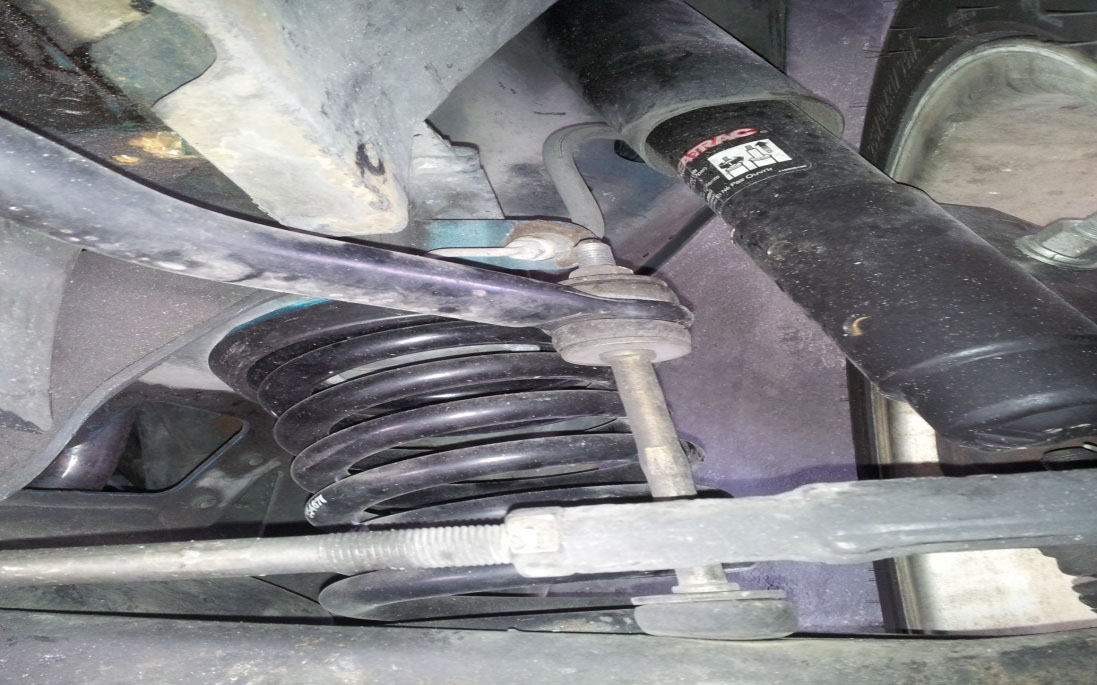
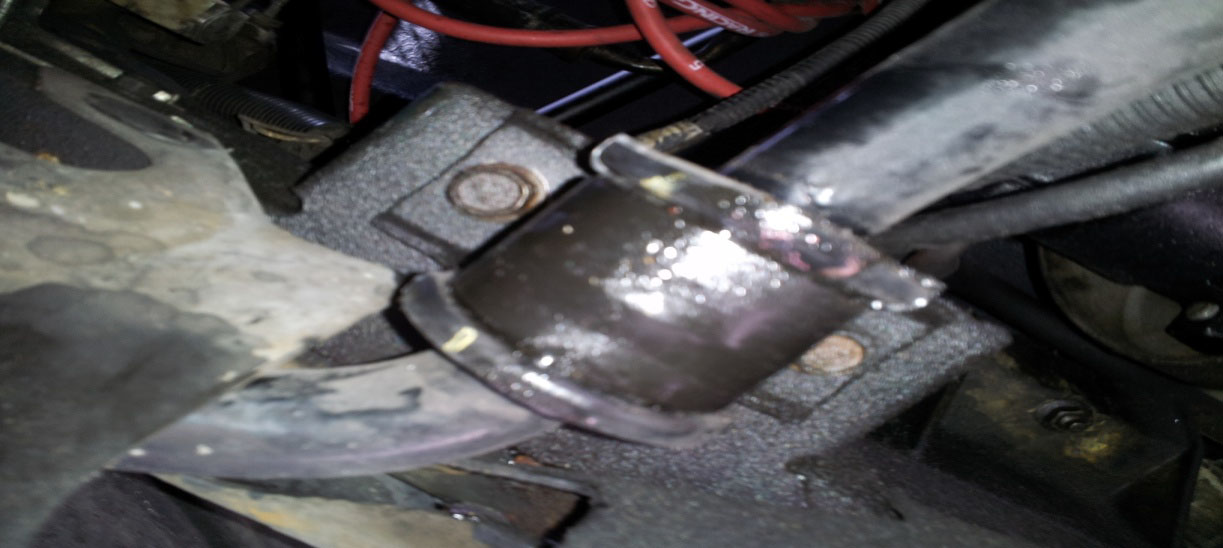
3. Put something under the stock sway bar to support it, so it does not fall on you or the ground before you start to loosen the bolts.
4. Take your socket wrench with a 13mm socket and your 13mm wrench, and take off the nuts for the end links. Once the end link nuts are off, take out the end links. Once the end links are out, grab your 15mm wrench and 15mm socket with extension, and take off the bolts for the bushings. The 15mm wrench is for the nut on top of the bushing housing. The stock sway bar should come down easily. Be careful the bar does not drop on your head. You may want to ask a friend to hold it while you loosen the bolts.
5. Now that the stock sway bar is loose, take it out and admire the difference between the wimpy stock sway bar, and the new beefy Eibach piece of art.
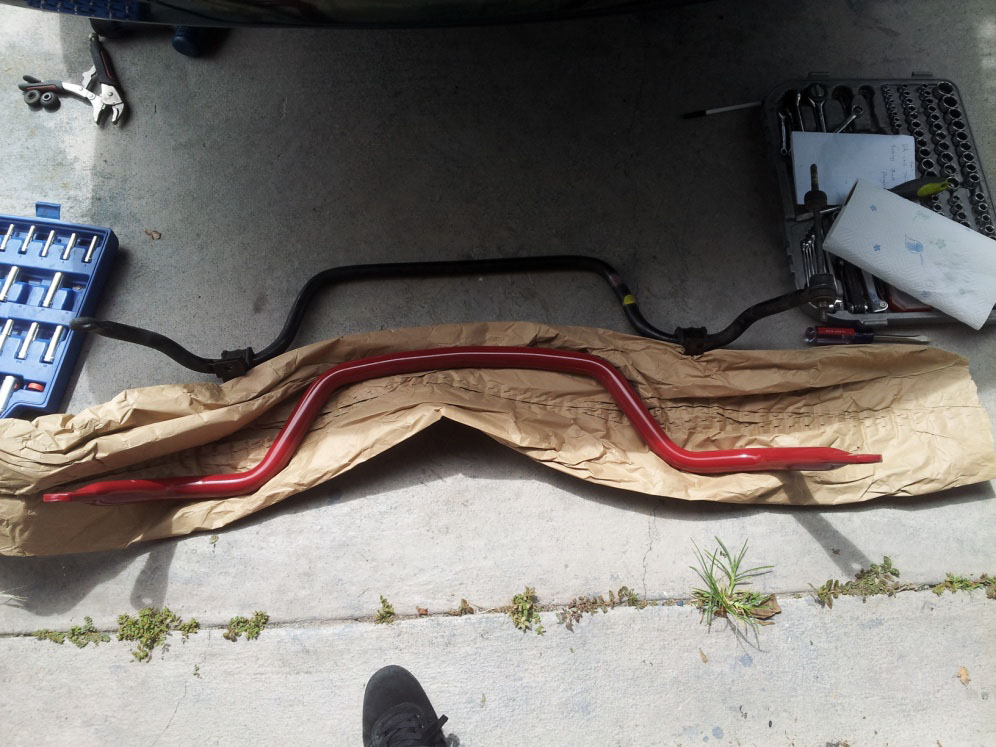
6. Now it is time to take off the brackets for the bushings, you will need these as Eibach has only given you the bushings and not the brackets. This is actually very simple, just take a flat head screw driver and pop the top off.
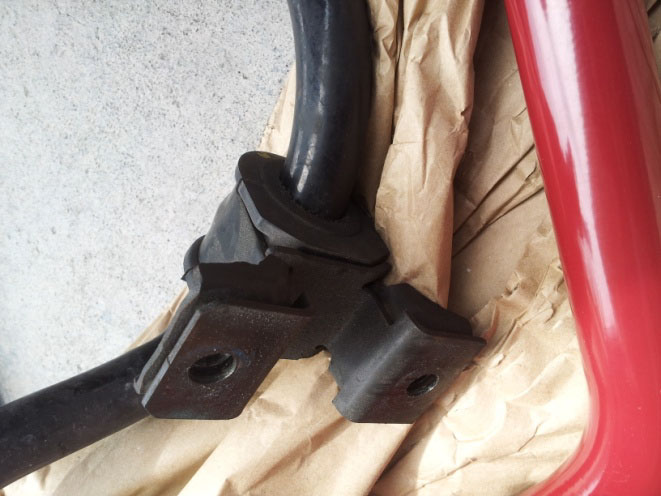
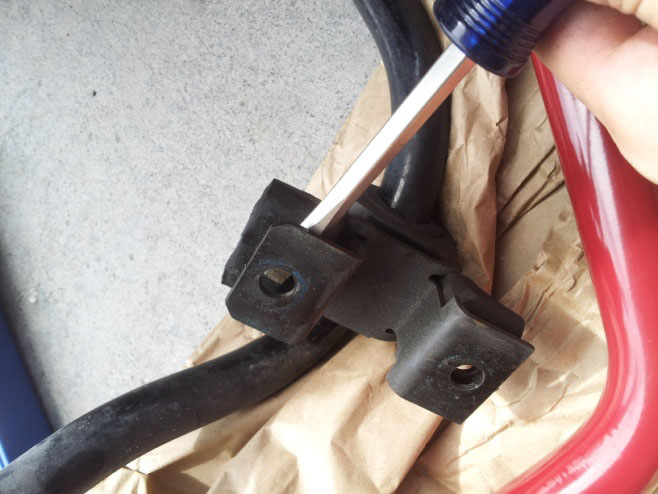
7. Now take the grease provided by Eibach, and cover the inside of the bushings liberally.
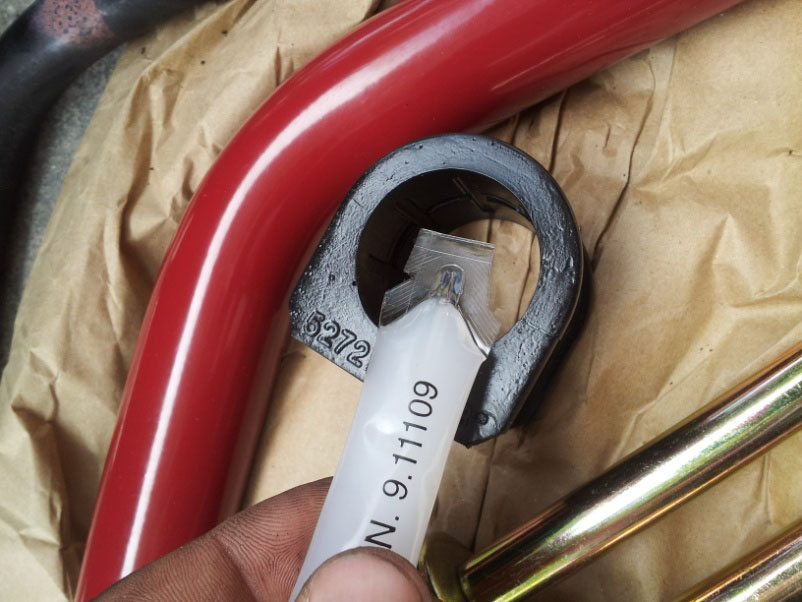
8. Put the bushings on the bar and install the bushing brackets in reverse order that you took them off.
9. Take the new sway bar and bolt it up to the car by the bushings. Do not tighten them down, as you will need to move the sway bar from side to side in order to put the end links in properly.
10. This part is the only some-what hard part. However, I figured out how not to make it so bad. Once the sway bar is stable by the bushings, install one end link on either side. The first one should be easy. You may have to move and adjust the sway bar in order to get the right angle to thread the nut. Be sure that the end link components are in order and facing the right way. If you are not sure, look at the pictures below.
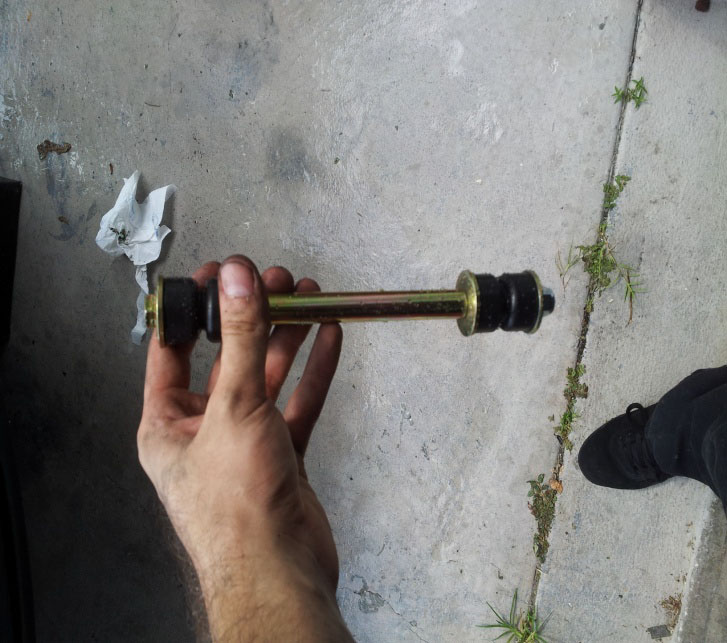
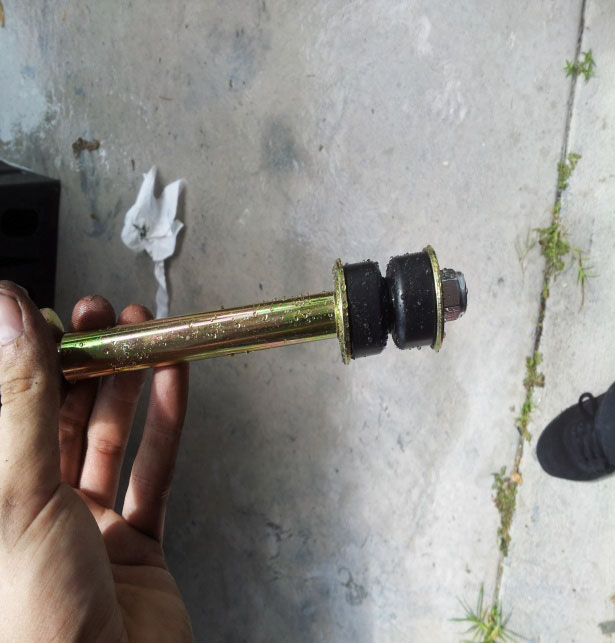
11. Once the first end link is installed, the second should be a little harder, but NOT impossible to do. I did this whole thing by myself, if I can do it, you certainly can! Be sure to thread the bolt on the first end link, but do not tighten it down to the point where you cannot move it. Remember, the bushings are polyurethane, and are very stiff. You will have to move the sway bar a little to get the right angle to thread the other end link. The trick with the second end link is finding the proper angle in order to get maximum distance with the bolt so you can thread the nut. I actually figured out to slide the sway bar toward the side of the car that you are working on, and that gave me the angle I needed. I also used a pry bar to move it, but this may not be necessary.
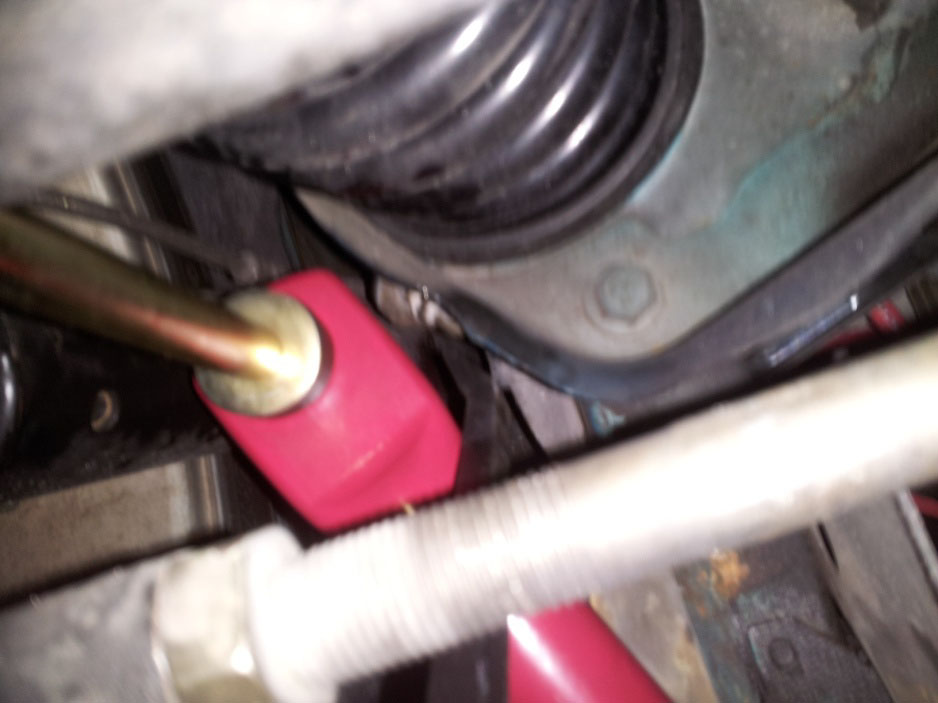
12. Smile, the hard part is over! Now that the second end link is installed, it is time to torque down all the bolts! According to my Chilton’s manual, the end link torque specs are “8-12 ft. lbs. (12-16Nm). I personally, torque them to 14 ft. lbs. Do what you wish, and ALWAYS double check torque specs to sources that you trust.
I had trouble finding the torque specs for the bushings, and I found on a forum to torque them to 40 ft. lbs. This seemed to work just fine.
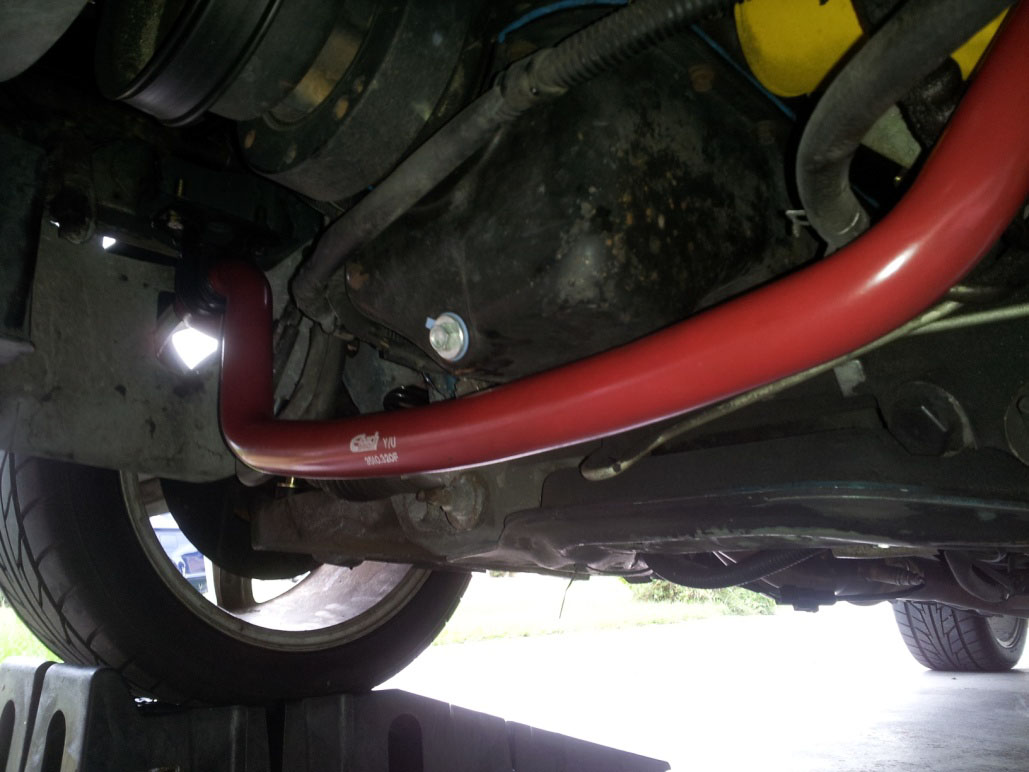
13. Safely lower the car, and take her for a test drive!!!!!!!
Installation Instructions Written By AmericanMuscle Customer Joseph DeCresie 10/10/2013

