
How to Install a Flip Down License Plate Holder - Manual on Your 1979-2012 Mustang
Installation Time
30 minutes
Tools Required
- Ramps/ jack-stands
- Drill
- 9/64" diameter drill bit
- Marker
- Phillips head screwdriver
Shop Parts in this Guide
Installation
Please read all instructions before continuing to avoid wasted time and headaches.
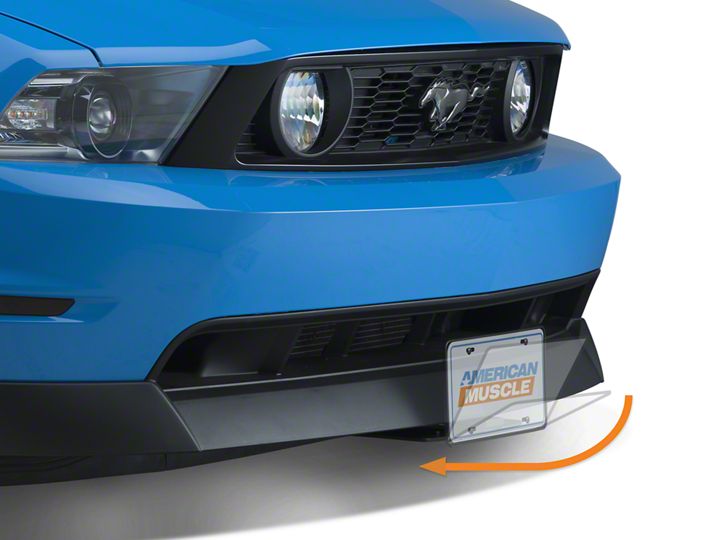
Overview: These instructions will guide you in the installation process for the flip down license plate holder. This product allows you to relocate your license plate from the front of your bumper to the underside for a cleaner look. Just flip it down when you are at a show to hide that rectangular eyesore that ruins the look of the front of your car.
Installing the holder:
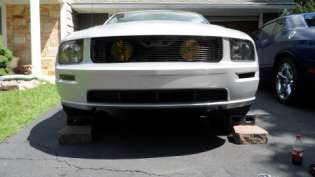
Step 1: The first thing you have to do is raise the front of the car with either ramps or jack-stands. This way you have easy access to the underside of the front bumper. Be sure to apply the parking brake and chock the rear wheels to avoid any fatal accidents.
NOTE: You receive a variety of hardware since this is a universal kit and meant to be installed on numerous different vehicles. In this guide, I am installing the holder on a 2005-2009 S197 generation mustang, but the same procedures could be followed for different cars as well.
When installing on a 2005-2009 Mustang, I found that you do not need to use the 12 “long steel hanger or the rubber expanding nuts. I successfully installed this with the (3) #10 self-tapping washer head screws (9/64”) and flat nuts, which hold securely and don’t require a large pilot hole to be drilled as the expanding nuts do (5/16” hole).
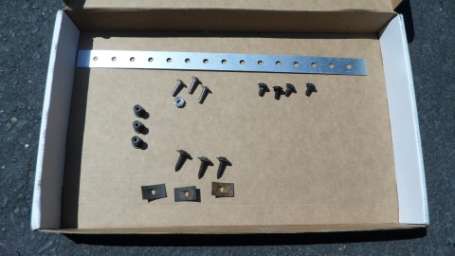
#10 self-tapping washer head screws and flat nuts
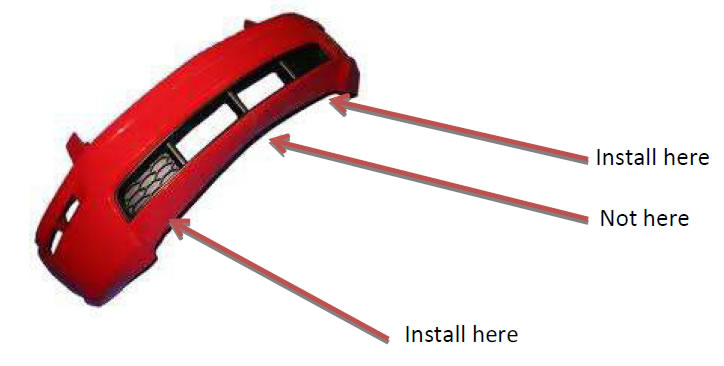
Step 2: When underneath the car, use the holder bracket as a template to drill the holes. Mark the (3) locations with a marker, making sure the holder has enough room to open and close without it coming in contact with the bumper.
NOTE: The 2005-2009 Mustang front bumper forms a point in the center like a triangle. This makes it hard to install the plate holder in the center because it will make the bracket very visible when closed (extend beyond the bumper) and not allow it to open properly. I found that offsetting the bracket to the left/right side solves this problem and makes it perform better, not to mention look cooler.
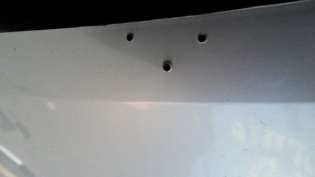
Step 3: Drill the (3) holes with a 9/64” drill bit.
NOTE: When drilling, take your time and don’t apply too much force or you can risk damaging your bumper or something behind it.
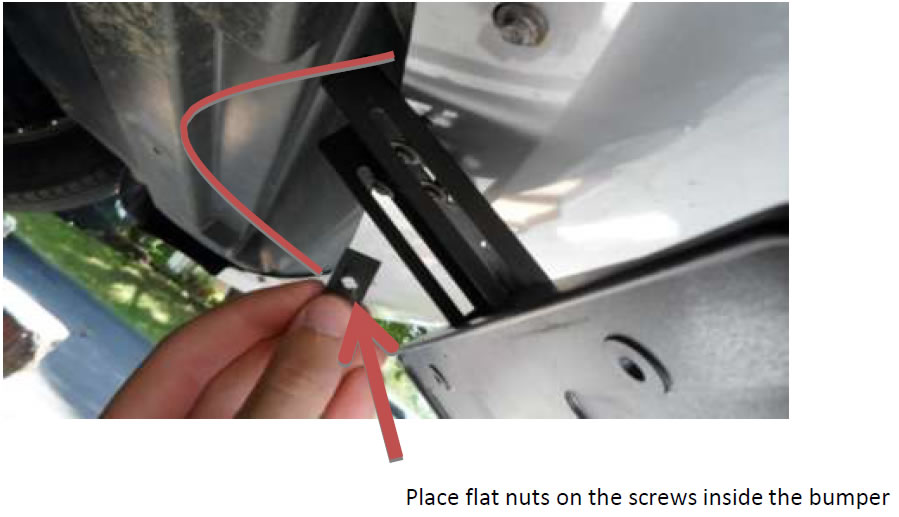
Step 4: Hold the bracket up on the bumper and use a Phillips head screwdriver to screw in the (3) screws, just enough so they slightly poke through to the other side. Then take a flat nut and hold it so it forms a “U” shape with the curve facing down. Find the screw point with your hand on the inside of the bumper and put the flat nut on it. Turn the screw until you feel the nut catching. Do the same for the other two screws. When you are sure that the nuts are on the screws and that you are happy with the placement of the bracket, tighten them down securely.
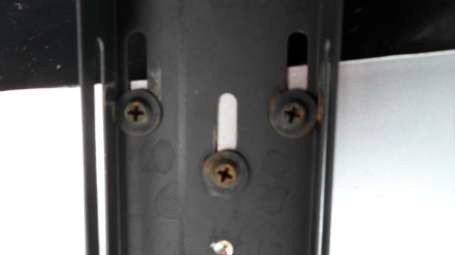
It should look something like the picture below when you are finished.
Step 5: Open and close the holder to make sure it operates without interference. Make sure the license plate frame faces straight up when opened so that it is visible to others when you are driving.
Step 6: The kit also comes with two neoprene rubber stick-on pads. I applied these to the back of the frame so that when it is open, it doesn’t rub against my bumper and scratch it or cause vibrations. This step is not necessary, but it is recommended.
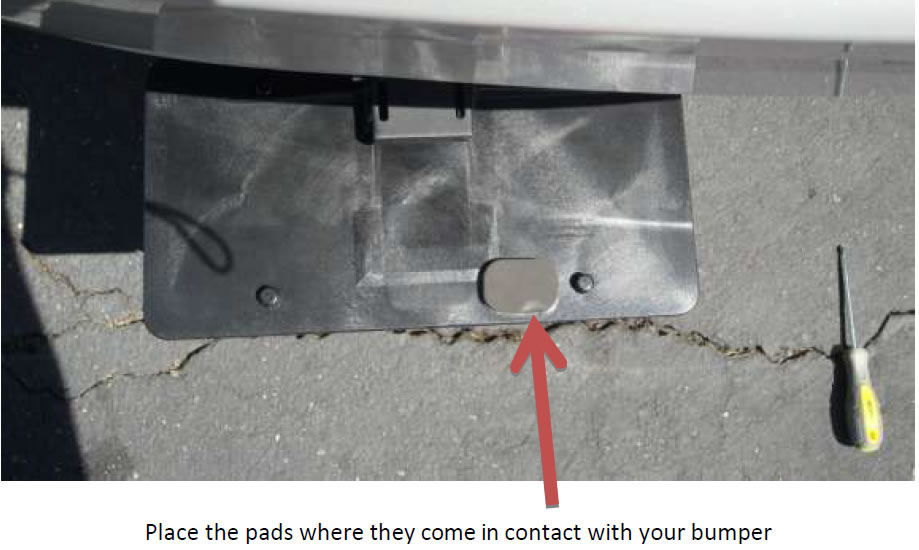
Step 7: Lastly, take the (4) 3/8” black screws (smallest ones) and screw on your license plate and then enjoy the new look!!
NOTE: Avoid over-tightening the screws because you could strip the threads in the frame.
Finished product:
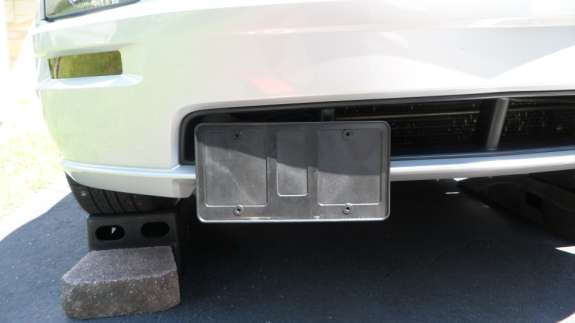
(Stealth mode)
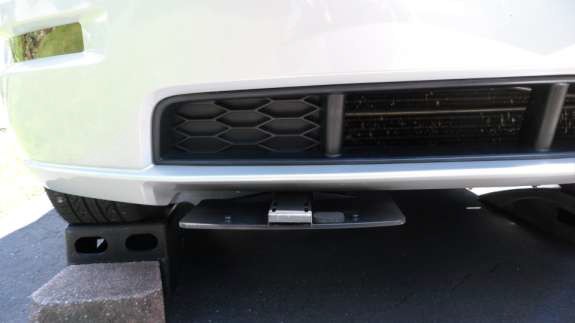
Installation Instructions written by AmericanMuscle customer Matthew O'Rourke 09.01.11

