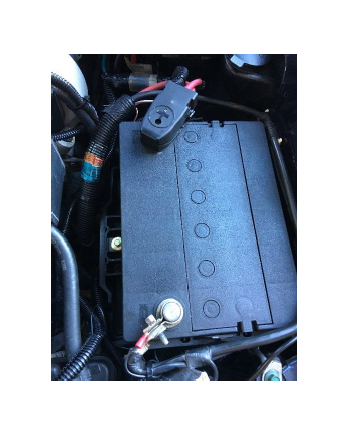
How to Install Ford Replacement Battery Tray on your Mustang
Installation Time
45 minutes
Tools Required
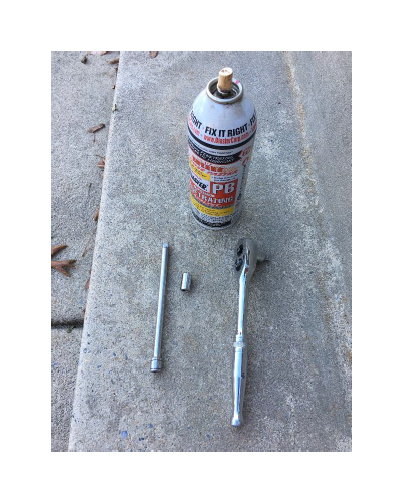
- 8mm Socket
- Ratchet
- Ratchet Extension
- PB Blaster (Optional)
Shop Parts in this Guide
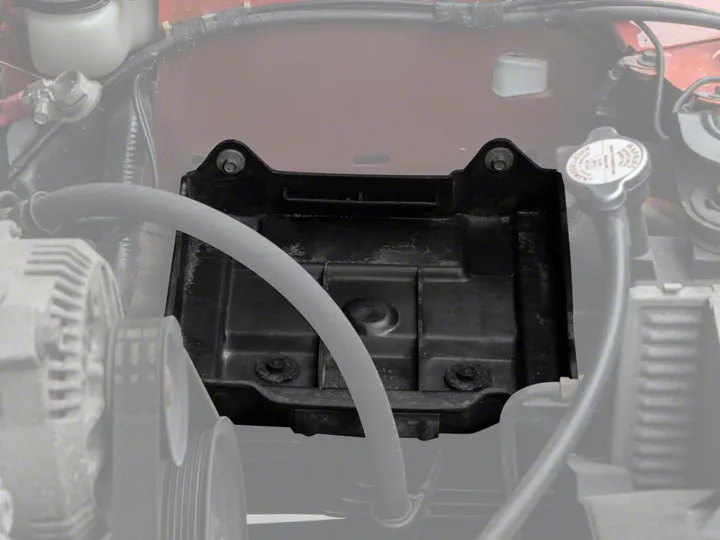
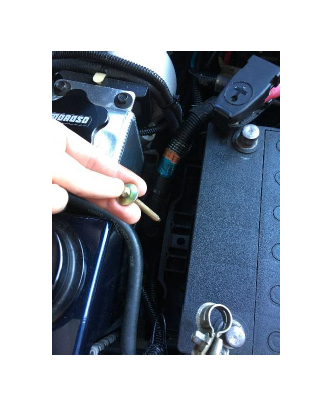
This is a guide for removing and replacing the battery tray on any 99-04 Mustang. Remember to keep all existing hardware as new hardware is not included with the purchase of a new tray. Some of the hardware is likely to be very rusty, so new hardware from Ford might also be a good idea.
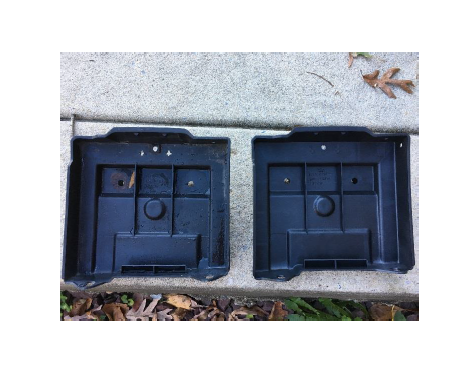
This is my old tray (left) vs the new tray from American Muscle (right)
Step 1
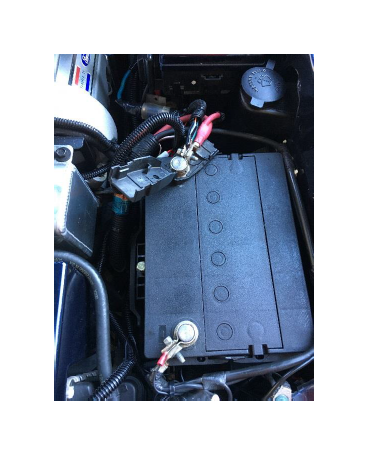
Disconnect the battery by loosening the 8mm bolts on both the negative and positive cables. Move cables safely out of the way.
Step 2
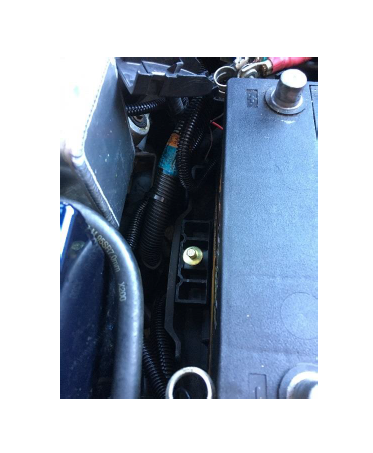
Using you ratchet extension, remove the 8mm bolt holding the battery hold down (wedge) to the battery tray. Remove the hold down from the car. This will be re-used.
*Bolt might be tough to remove due to rust. Soak in PB Blaster and turn the bolt slowly to avoid breaking the head off of the bolt*
Step 3
Carefully lift the battery out of the car and place it somewhere out of the way.
Step 4
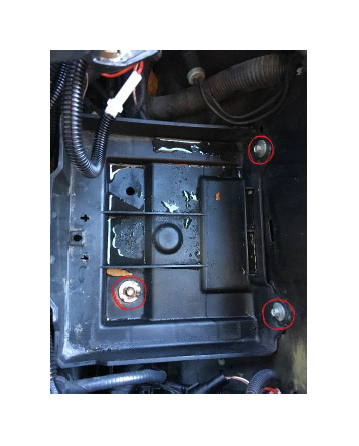
With the battery removed you now have access to the three remaining 8mm bolts holding the battery tray to the car. Two bolts will be attaching the tray to the fender, the third will be in the center of the tray. Once removed, set the bolts aside to be re-used. Remove the told tray.
Step 5
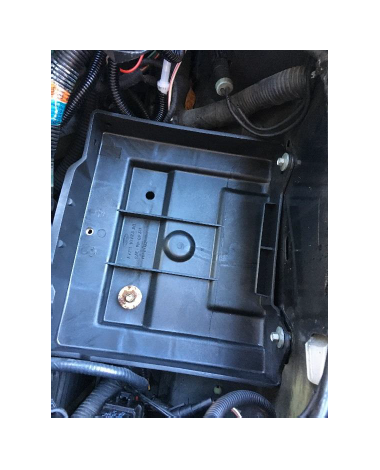
Place new battery tray in the car. Using the same three 8mm bolts, tighten the tray back to the car. Only tighten until the bolts are snug to avoid cracking the plastic tray.
Step 6
Carefully place the battery back into the tray. Make sure the battery is sitting as close to the fender as the tray will allow.
Step 7
Place the battery hold down (wedge) back into position, and using your extension, tighten the bolt until snug. Confirm that the battery is not able to move.
Step 8
Using your 8mm socket, tighten the negative and positive cables back onto the battery terminals.
