How to Install Ford Performance Hood Strut Kit w/ Ford Performance Logo on your Mustang
Shop Parts in this Guide
Please visit www. performanceparts.ford.com for the most current instruction and warranty information.
Read and understand instructions before starting installation.
Issues may arise when installing on aftermarket hoods.
Installation of this strut kit may cause the rear of hood to lift slightly when in the closed position.
Light weight hoods may bow just forward of the strut mounting point.
Heavier aftermarket hoods will not be properly supported by the gas struts.
Kit contents:
1-Drivers side hood bracket (marked with “D”)
1-Passengers side hood bracket (marked with “P”)
2-Lower fender brackets (same for both sides)
2-Gas struts
1-Flat socket head cap screw (2005-2009 only)
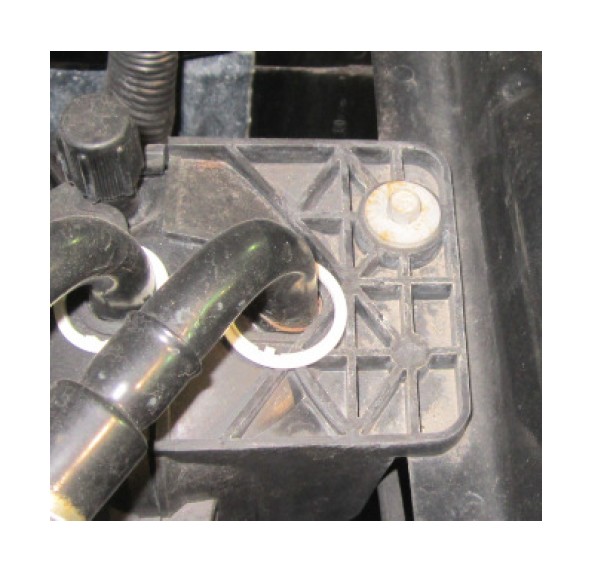
Pre-installation modification 2005-2009 AC accumulator bracket
1. Remover hex head bolt from AC accumulator bracket.

2. Using appropriate countersink bit, modify bolt hole.
3. Install supplied flat socket head cap screw. Head of screw will be flush with bracket.
2005-2014 Mustang Hood Strut Kit
1. Raise hood and prop open.
2. Remove the exposed fender bolts immediately forward of the hood hinge (one on each side).
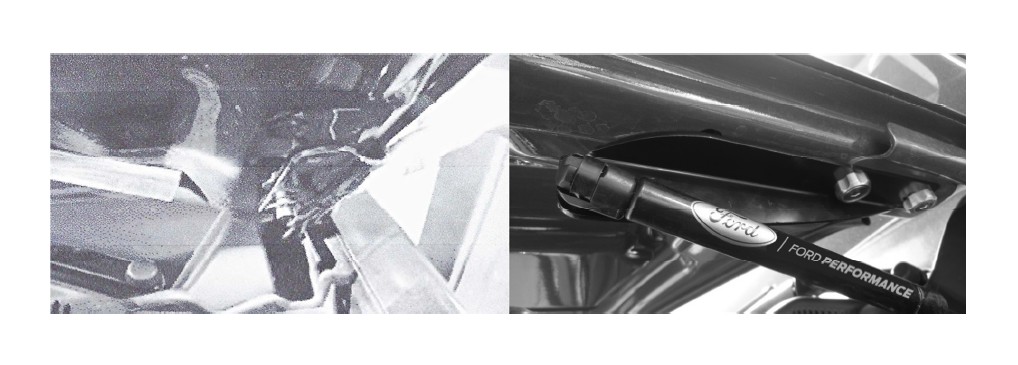
3. Install provided fender brackets on left and right side (some model year applications may require minor trimming of the plastic vent housing, however in most cases the bracket will slide behind the plastic). Simply pry the plastic vent slightly away from the fender and slip the rear of the bracket between the vent plastic and the fender. This bracket is a “pressure” fit, so when installing the bolt through the bracket hole, the bracket may be slightly raised on the inboard side. This is normal. When the bolt is tightened to the 8 ft. lbs. specified torque, the bracket will pull down to the fender top surface. This pressure fit prevents the bracket from rotating backwards.

Note: Perform the following steps on one side of the hood at a time. Make sure the hood is properly supported before continuing!
4. There are two bolts that hold the hinge to the hood. Remove the bolt most forward (nearest the front of the car).
5. Loosen the rear bolt approximately 3/16” or enough to allow the provided Hood Bracket to slide under the bolt into place (Bracket marked “P” is for the passenger side and Bracket marked “D” is for the driver’s side).
6. Make sure to place the Bracket between the hinge and bolt head, NOT between the hinge and the hood.

7. Reinstall the forward bolt through the Hood Bracket and thread into hood. Tighten both hood bolts to at least 17 ft. lbs. of torque. Repeat the same steps on the other side.
Note: Windshield washer hose may need to be rerouted to prevent pinching damage. Do not crimp hose under the bracket on the passenger side.
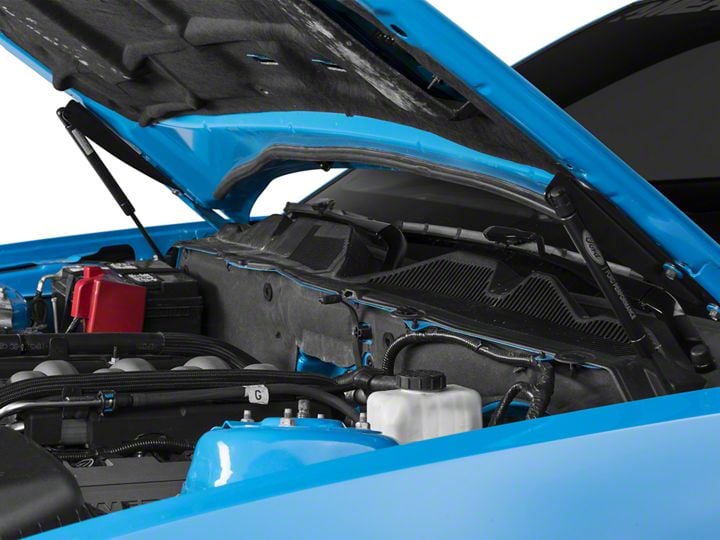
When all 4 brackets are installed and tightened, attach the struts by pushing them on the balls.
Ensure that the left strut is on the left and the right is on the right hand side.
This is done by making sure the Ford Performance logo is right side up and legible.
The strut will have the rod down and attached to the fender ball.
The rod may need to be rotated to fit properly


