
Ford Racing Mustang K-Springs ('05-'10 GT) - Installation Instructions
Installation Time
4 hours
Tools Required
- 18mm Deep Well Socket
- 15mm Deep Well Socket
- 13mm Deep Well Socket
- 10mm Deep Well Socket
- 22mm Box End Wrench
- 18mm Box End Wrench
- 10mm Box End Wrench
- 8mm Box End Wrench
- 6 Extension
- 3 Extension
- Universal Ratchet
- Needle Nose Pliers
- Jack, and Jack stands
- Spring Compressors (can be rented at your local auto parts store)

Shop Parts in this Guide
Installation
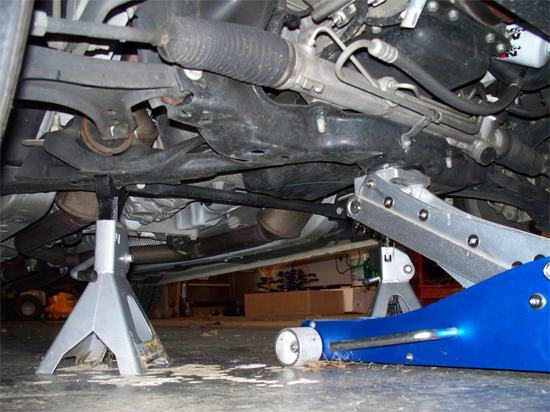
1. Start by jacking the car up and place the jack stands on the ends of the front crossmember support, not far back on the frame as in the picture above.
2. Now Remove both front wheels.
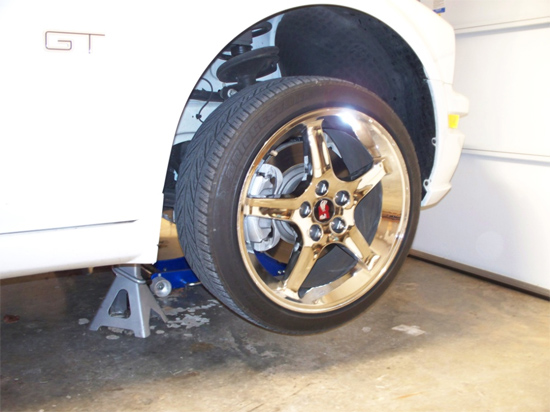
3. Once you have removed you wheels start by unbolting your brake line using 10mm Deep Well Socket.

4. There is another 10mm bolt holding the brake line in place that is located behind the front strut the need to be removed also.
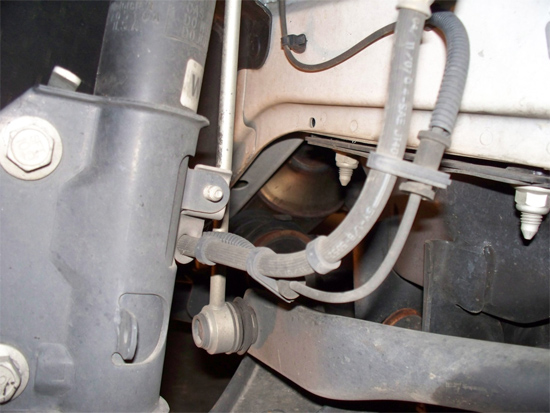
5. Now remove the ABS electrical wire support plastic one way clamp. (Needle nose pliers will help a lot when removing this.)
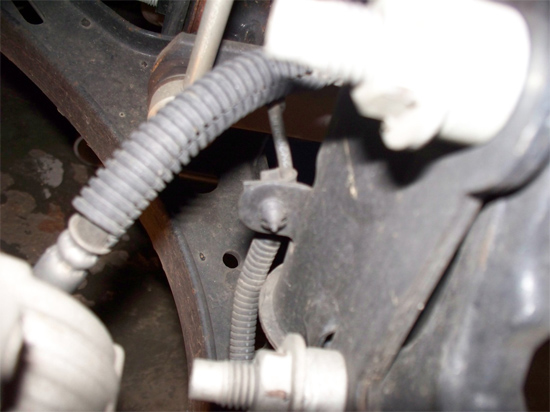
6. You will need to break lose the upper front anti-rollbar link from the strut housing. (Using 18mm deep well socket.)
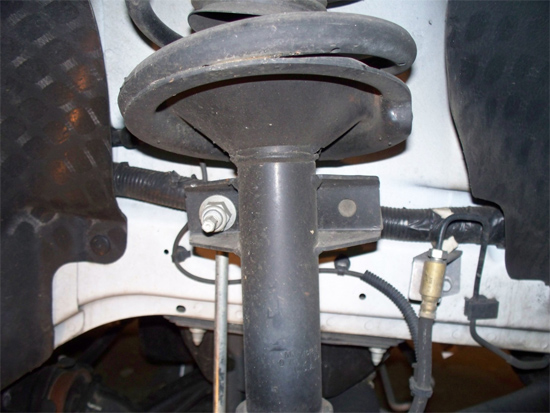
7. Once you have broken it lose you will now need to use an 18mm, 8mm Box End Wrench to remove the nut.
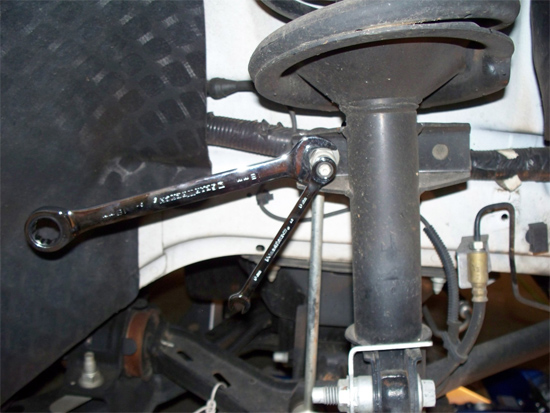
8. Now remove the two lower strut bolts and nuts from the spindle. (Use 18mm deep well socket with 6 inch extension.) Support the brake assembly with some wire or rope to lessen the strain on the brake lines on both sides.
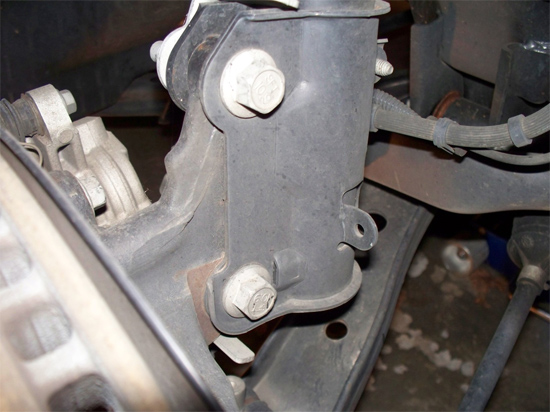
9. Now everything should be disconnected from the lower part of the strut. Move to the top of the strut tower where you will find four nuts located in the engine bay holding the strut in place have someone hold the strut at the base as you unbolt these.(Use 13mm deep well socket to remove nuts.)
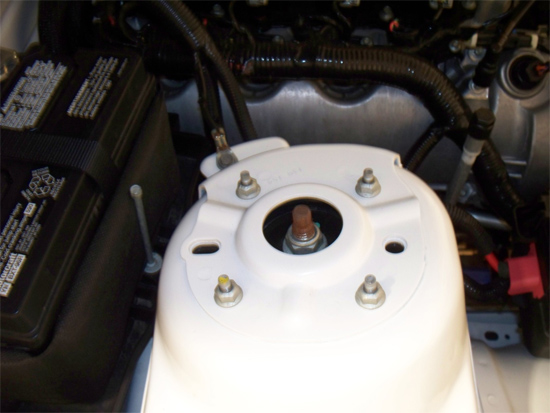
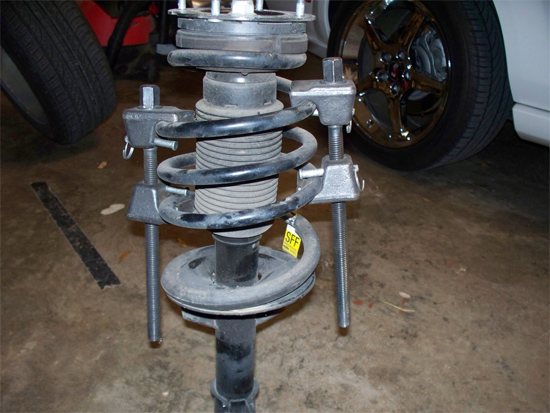
10. Once the strut assembly is removed place your spring compressors on both side of your stock spring and tighten them down to compress the spring.
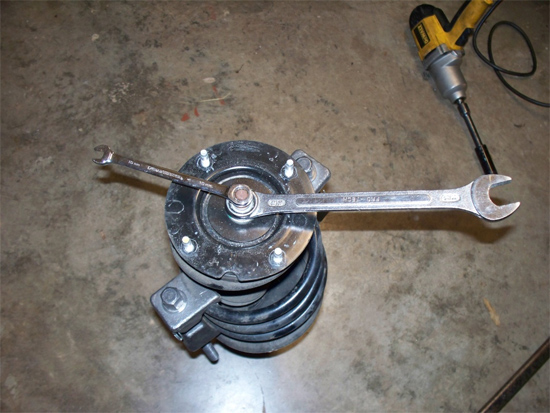
11. Now that the spring is compressed use a 22mm open end wrench to break the nut lose then you will need a 10mm open end wrench as shown in picture to remove the nut from the strut assembly. Once you have removed the nut pull the strut bearing cap off.(If the bearing cap does come apart don’t worry it’s not a big deal just place the bearings back into and put it back together.)
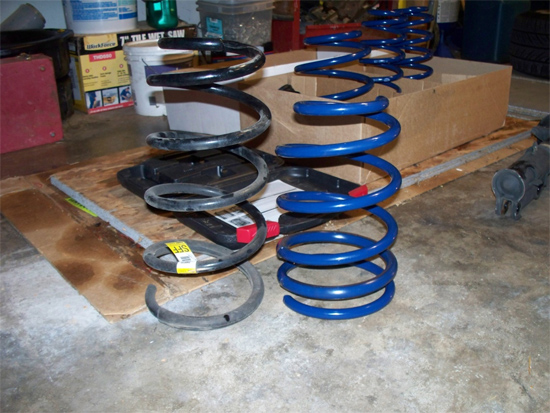
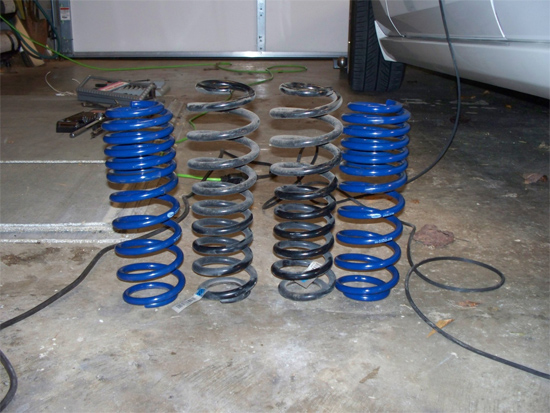
12. Note: you will find a black rubber coil protector/isolator on your stock front spring and you will need to remove this and place it on the bottom of your new Ford Racing springs. On your new Ford Racing springs you will find a clear plastic protector about two coils up I left this alone and installed the OEM black isolator below this.
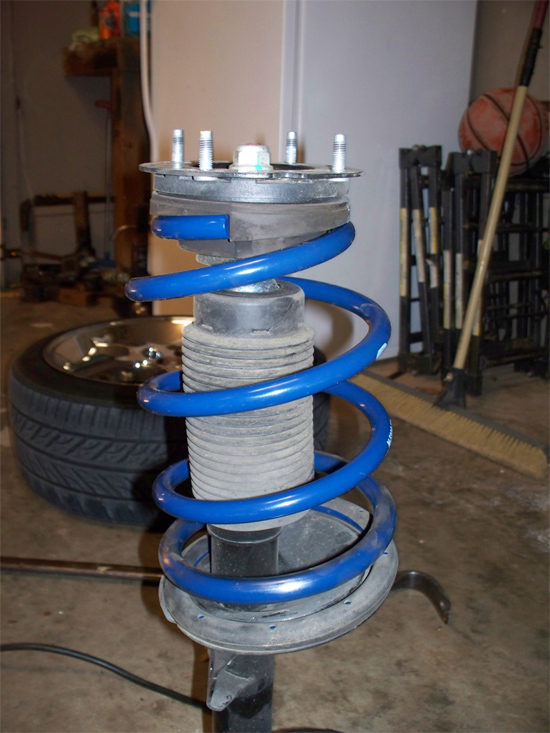
13. Reassemble your strut assembly with your new ford racing spring in place.
14. Place your strut assembly back into the strut tower bolting the top four bolts found in your engine bay first. Once this is done bolt everything back up and take it off the jack stands and move to the back of your car.
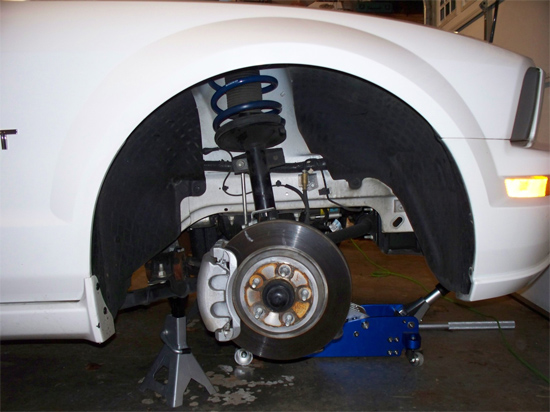
15. Jack your car up and place it on jack stands and remove both of your rear wheels.
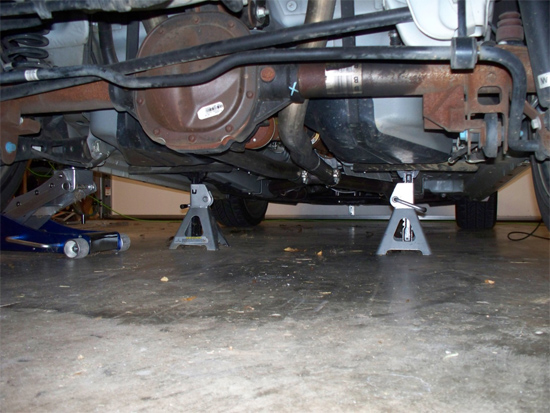
16. Unbolt your rear anti-rollbar clamps on both sides of your car and flip your rollbar to the rear of your car out of the way.
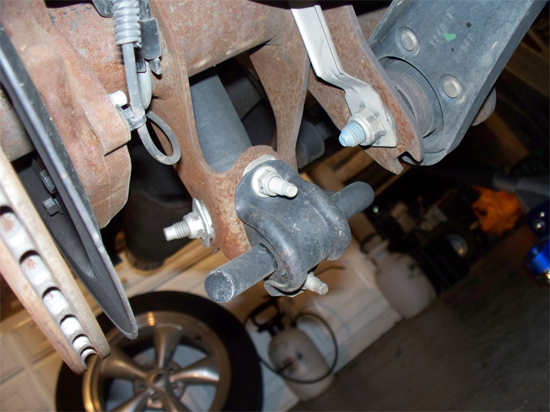
17. Remove the bolt holding your rear shock in place on both sides of your car. (Use 15mm deep well socket.)
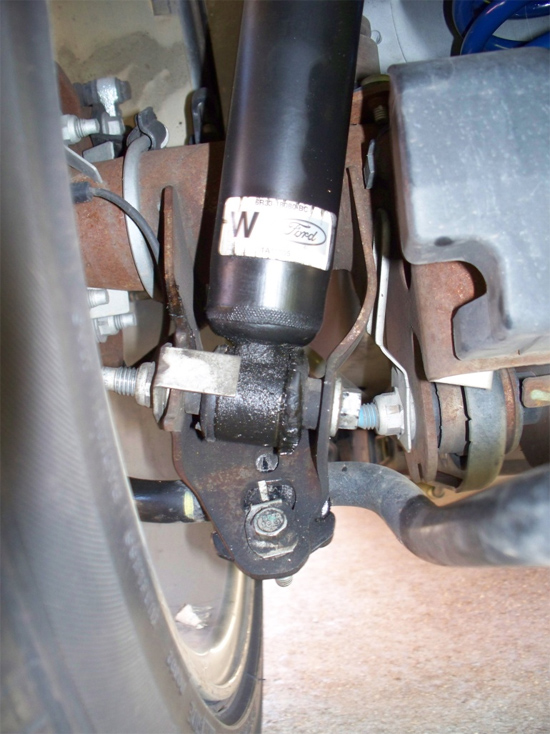
18. Remove brake line bracket on both sides of the car.

19. Once done your rear axle should drop just enough to pull your rear springs out. Place the new springs into place with the tight wound coil going up into the body of the car. Jack the rear axle up to bolt everything back together. Take your car off the jack stands and enjoy your new look the Ford Racing Springs should drop your car 1.5” all around.
20. New Ford Racing Mustang K-Springs installed. Work was done on 2007 Mustang GT. Any time when lowering your car you will need to have your alignment check.

Installation instructions provided by AmericanMuscle customer Kyle Macomber 11.16.09
