Top Sellers in Corvette
Magnaflow Catback System Installation Guide ('86-'93 Mustang LX, 86 GT, 93 Cobra)
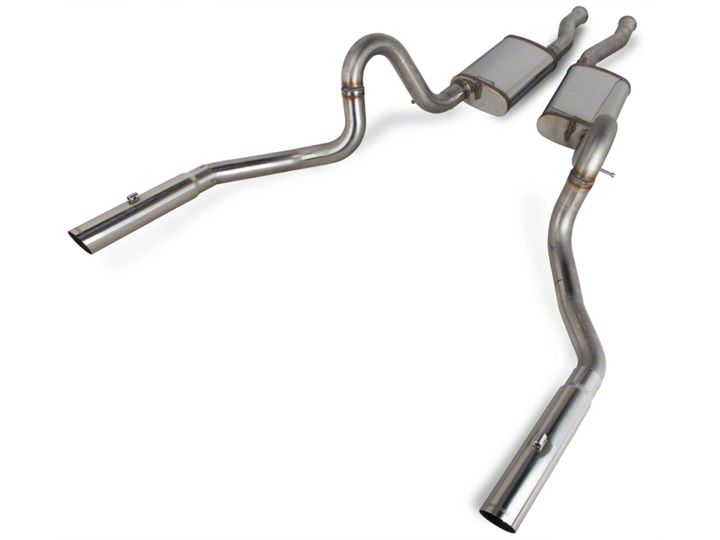
Shop Parts in this Guide
Installation
1. Disconnect the vehicle's battery before removal of the OEM exhaust. This will allow the computer to reset itself with the new system and prevent electrical accidents. To begin removal of your OEM exhaust system you will need to cut the tail-pipes just behind the mufflers. Remove the tail pipes from the rubber insulators. Do not discard or damage the OEM fasteners or rubber insulators as they will be reused to mount the new system. Unbolt the extension pipes from the H-pipe and remove the mufflers in a similar fashion.
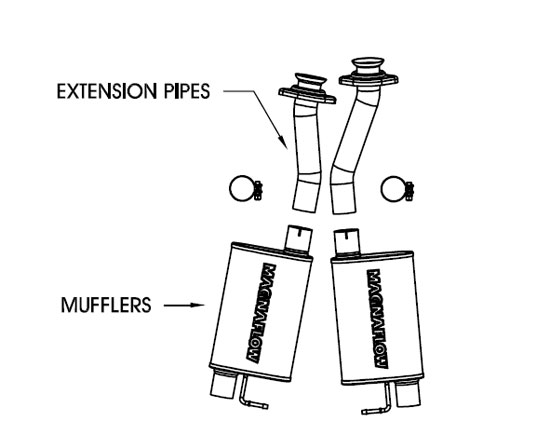
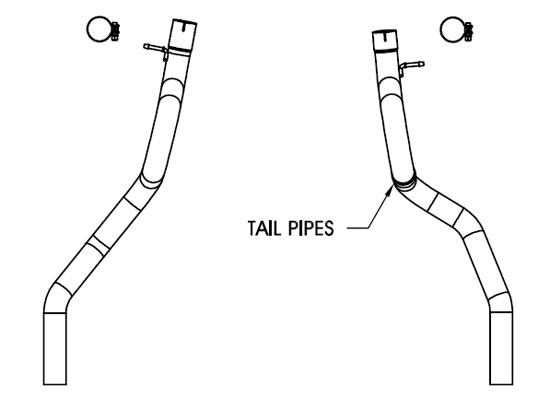

2. Remove the existing muffler mount brackets and replace them with the new brackets supplied in the kit. Do not discard the OEM mount fasteners as they will be re-used. Refer to diagram #2 for installation of the new muffler mounts.
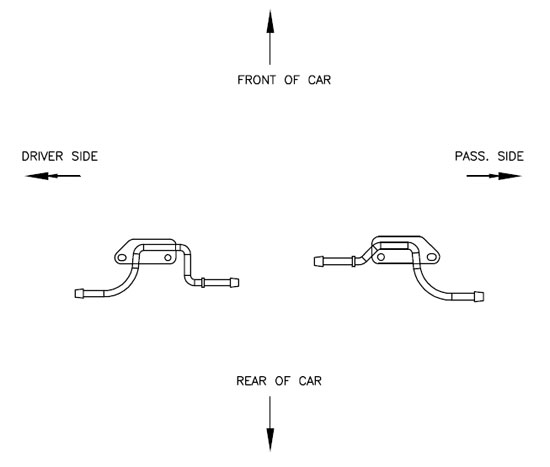

3. Starting at the H-pipe begin installing your new exhaust system by bolting up the front extension pipes with the flanges supplied in the kit and the OEM fasteners. Leave all clamps and fasteners loose for final adjustment of the complete system. Working rearward install the mufflers and tail pipes using the supplied clamps. Install the tips using the supplied clamps hangers and 8mm set-screws to lock the tips to the hangers.
4. Adjust all components for clearance of the frame bodywork and overall aesthetics. (MAGNAFLOW recommends at least 1/2" of clearance between the exhaust tips and the rear fascia to avoid heat related body damage or fire.) Once a final position is chosen tighten all hardware from front to rear including H-pipe hardware all U-clamps exhaust tip clamps and exhaust tip slide hangers. The supplied band clamps must be VERY tight to properly align the pipes and prevent leaks (Approximately 65 ft-lbs).U-bolt clamps should be tightened to approximately 30-35 ft-lbs. Inspect all hardware after 25-50 miles of operation and re-tighten if necessary.
Installation instructions provided by Magnaflow


