
How to Install a Ford Racing Cobra Jet Drag Spring Kit on your 2005-2014 GT, GT500 Mustang
Installation Time
4 hours
Tools Required
- Floor jack
- Jack stands
- Socket sizes 13/16”, 3/4”, 15mm, 8mm
- Pliers
- Breaker bar
- Ratchet
- Wheel chocks
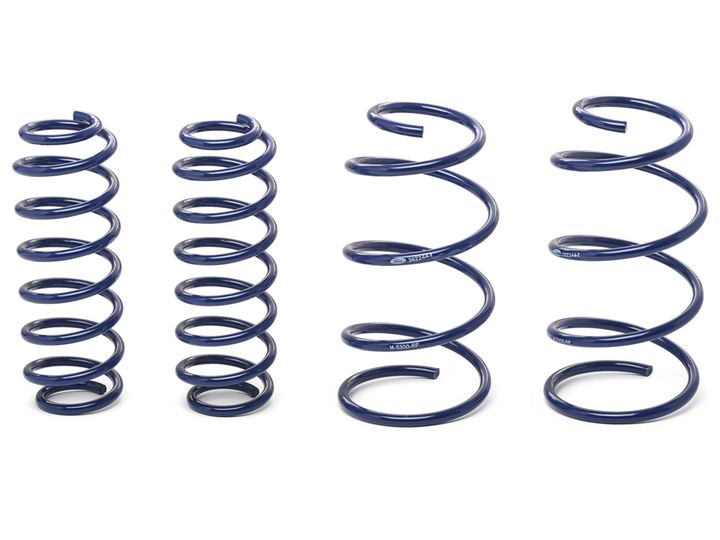
Shop Parts in this Guide
FRONT SPRING INSTALLATION
Step 1:
Place wheel chocks on rear wheels and engage parking brake
Step 2:
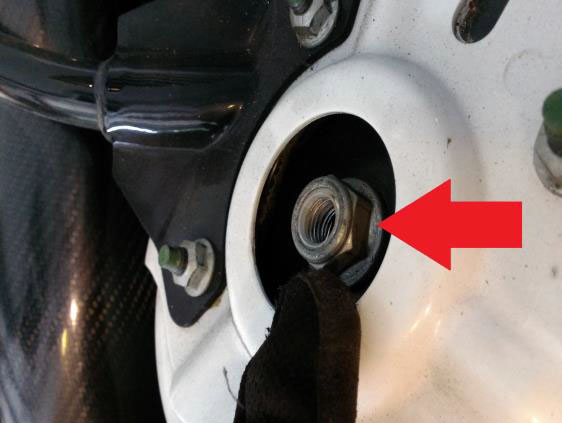
Loosen the nut at the top of the shock. Lift the hood at access.
Step 3:
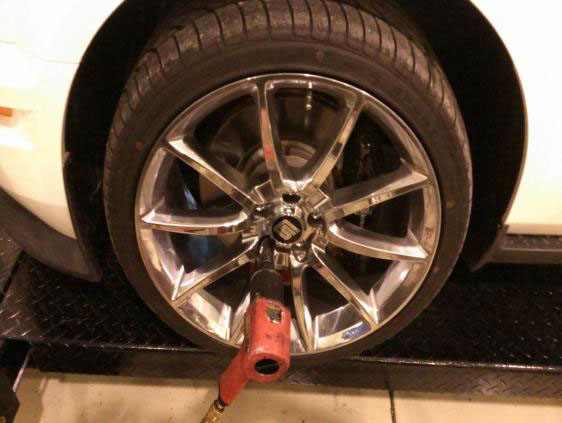
Loosen lug nuts on front wheel (13/16") and remove wheels and then jack the front of the car up. Place jack stands at the jack points in the front. Now place jack under wheel hub carefully with black of wood between jack pad and hub to evenly displace the weight.
Step 4:
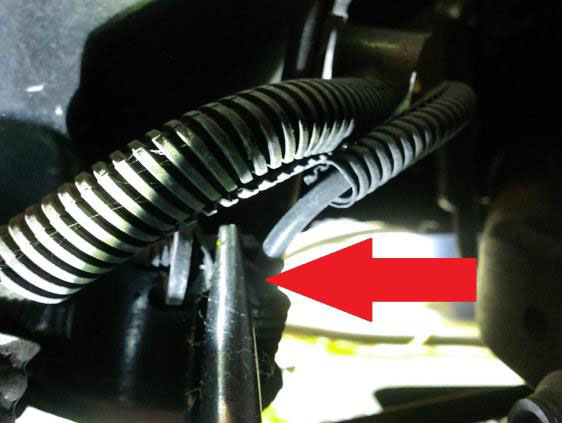
Pull wheel sensor clip from behind the shock. Also remove the bolt holding the brake hose to keep damage from occurring during the next steps. In my Shelby GT500 with Brembo front calipers it was necessary to remove the two bolts holding the caliper to the hub and set the caliper aside to kinking of the brake line.
Step 5:
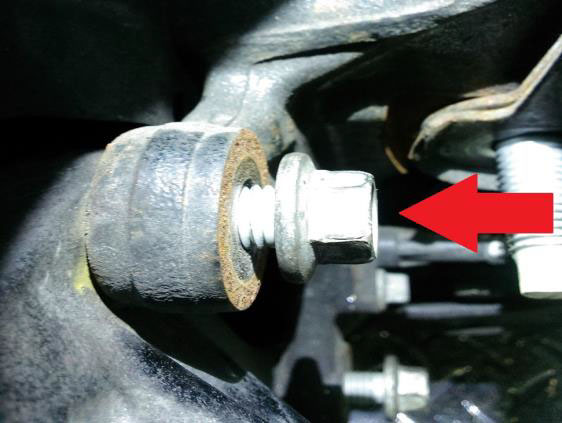
Loosen the two bolts holding the shock to the hub assembly and remove nuts, but do not remove bolts yet. Now lower the jack holding the hub assembly gently to allow more clearance.
Step 6:
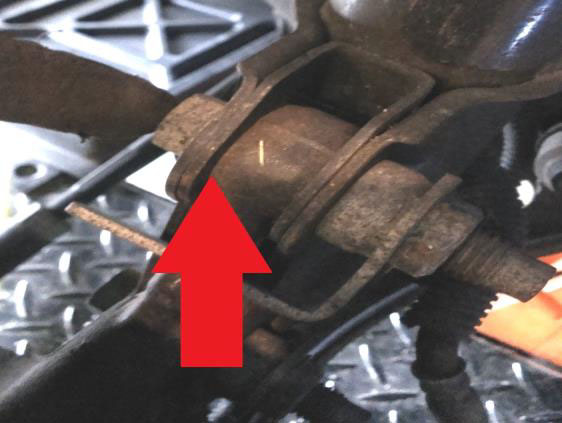
Now that you have lowered the hub assembly, you can remove the two bolts attaching the shock. You can now remove the shock and stock spring. Remove the plastic ring around the bottom of the spring and place on new spring and replace with the new Ford Cobra Jet spring making sure to keep the same orientation as the original so that it seats properly.
Step 7:
Now place shock and new spring back into place making sure the spring seats correctly on top and bottom and that the shock arm fits into strut mount.
Step 8:
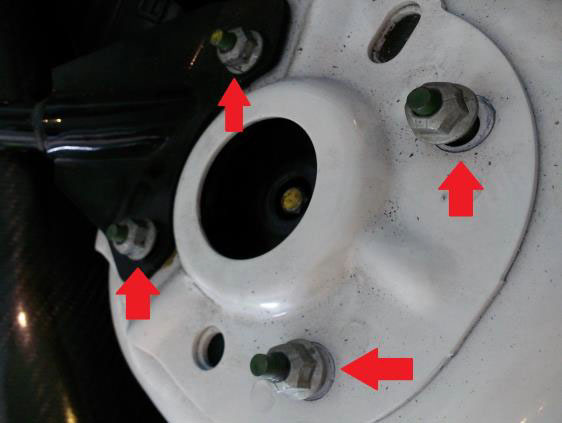
Reinsert shock mount bolts and tighten to 148 ft/lbs. Now use the jack to jack the hub assembly upwards, making sure the shock arm fits into the strut mount hole. It may be necessary to loosen the four strut mount nuts to maneuver the strut mount for the shock arm to pass through.
Step 9:
Once upper shock arm passes through the strut mount, tighten the 4 strut mount nuts to 26 ft/lbs.
Step 10:
Reattach upper shock nut and tighten to 46 ft/lbs. Reattach the caliper with the two 15mm bolts and tighten to 98 ft/lbs. Reattach the wheel sensor clip and reinsert and tighten the bolt that holds the brake line clip to 15 ft/lbs. Repeat for other side.
Step 11:
Put wheels back onto hubs and tighten lug nuts to 100 ft/lbs. Jack the front of the car back up and remove jack stands and then lower car onto wheels. It's time to move to the rear!
REAR SPRING INSTALLATION
Step 1:
Place wheel chocks on front tires. Loosen lug nuts on both rear tires.
Step 2:
Jack both sides of the rear up by the lower control arm pivot/mounts and place a jack stand. Remove rear wheels (Make sure to have a rubber pad or block of wood between the jack pad and the control arm mount to evenly displace the weight.)
Step 3:
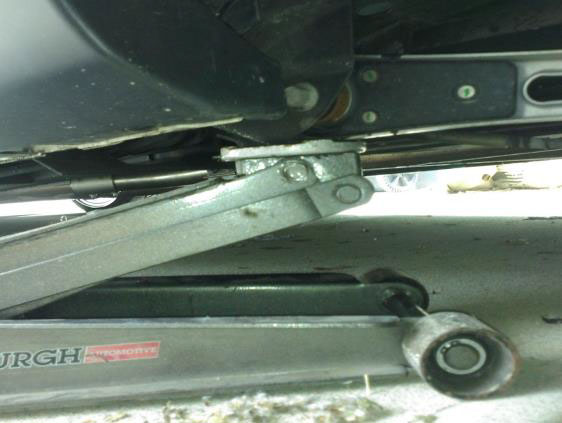
Place floor jack under rear pumpkin and raise enough to release any tension from rear sway bar and remove the bolts that attach the rear sway bar link to the frame. Allow rear sway bar to swing down.
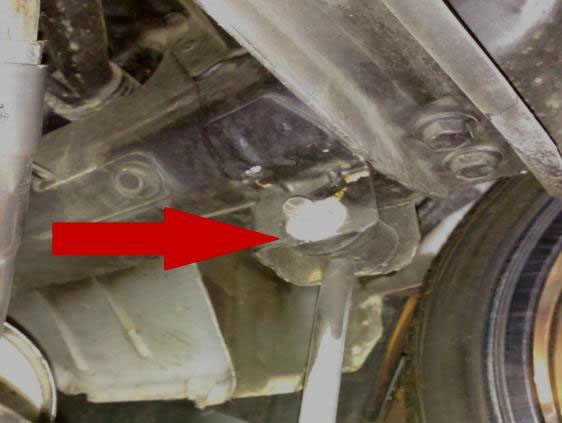
Step 4:
Remove lower shock attachment bolt. Make sure floor jack is still holding tension on rear end.
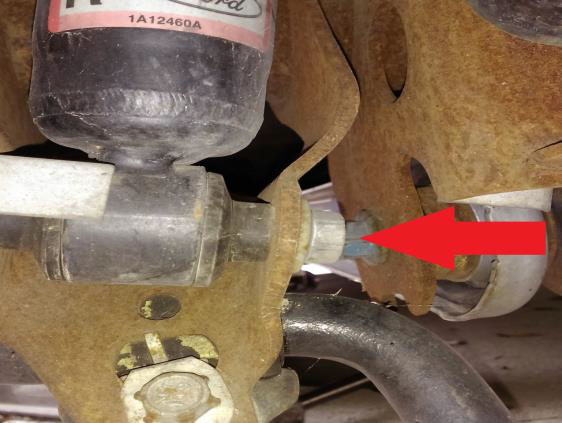
Step 5:
After removing lower shock bolt, slowly lower the floor jack supporting the lower end. You can now remove the factory spring and replace it with the Ford Cobra Jet spring. Make sure to install new spring in the same orientation as the original. The words printed on the spring should be pointing towards the rear of the car.
Step 6:
Raise the rear end with the floor jack and reattach the lower shock bolt and tighten to 85 ft/lbs. Repeat for other side.
Step 7:
Reattach the rear sway bar to the frame with bolts and tighten to 85 ft/lbs.
IMPORTANT NOTE:
After installing the lowering springs you must take your car to get an alignment. It may be necessary to install a caster/camber plate to allow correct alignment specs to be achieved.
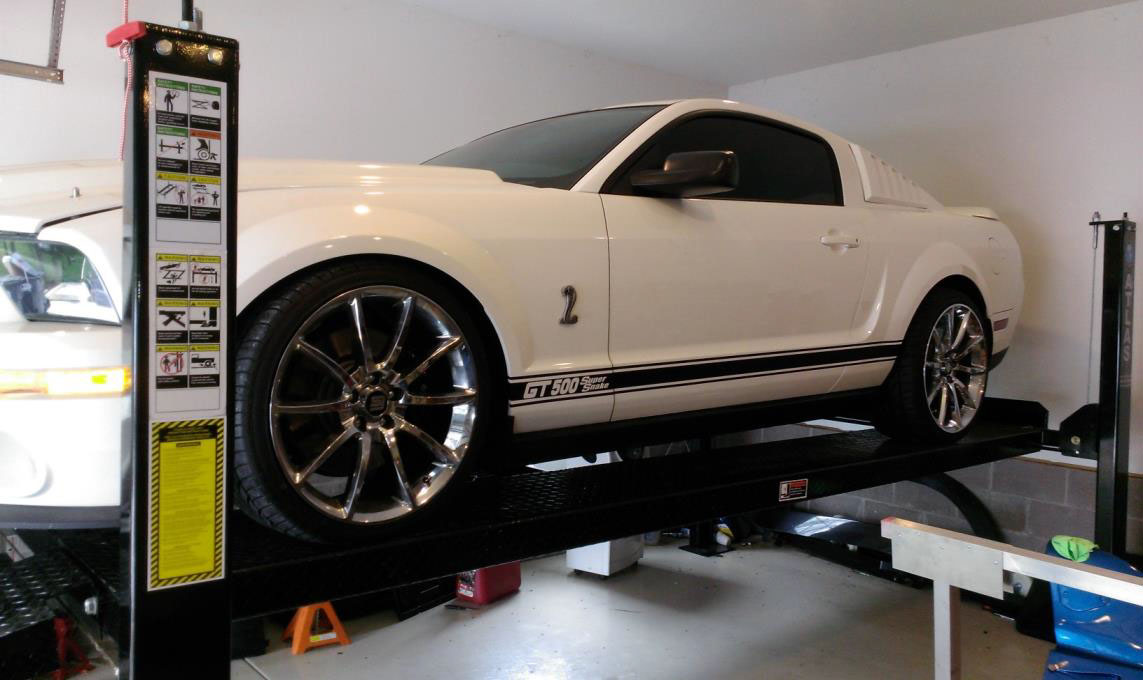
AFTER SPRING INSTALL
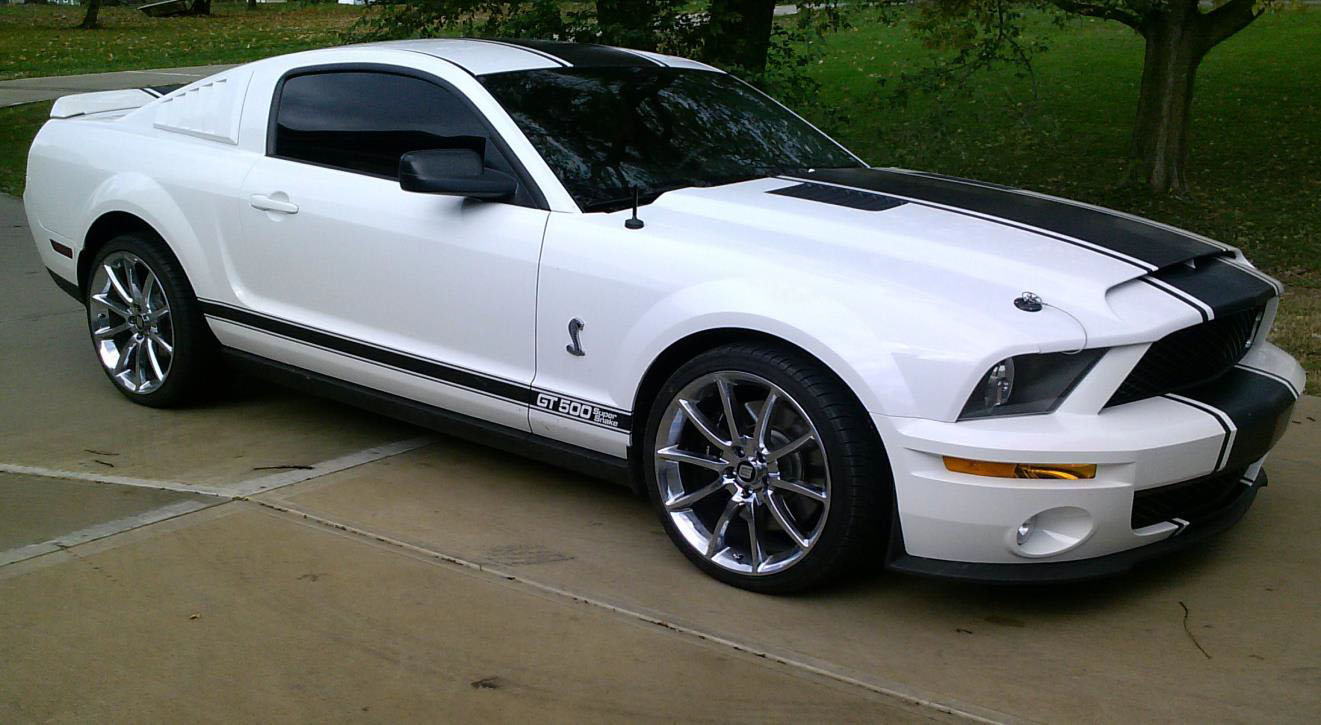
BEFORE SPRING INSTALL
Installation instructions written by AmericanMuscle customer Daniel Smith 6.7.15

